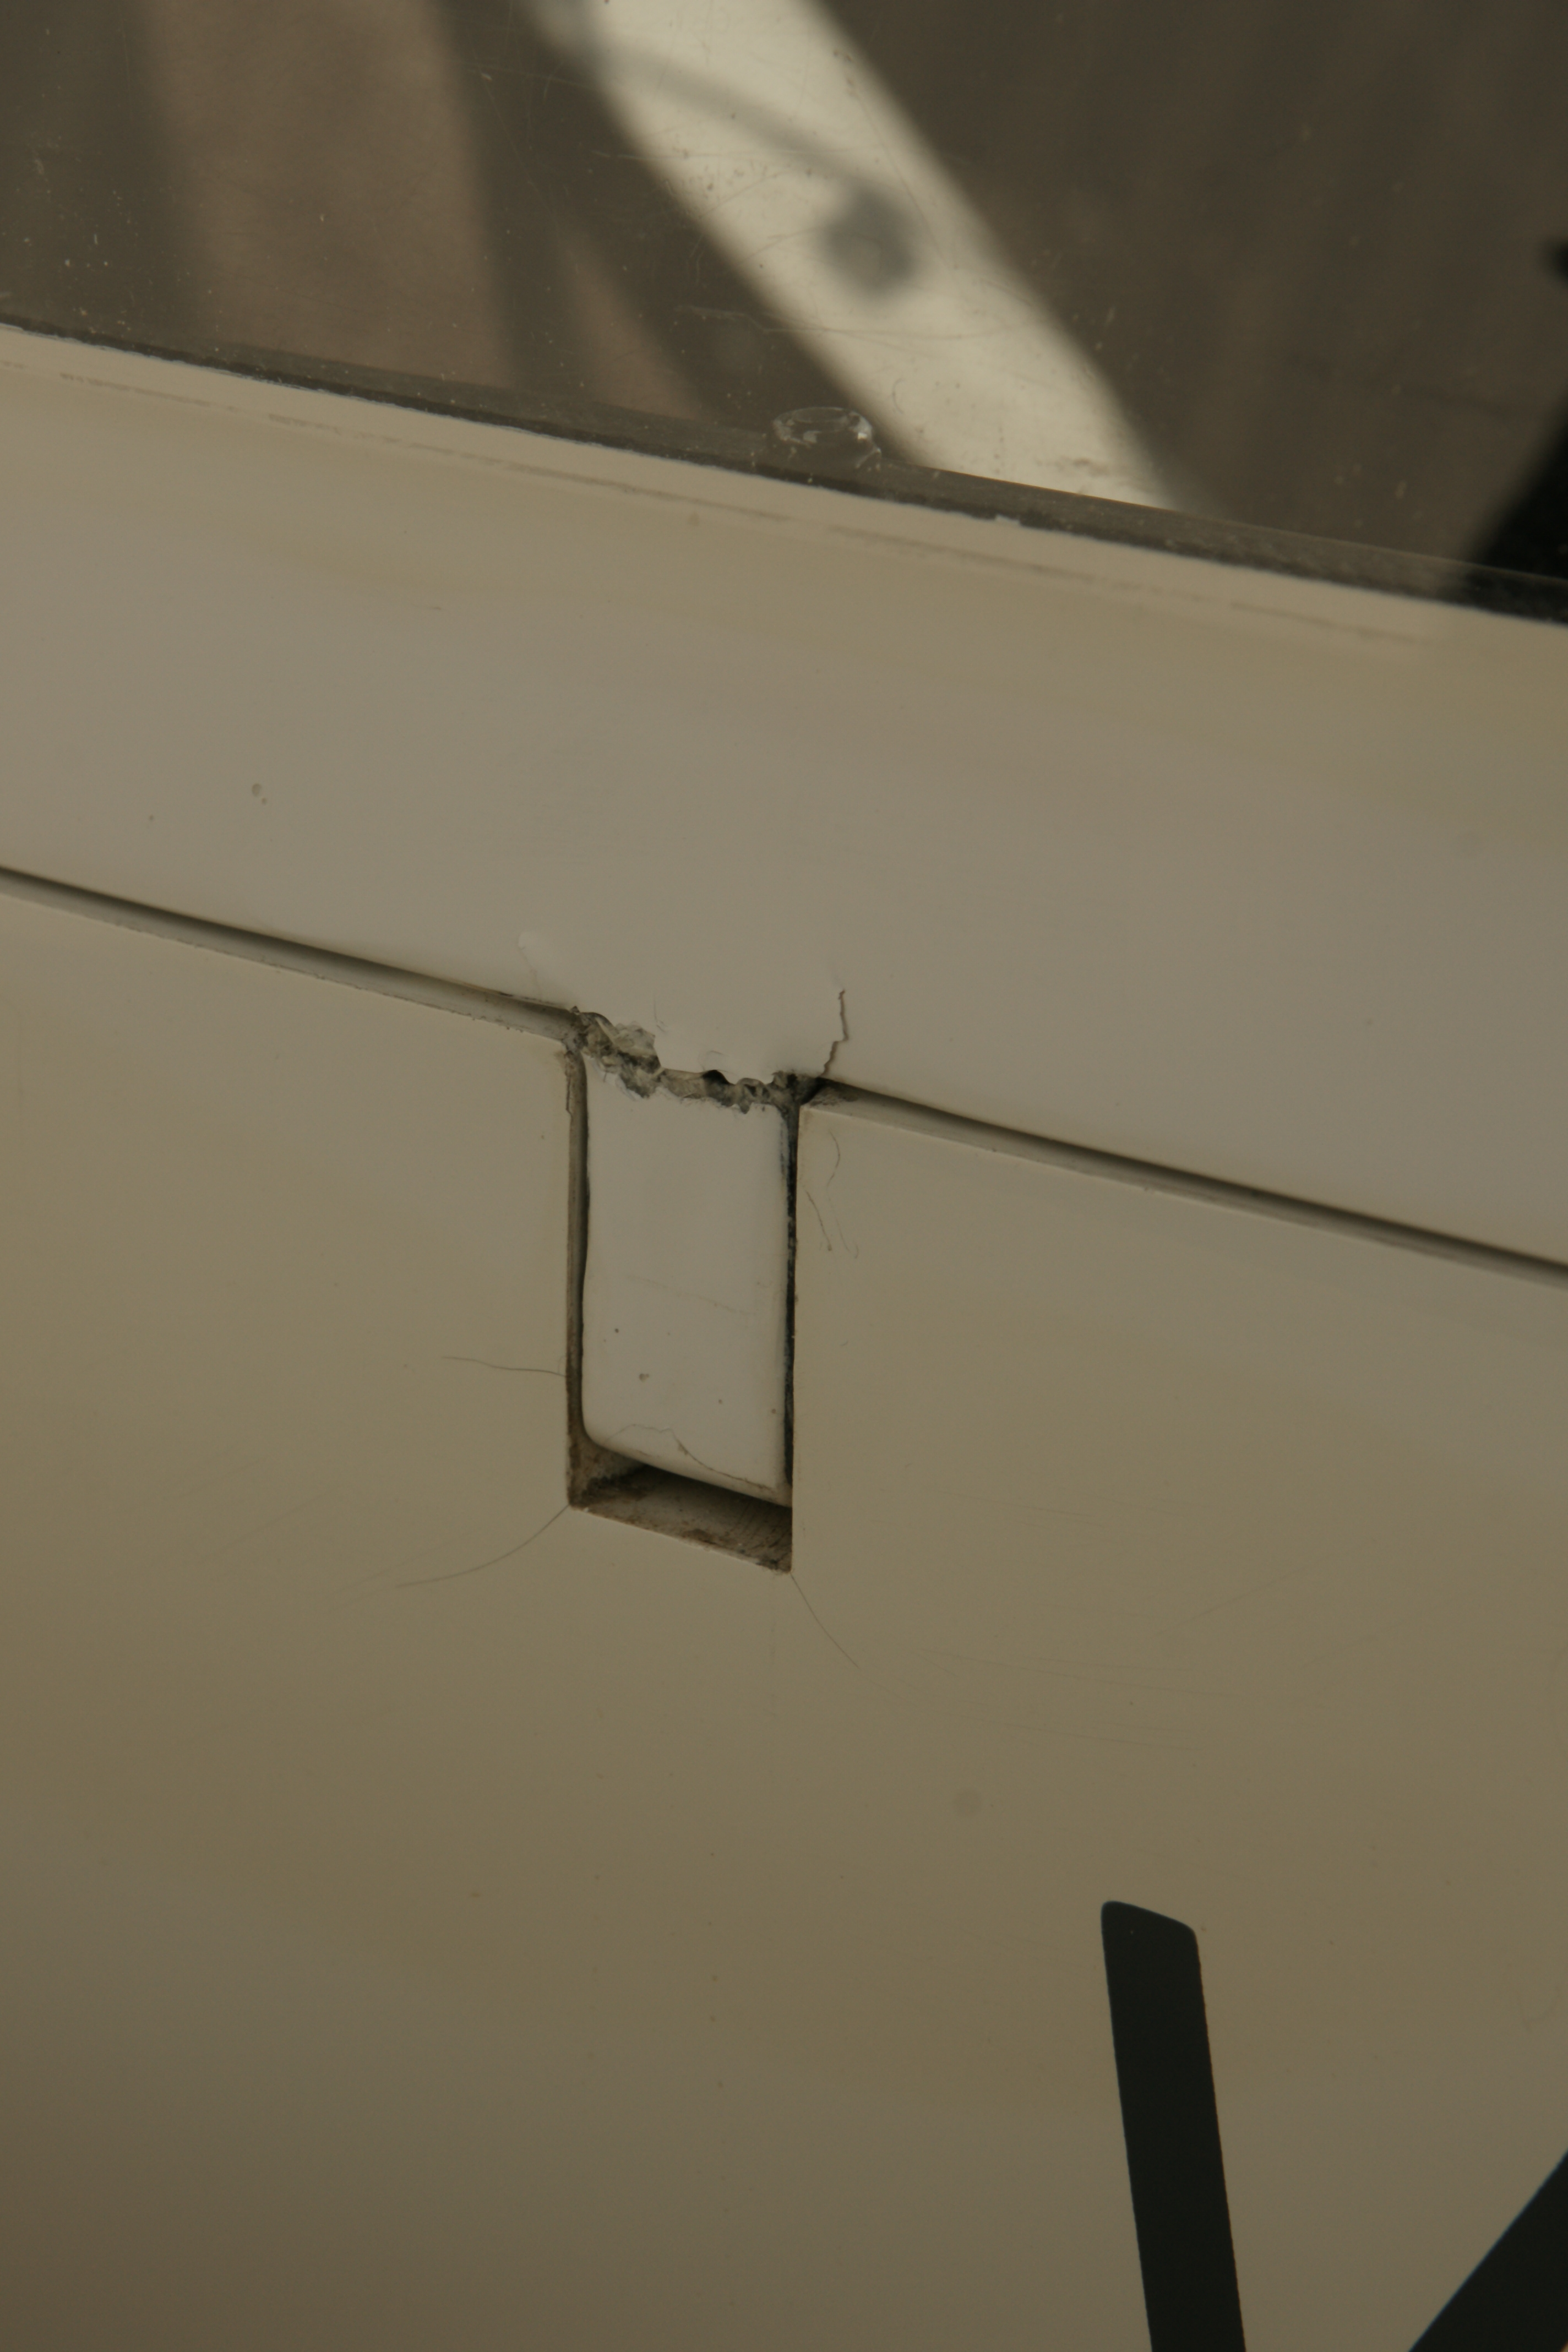
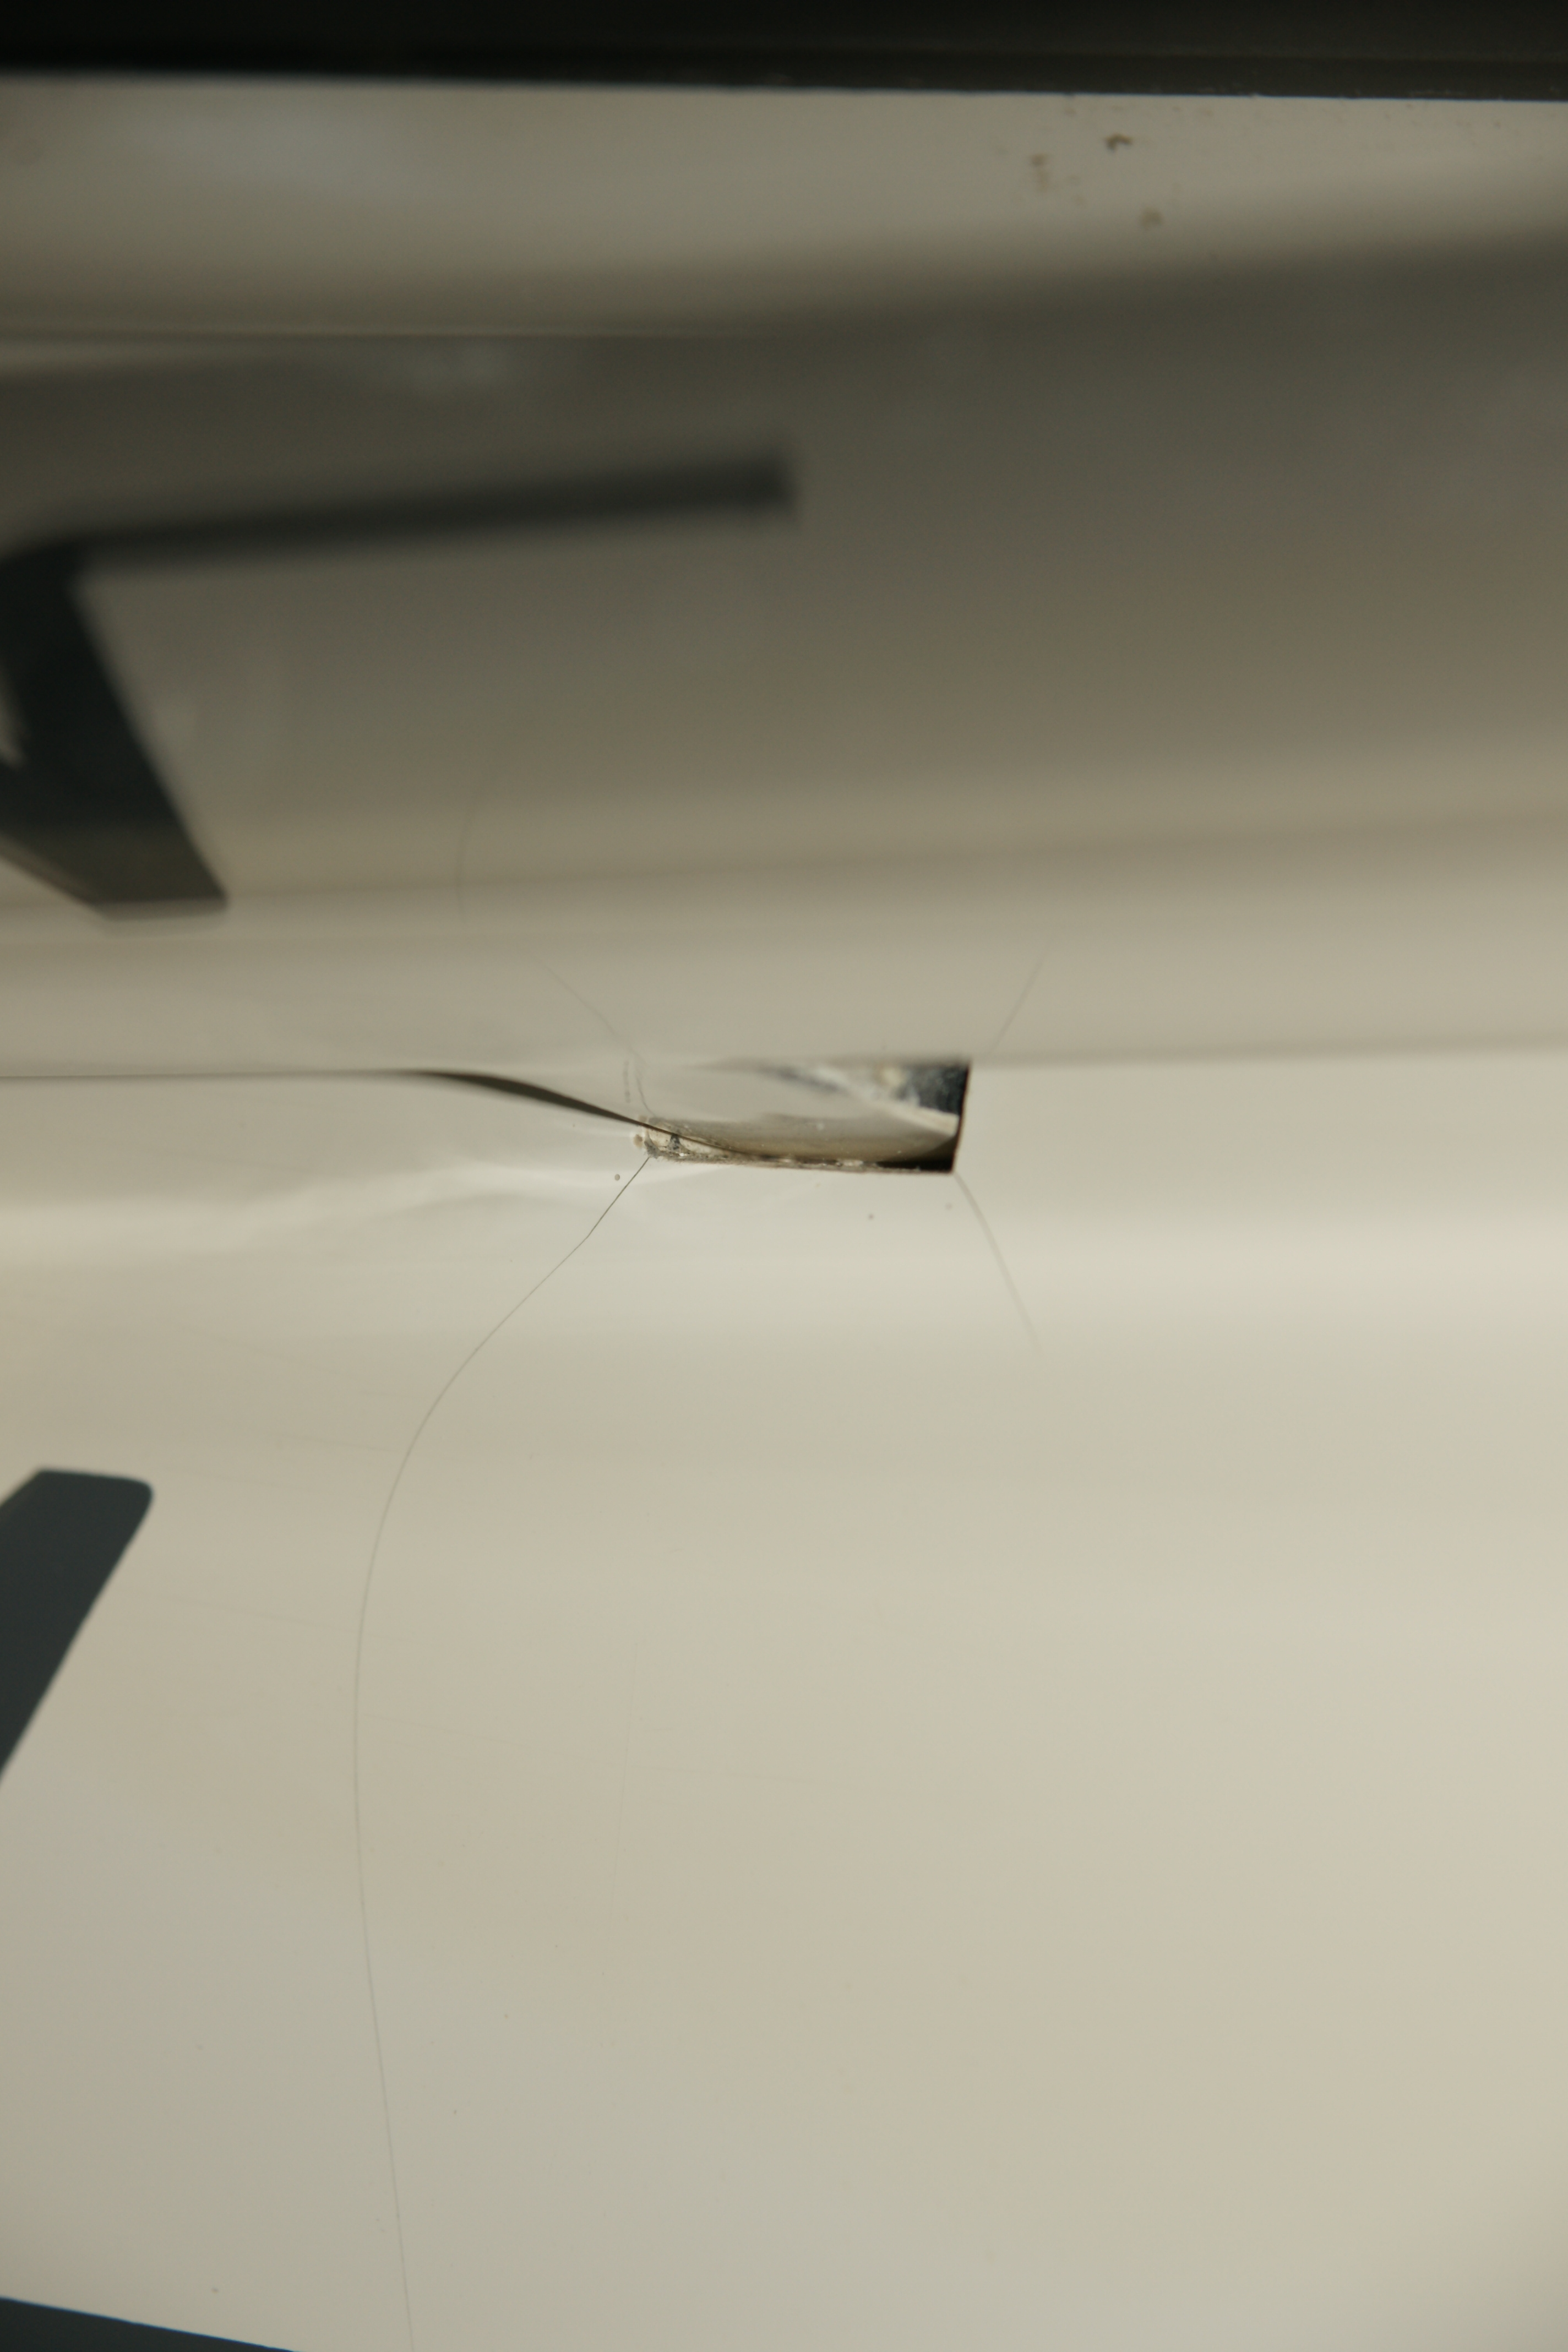
 The hinge tang snapped off at the canopy rail. The challenge - how to quickly create a sturdy repair that would allow the canopy to open fully, and that would not damage the canopy regarding future replacement of the tang.
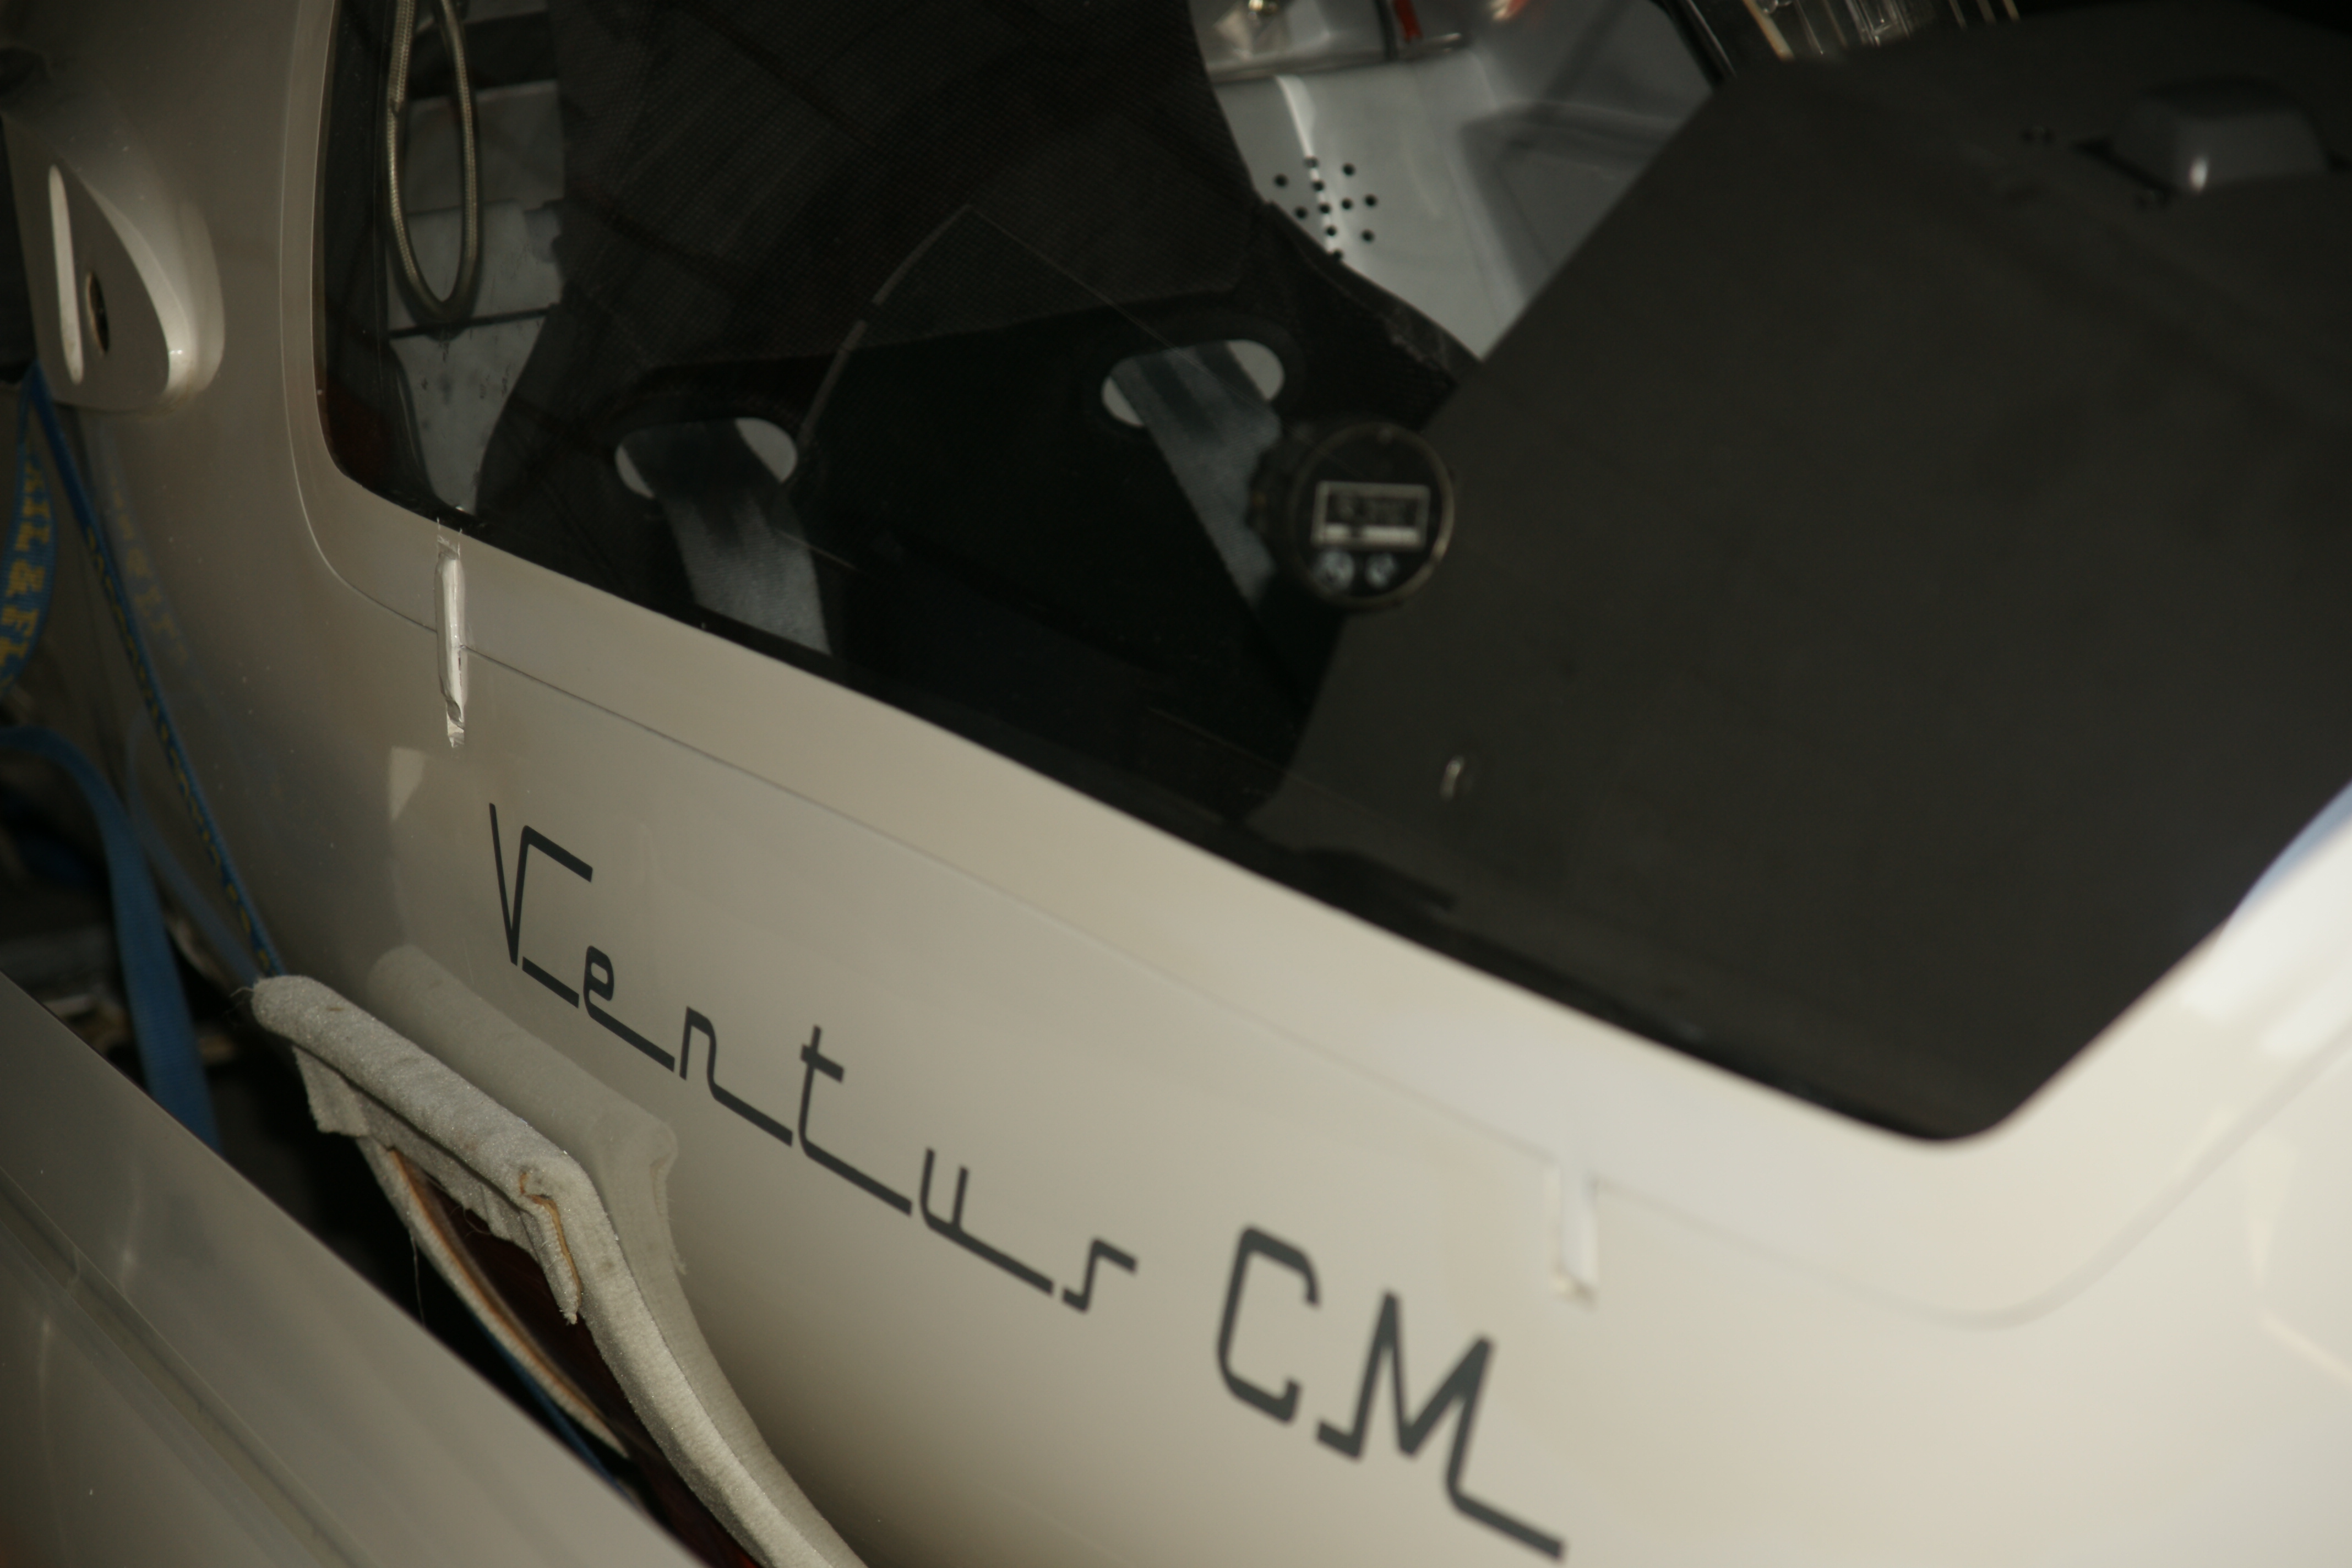
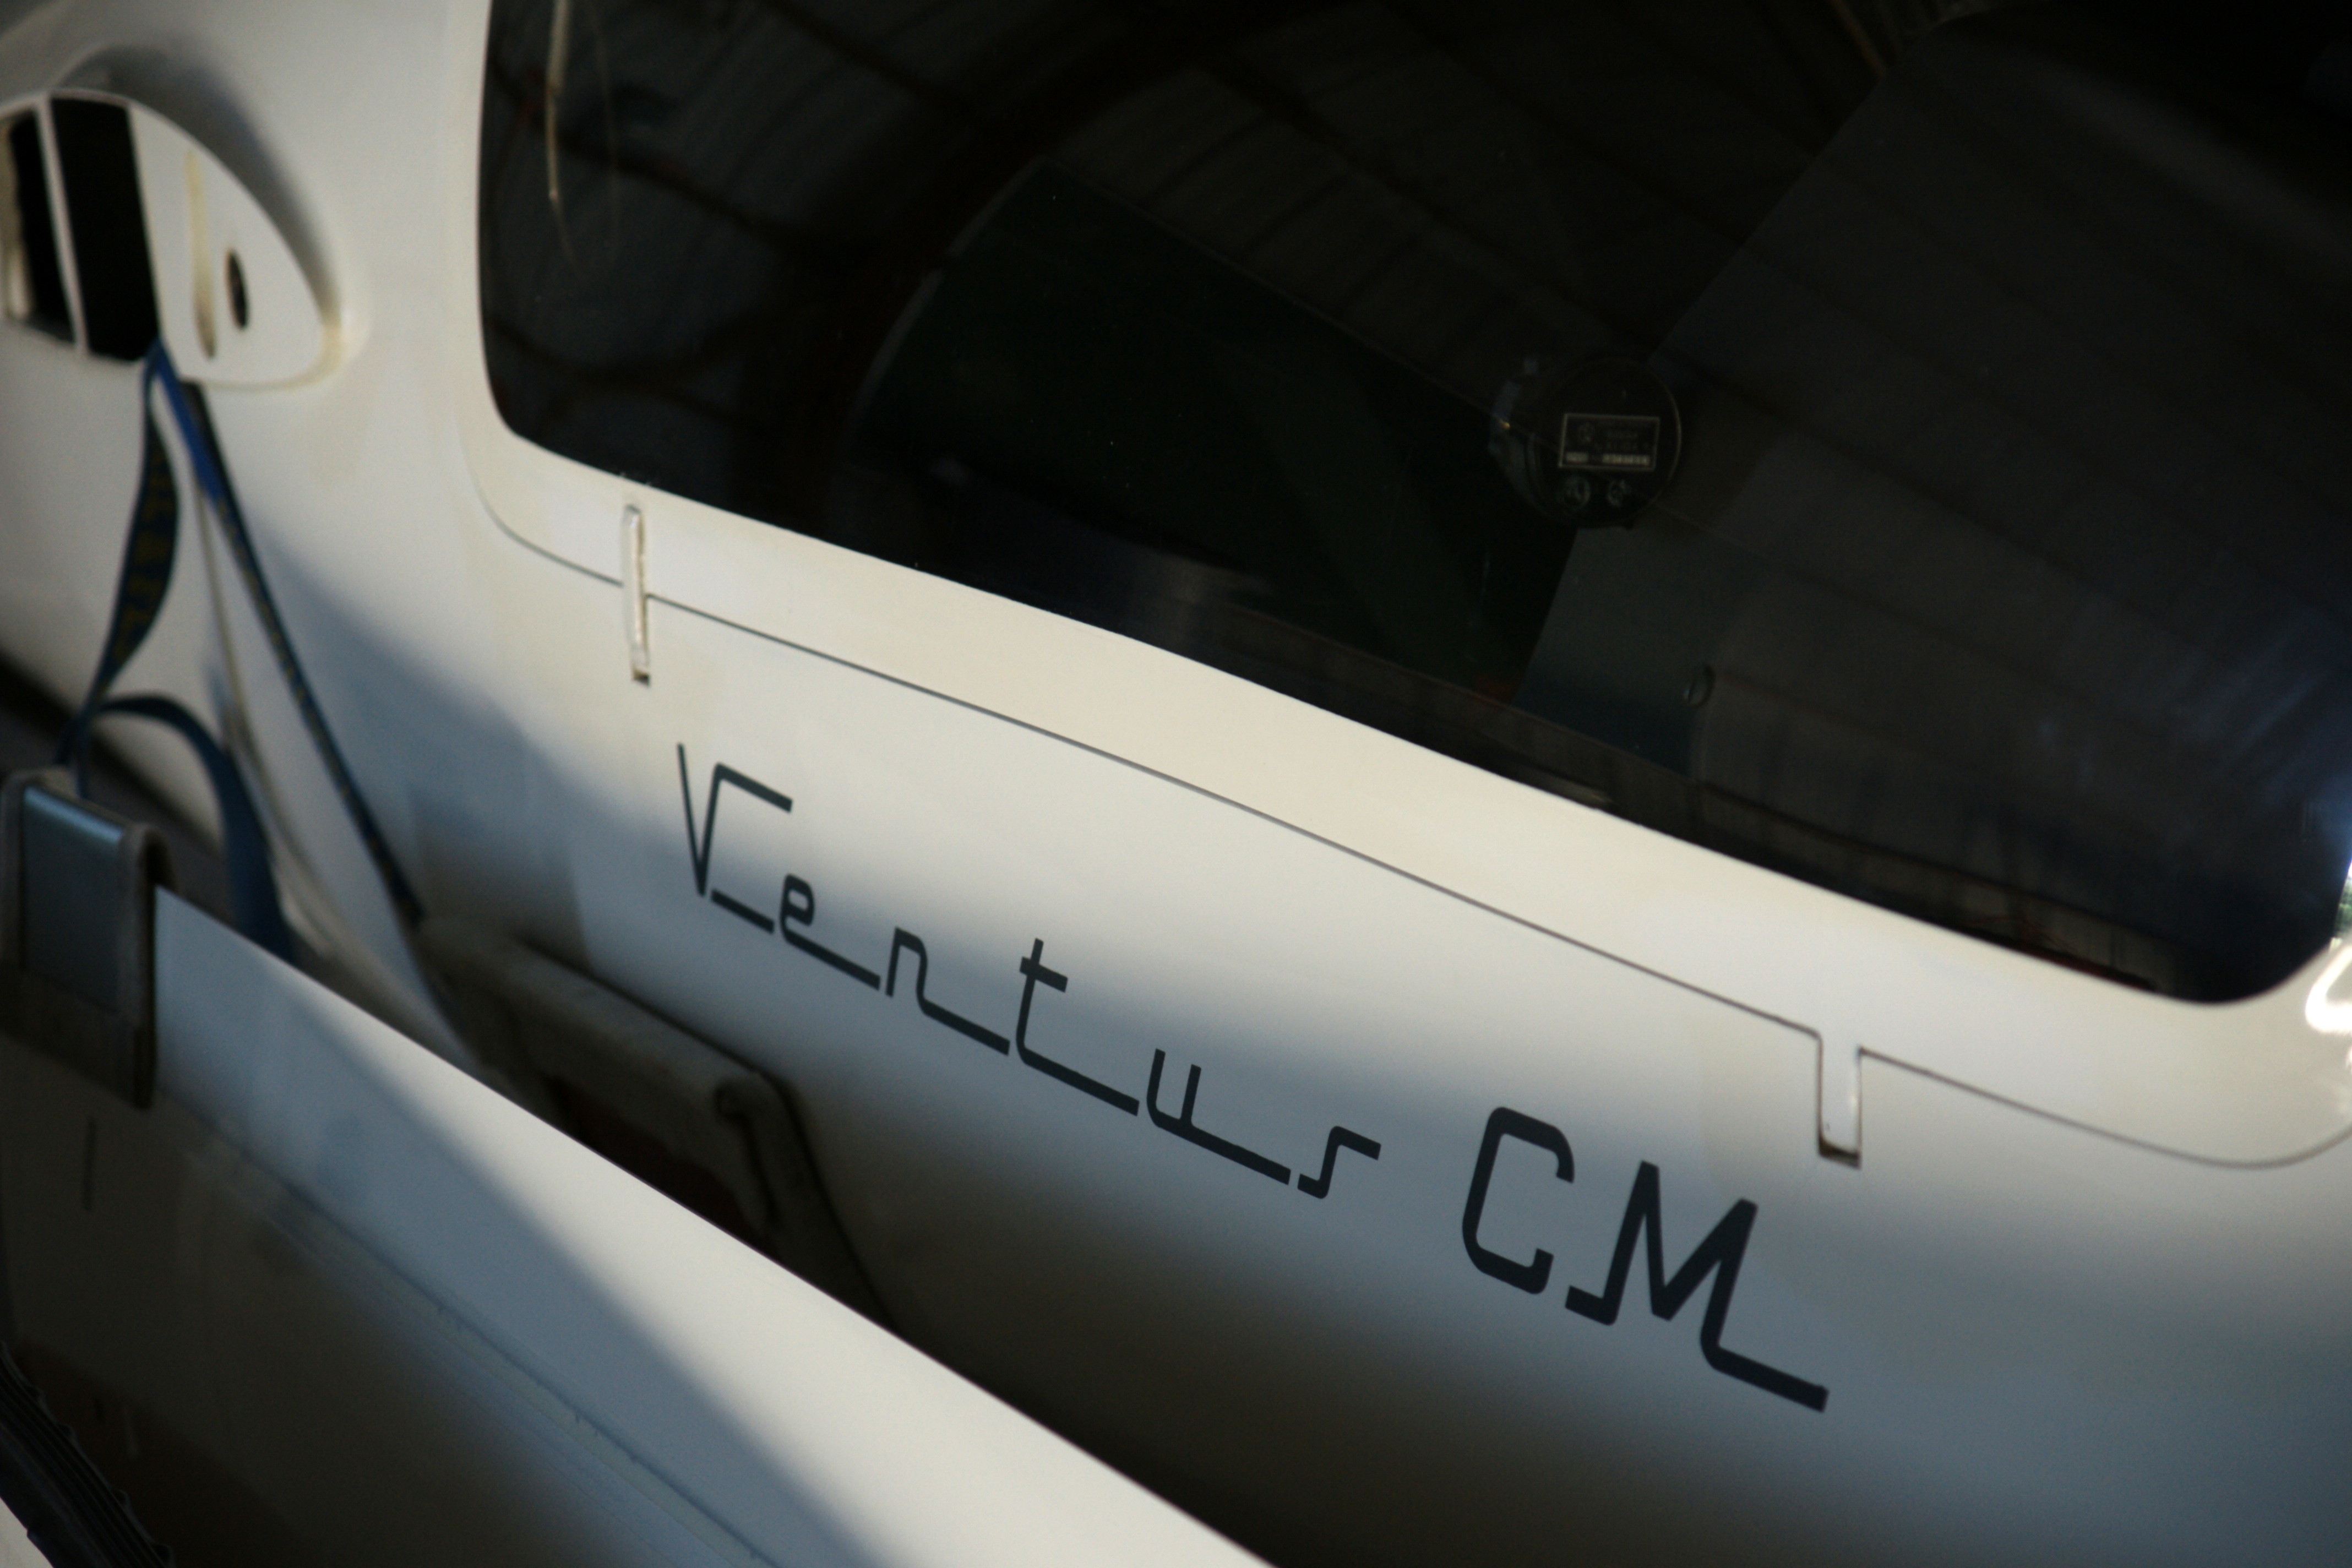
Repairing the canopy hinge. (Note: 'we' in this essay is the editorial we.)
In the unlikely event that you want to see fine detail, click on the picture itself for the grande version.
The hinge tang snapped off at the canopy rail. The challenge - how to quickly create a sturdy repair that would allow the canopy to open fully, and that would not damage the canopy regarding future replacement of the tang.
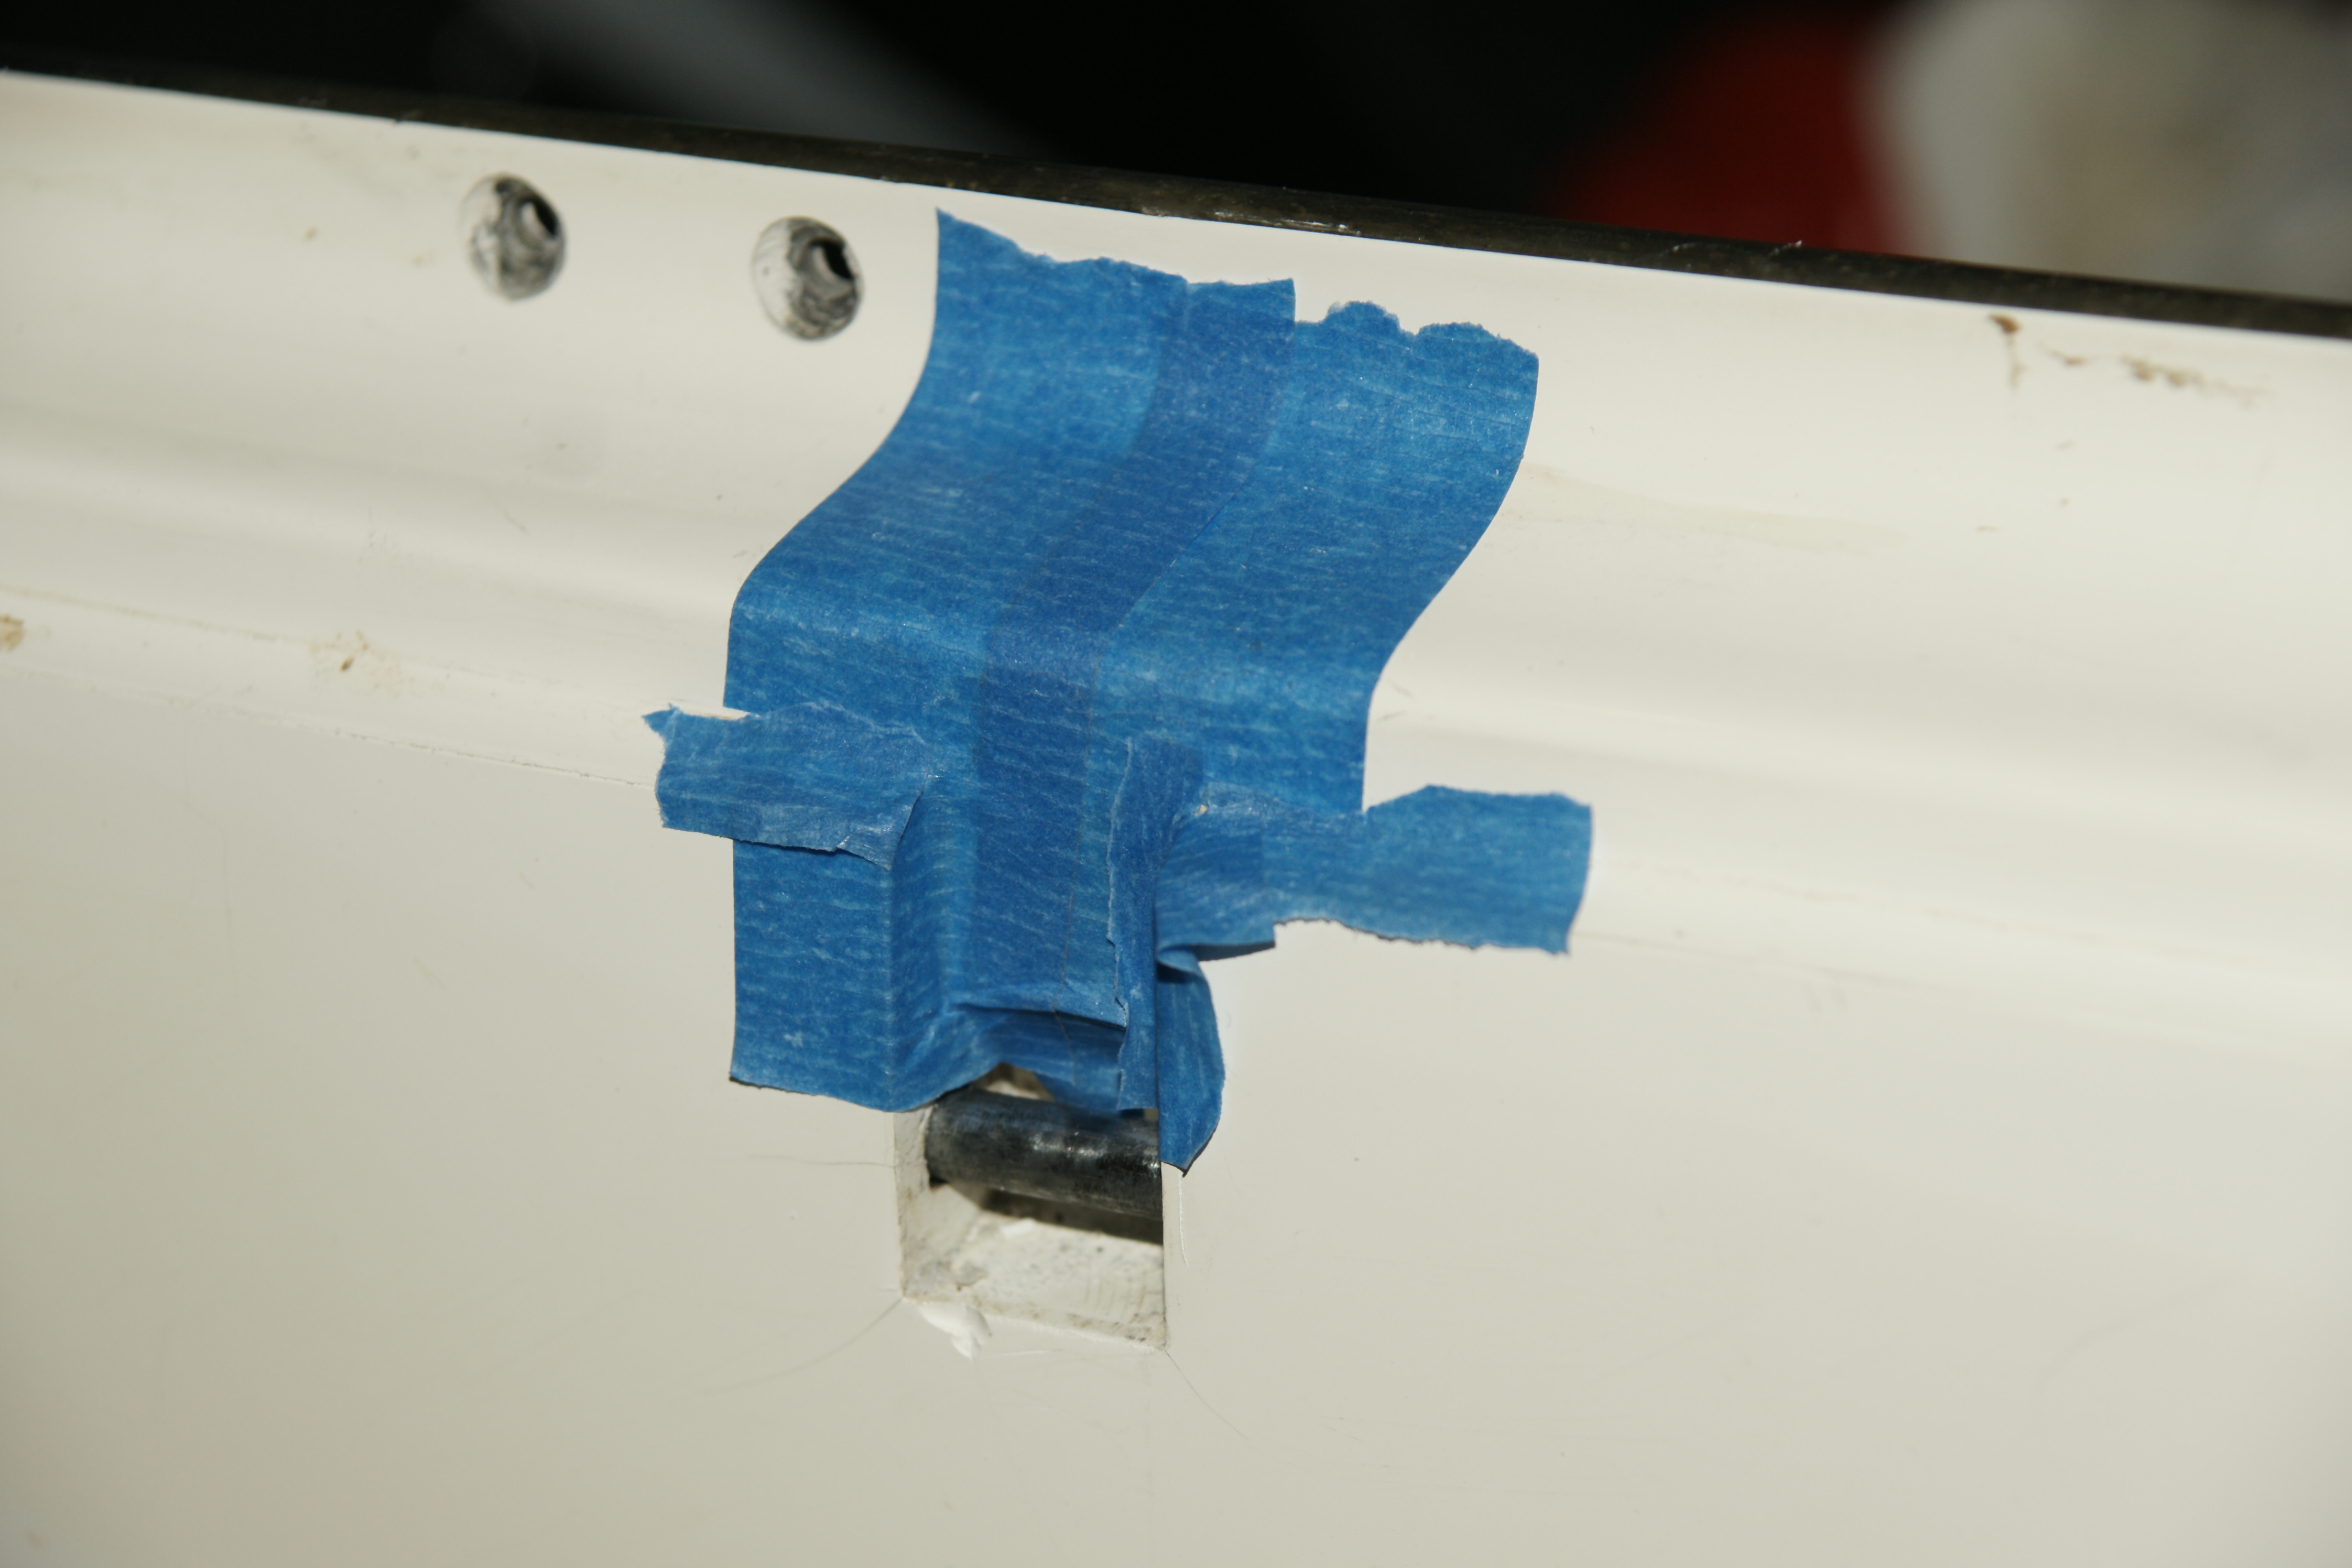
 First we masked off the hinge, and sanded the rail and tang with 100-grit paper to remove the paint.
 Second, we brought from our office a standard tongue blade. The sterile wrap is optional. It is fortunate that the tongue blade is almost precisely the width of the tang.
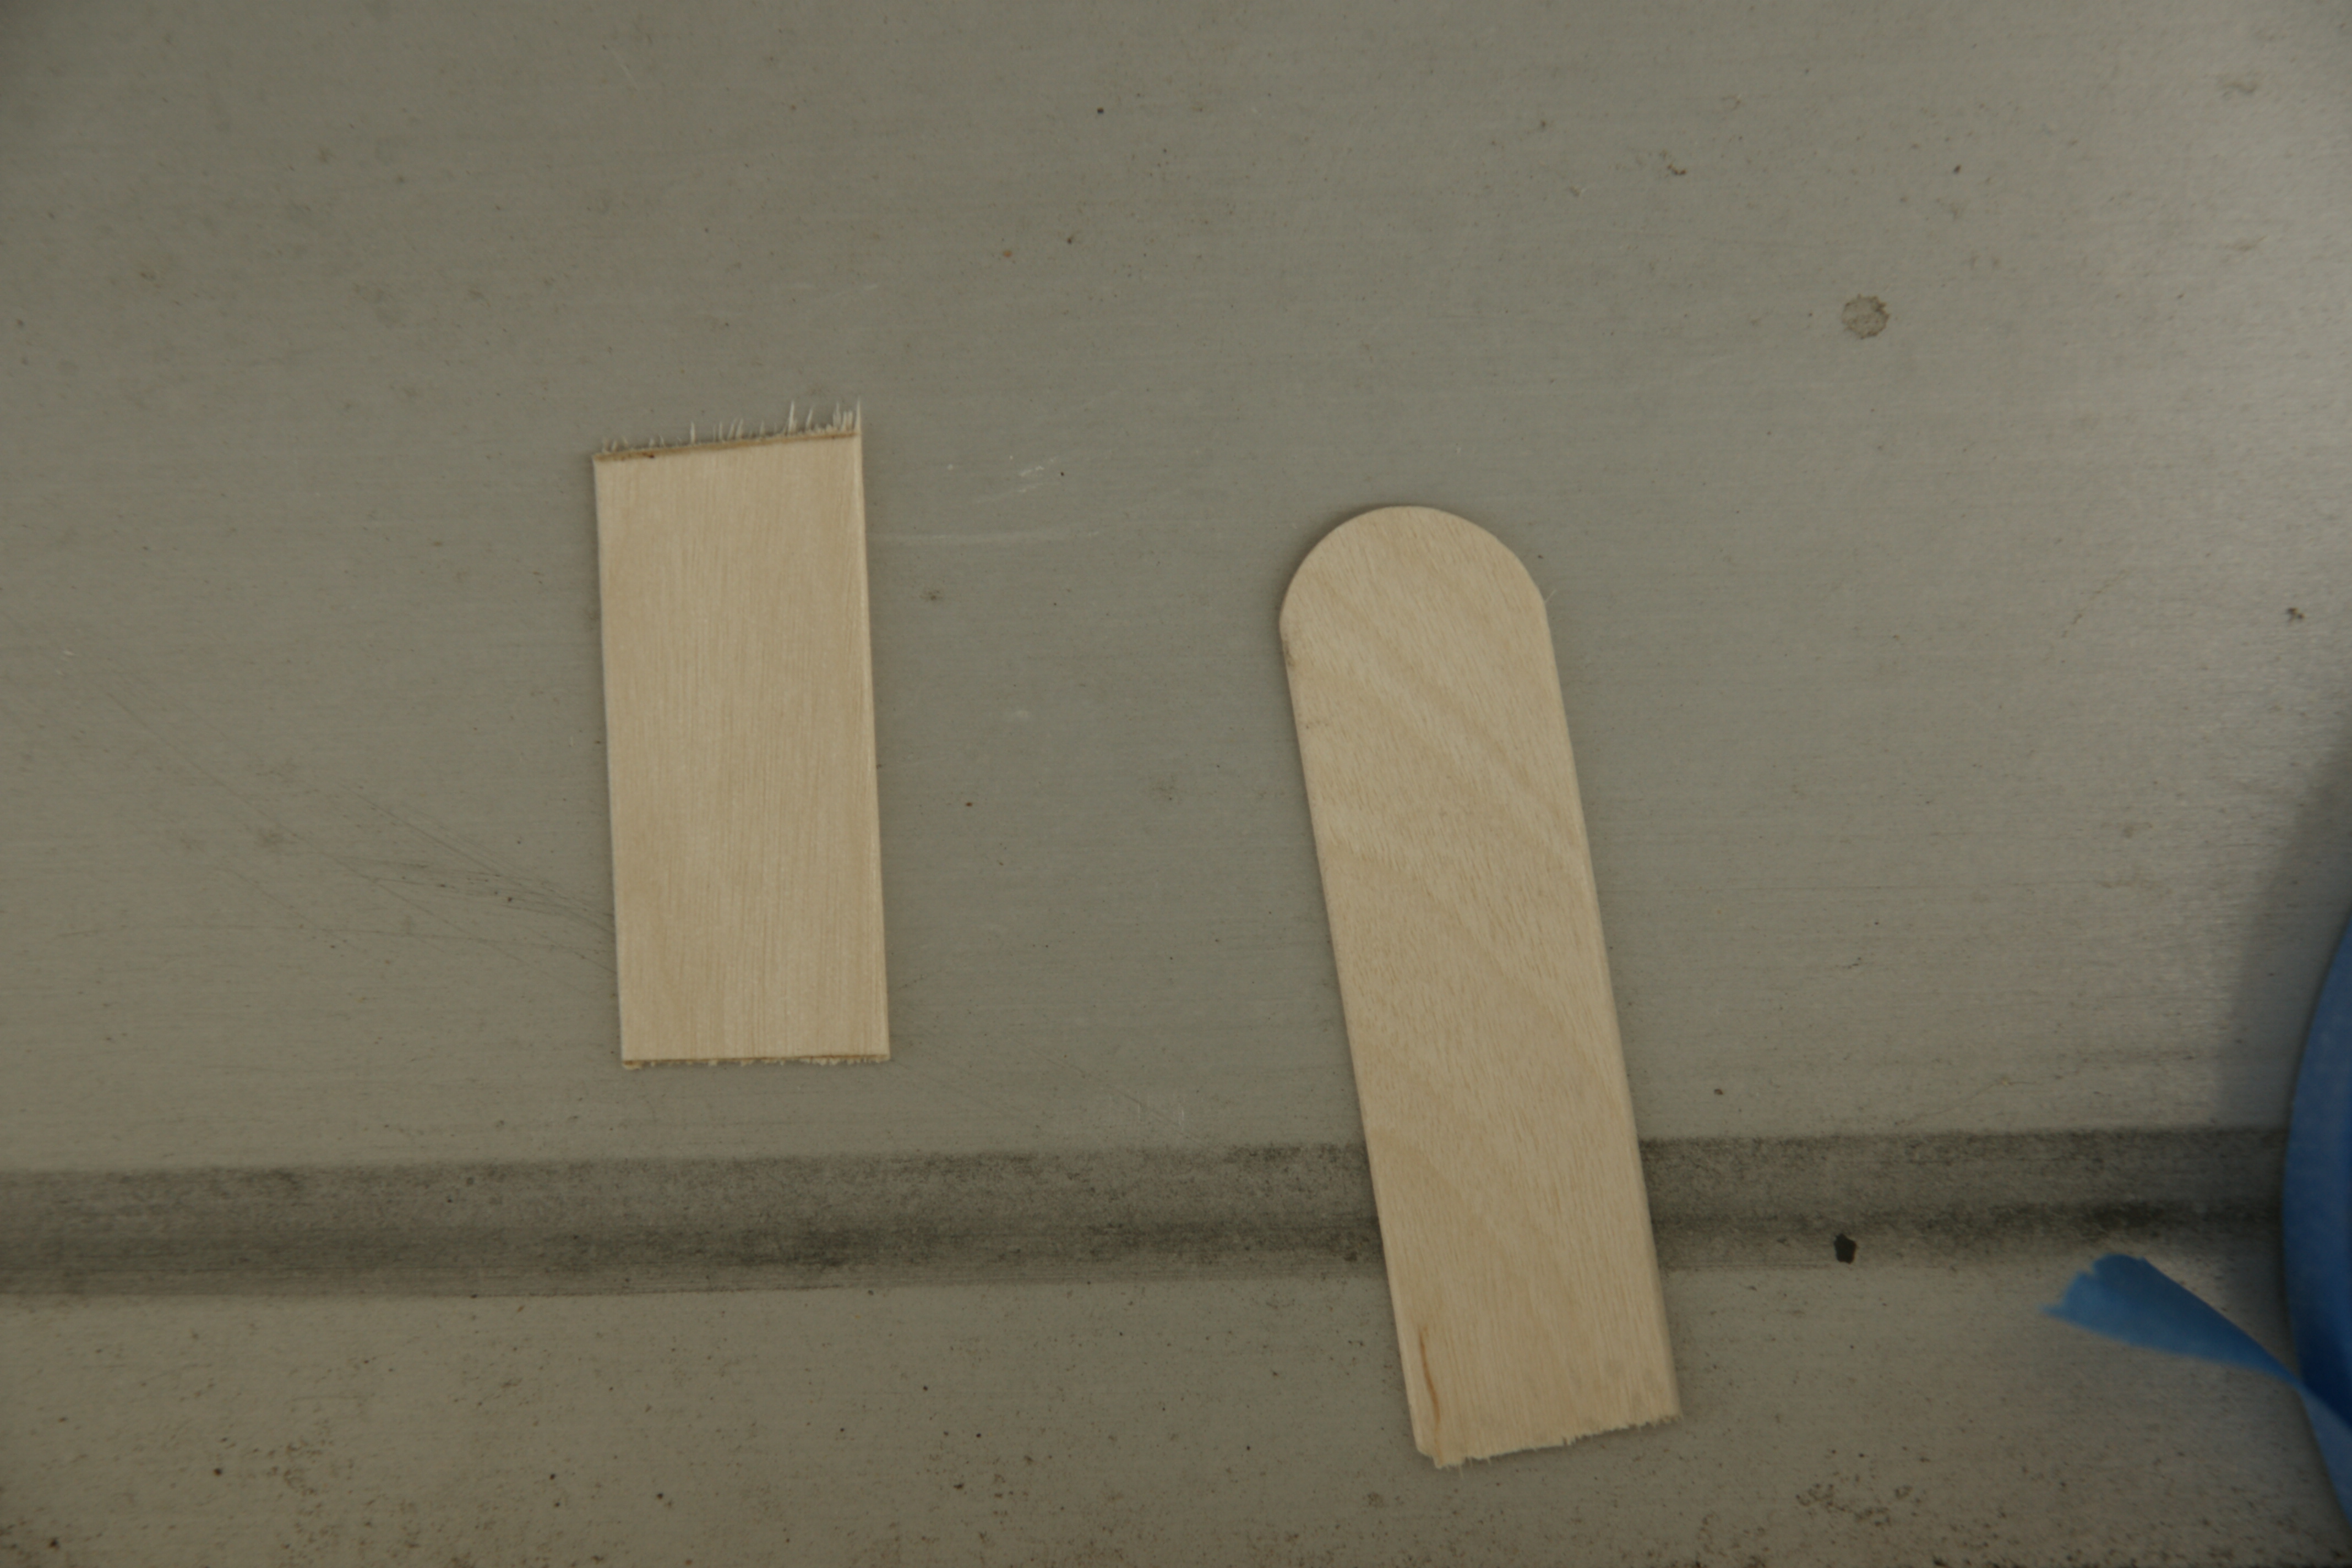 After measuring the distance from canopy to hinge, we gave the tongue blade a good whack with a chisel and hammer. This scored the blade deeply, creating a nice, clean cut.
It's important to sand the tongue blade with the 100-grit sandpaper, as I found out by not doing this the first pass. It is wrong to think that the natural roughness of the wood grain is sufficient.
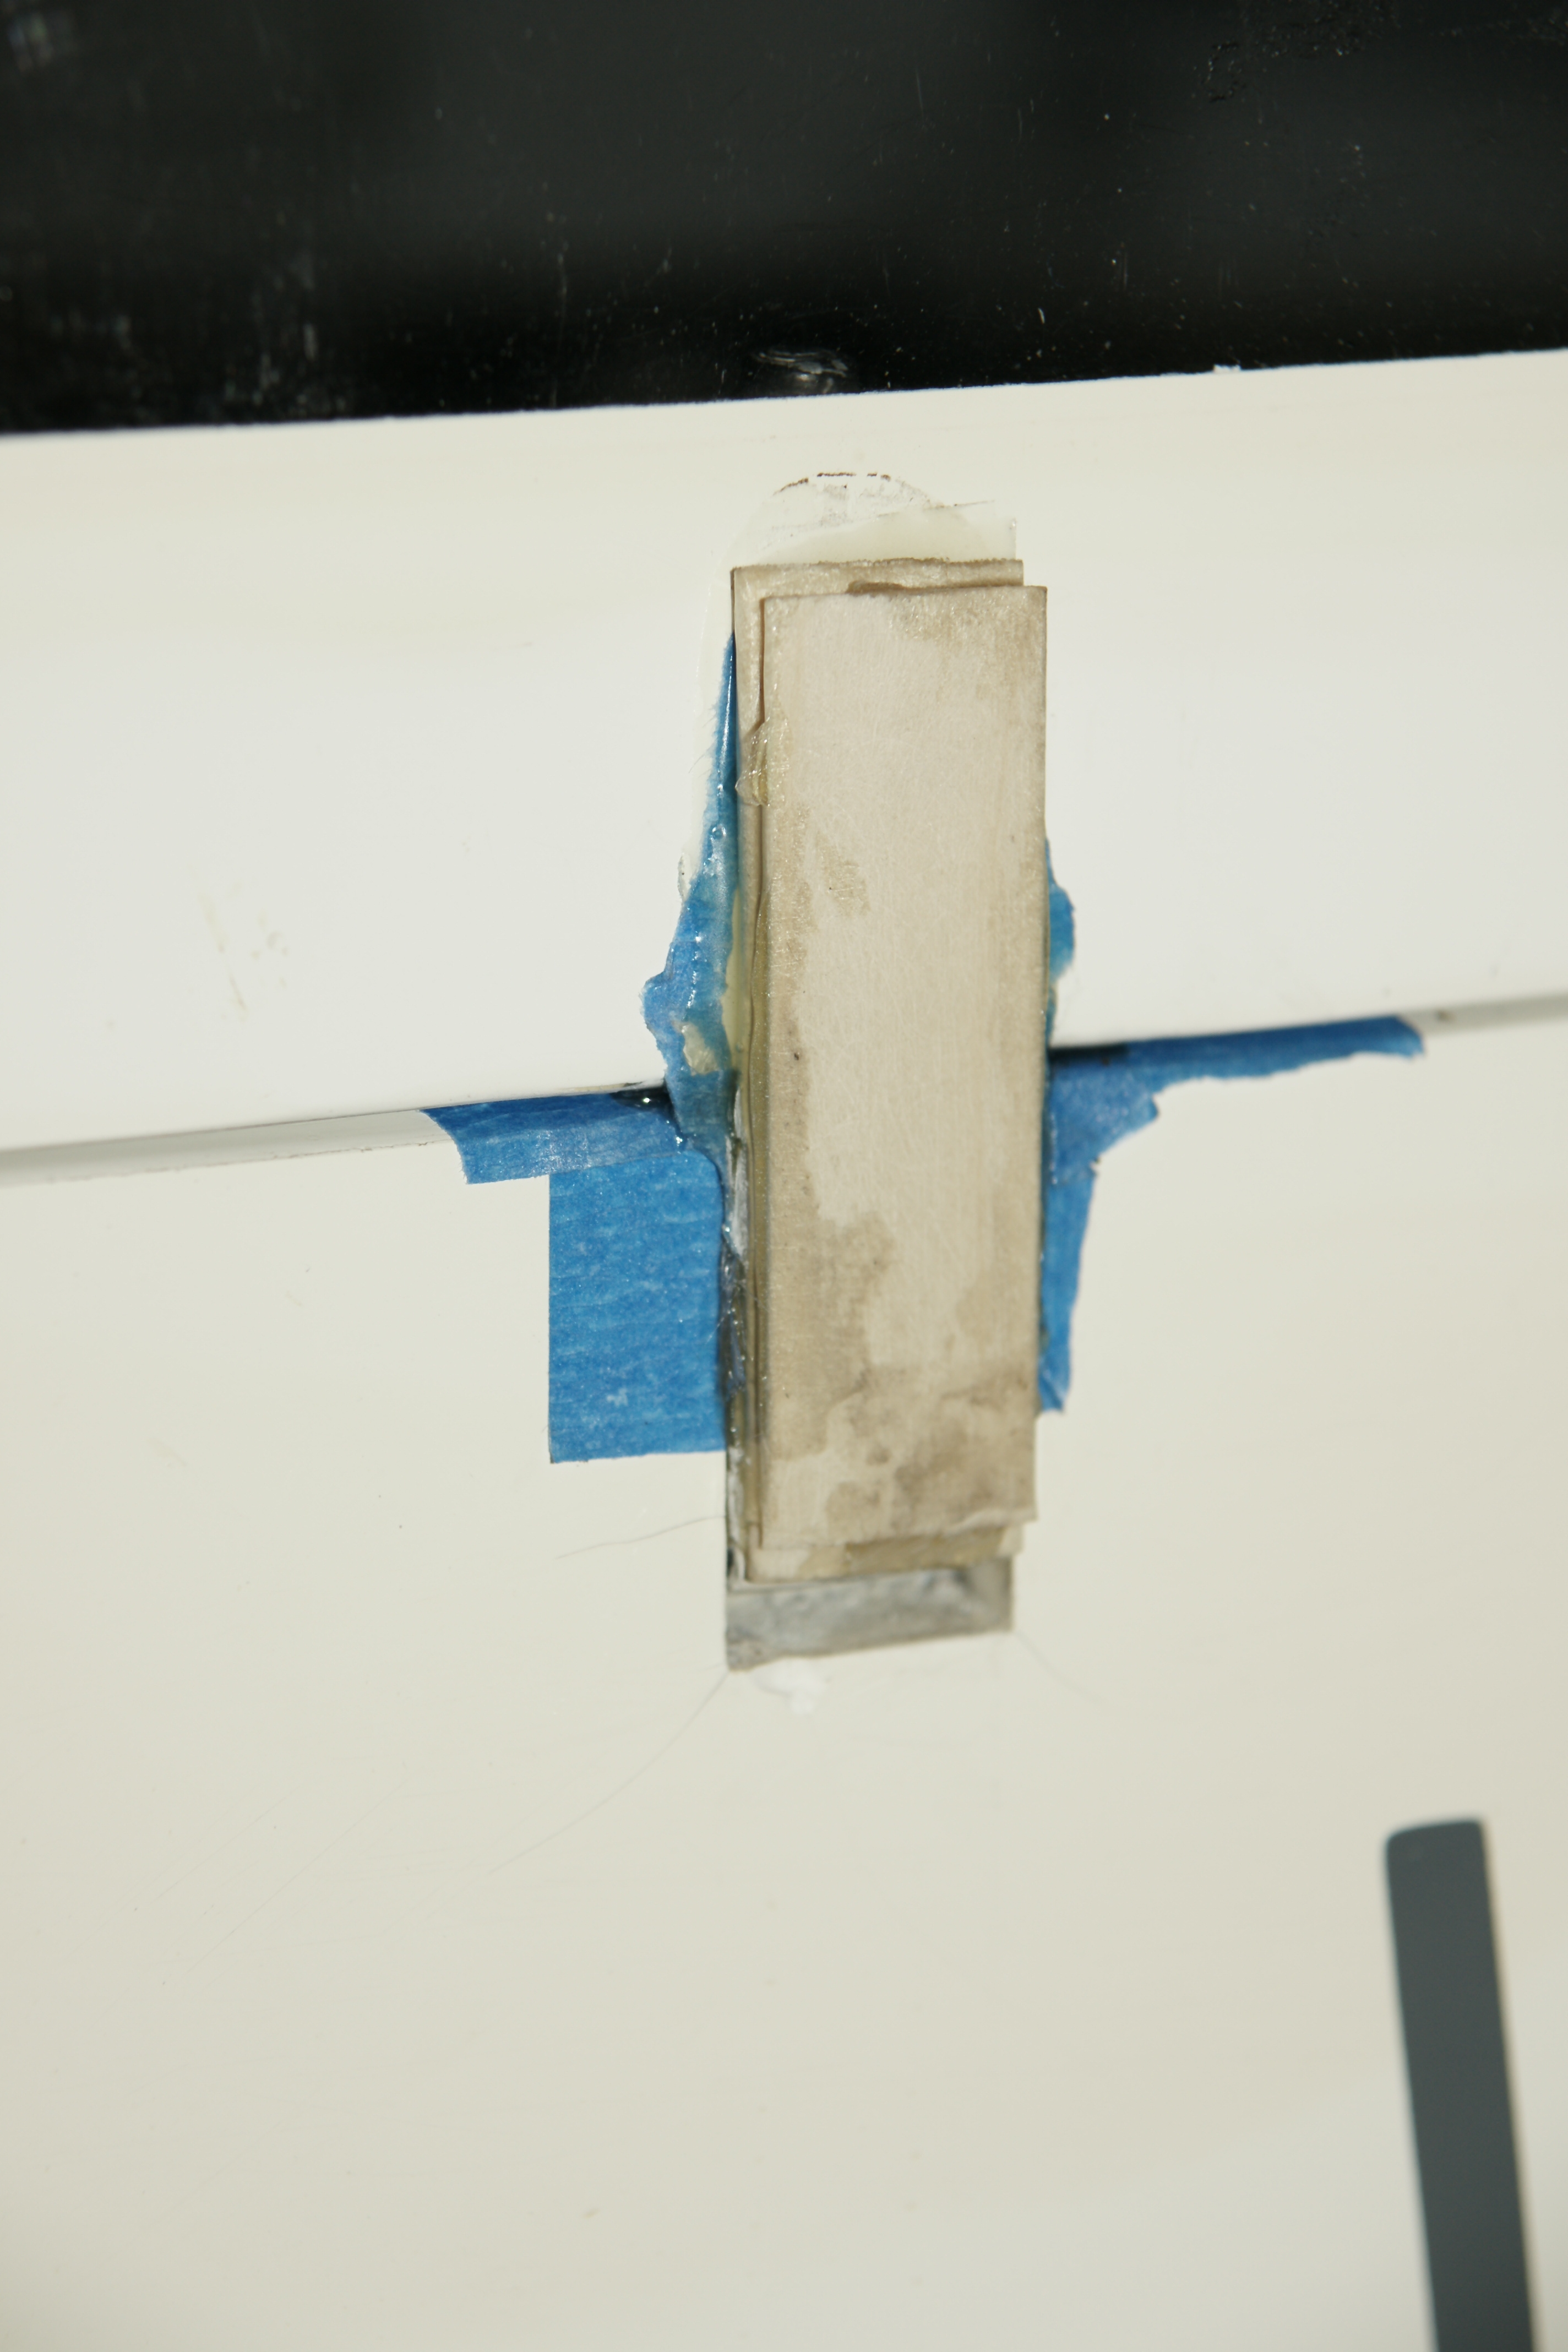
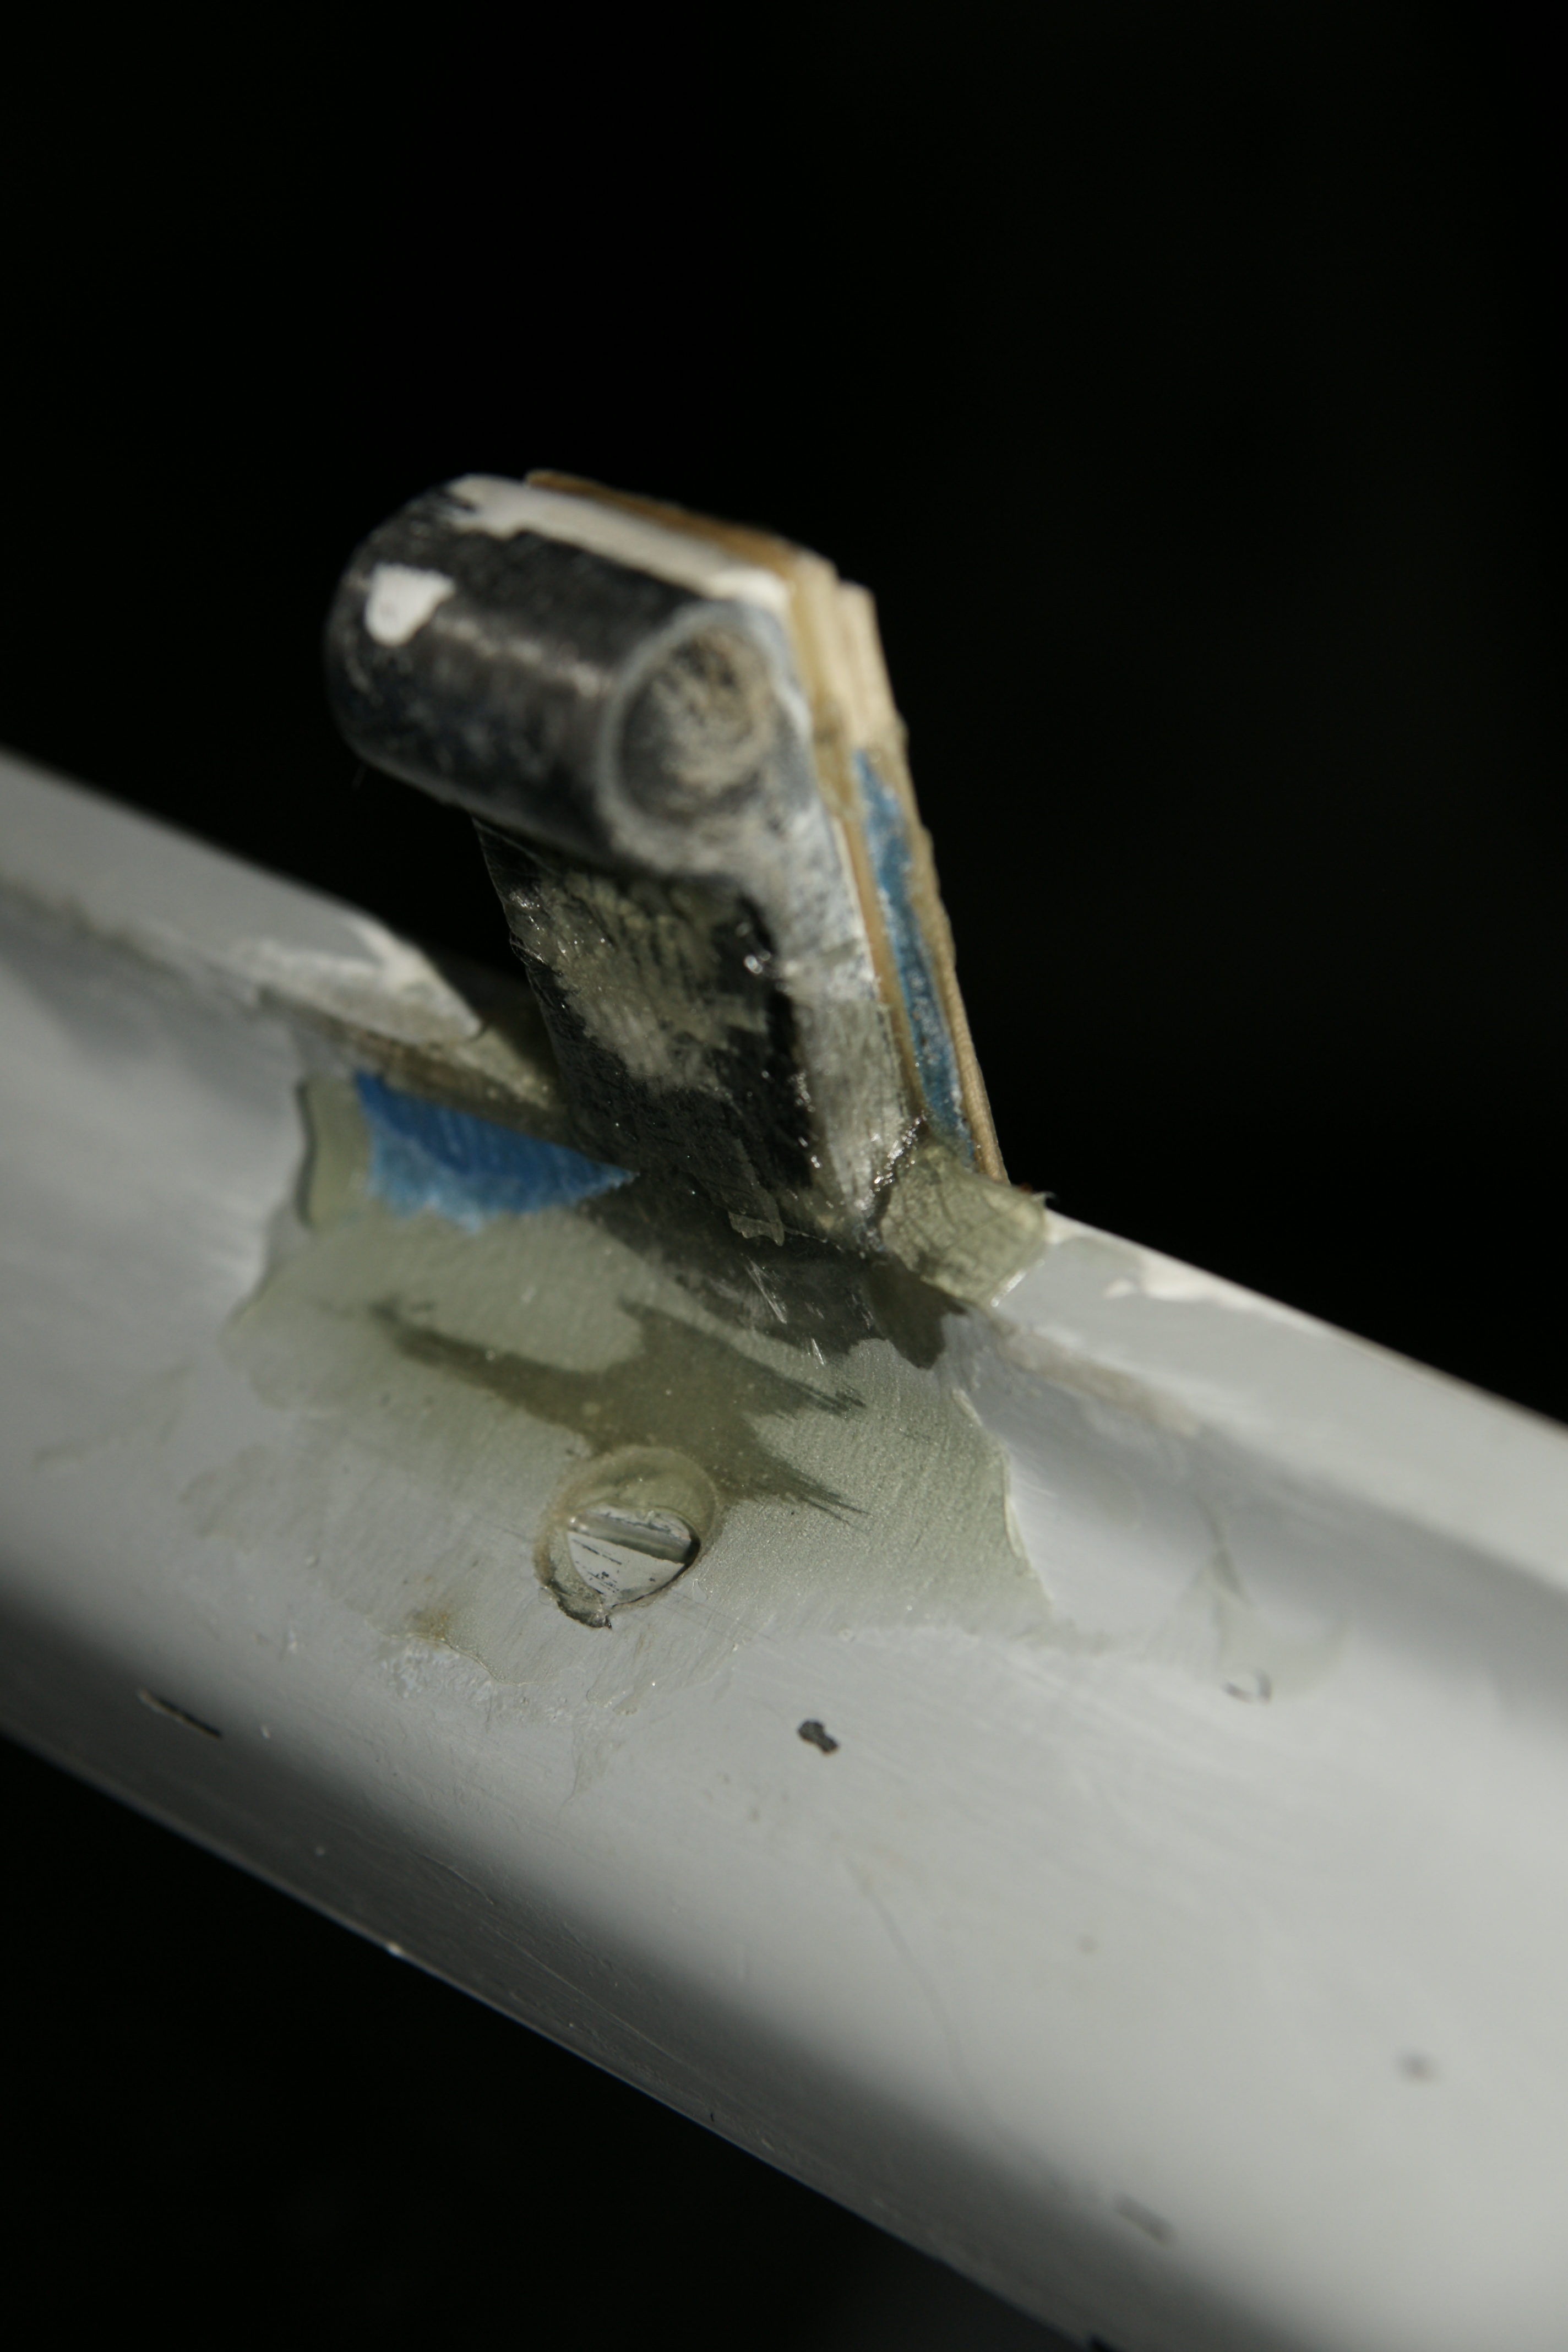
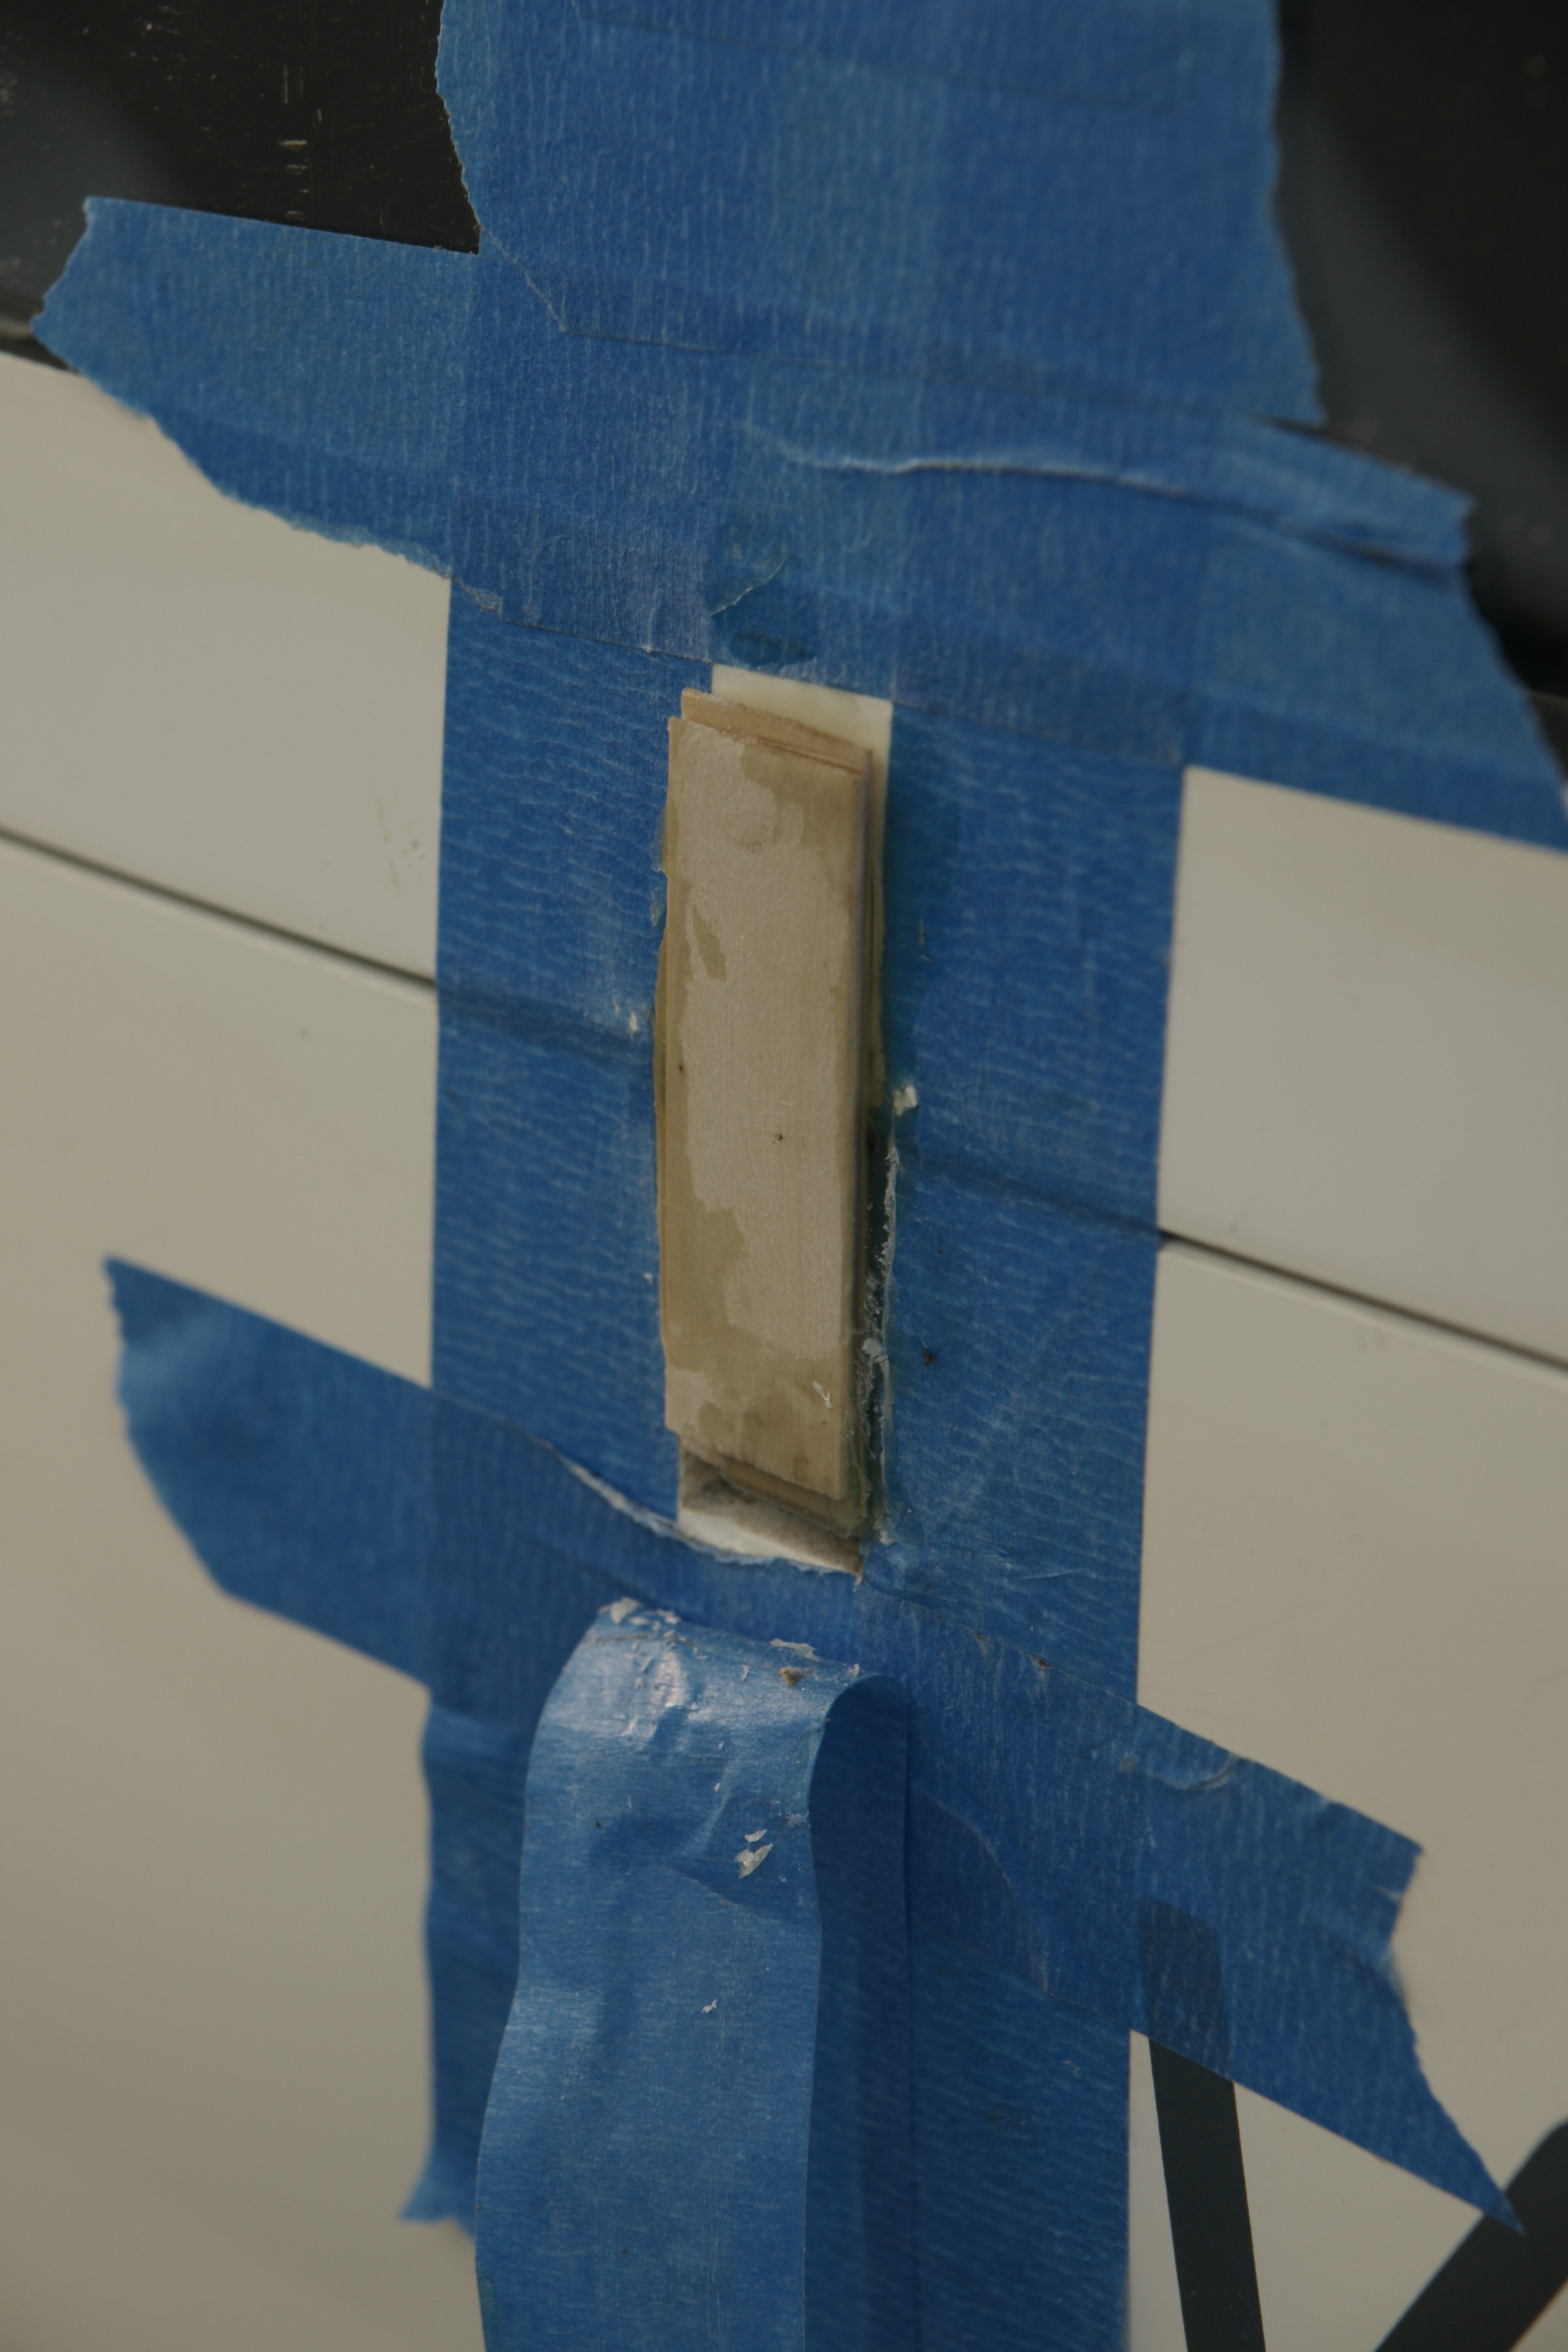 Next we mixed our Bondo resin and applied it (with another tongue blade) to the prepared canopy rail and tang, and to the pieces of tongue blade. Actually, a tongue blade is supplied with the Bondo kit, but I think it's always good to have a spare. This is where being a doctor comes in handy.
 Now, we cover the pieces with masking tape to hold them in place, and to prevent the 'clamp' from sticking to the wood.
 And we quickly clamp the pieces in place.
Some technical points:
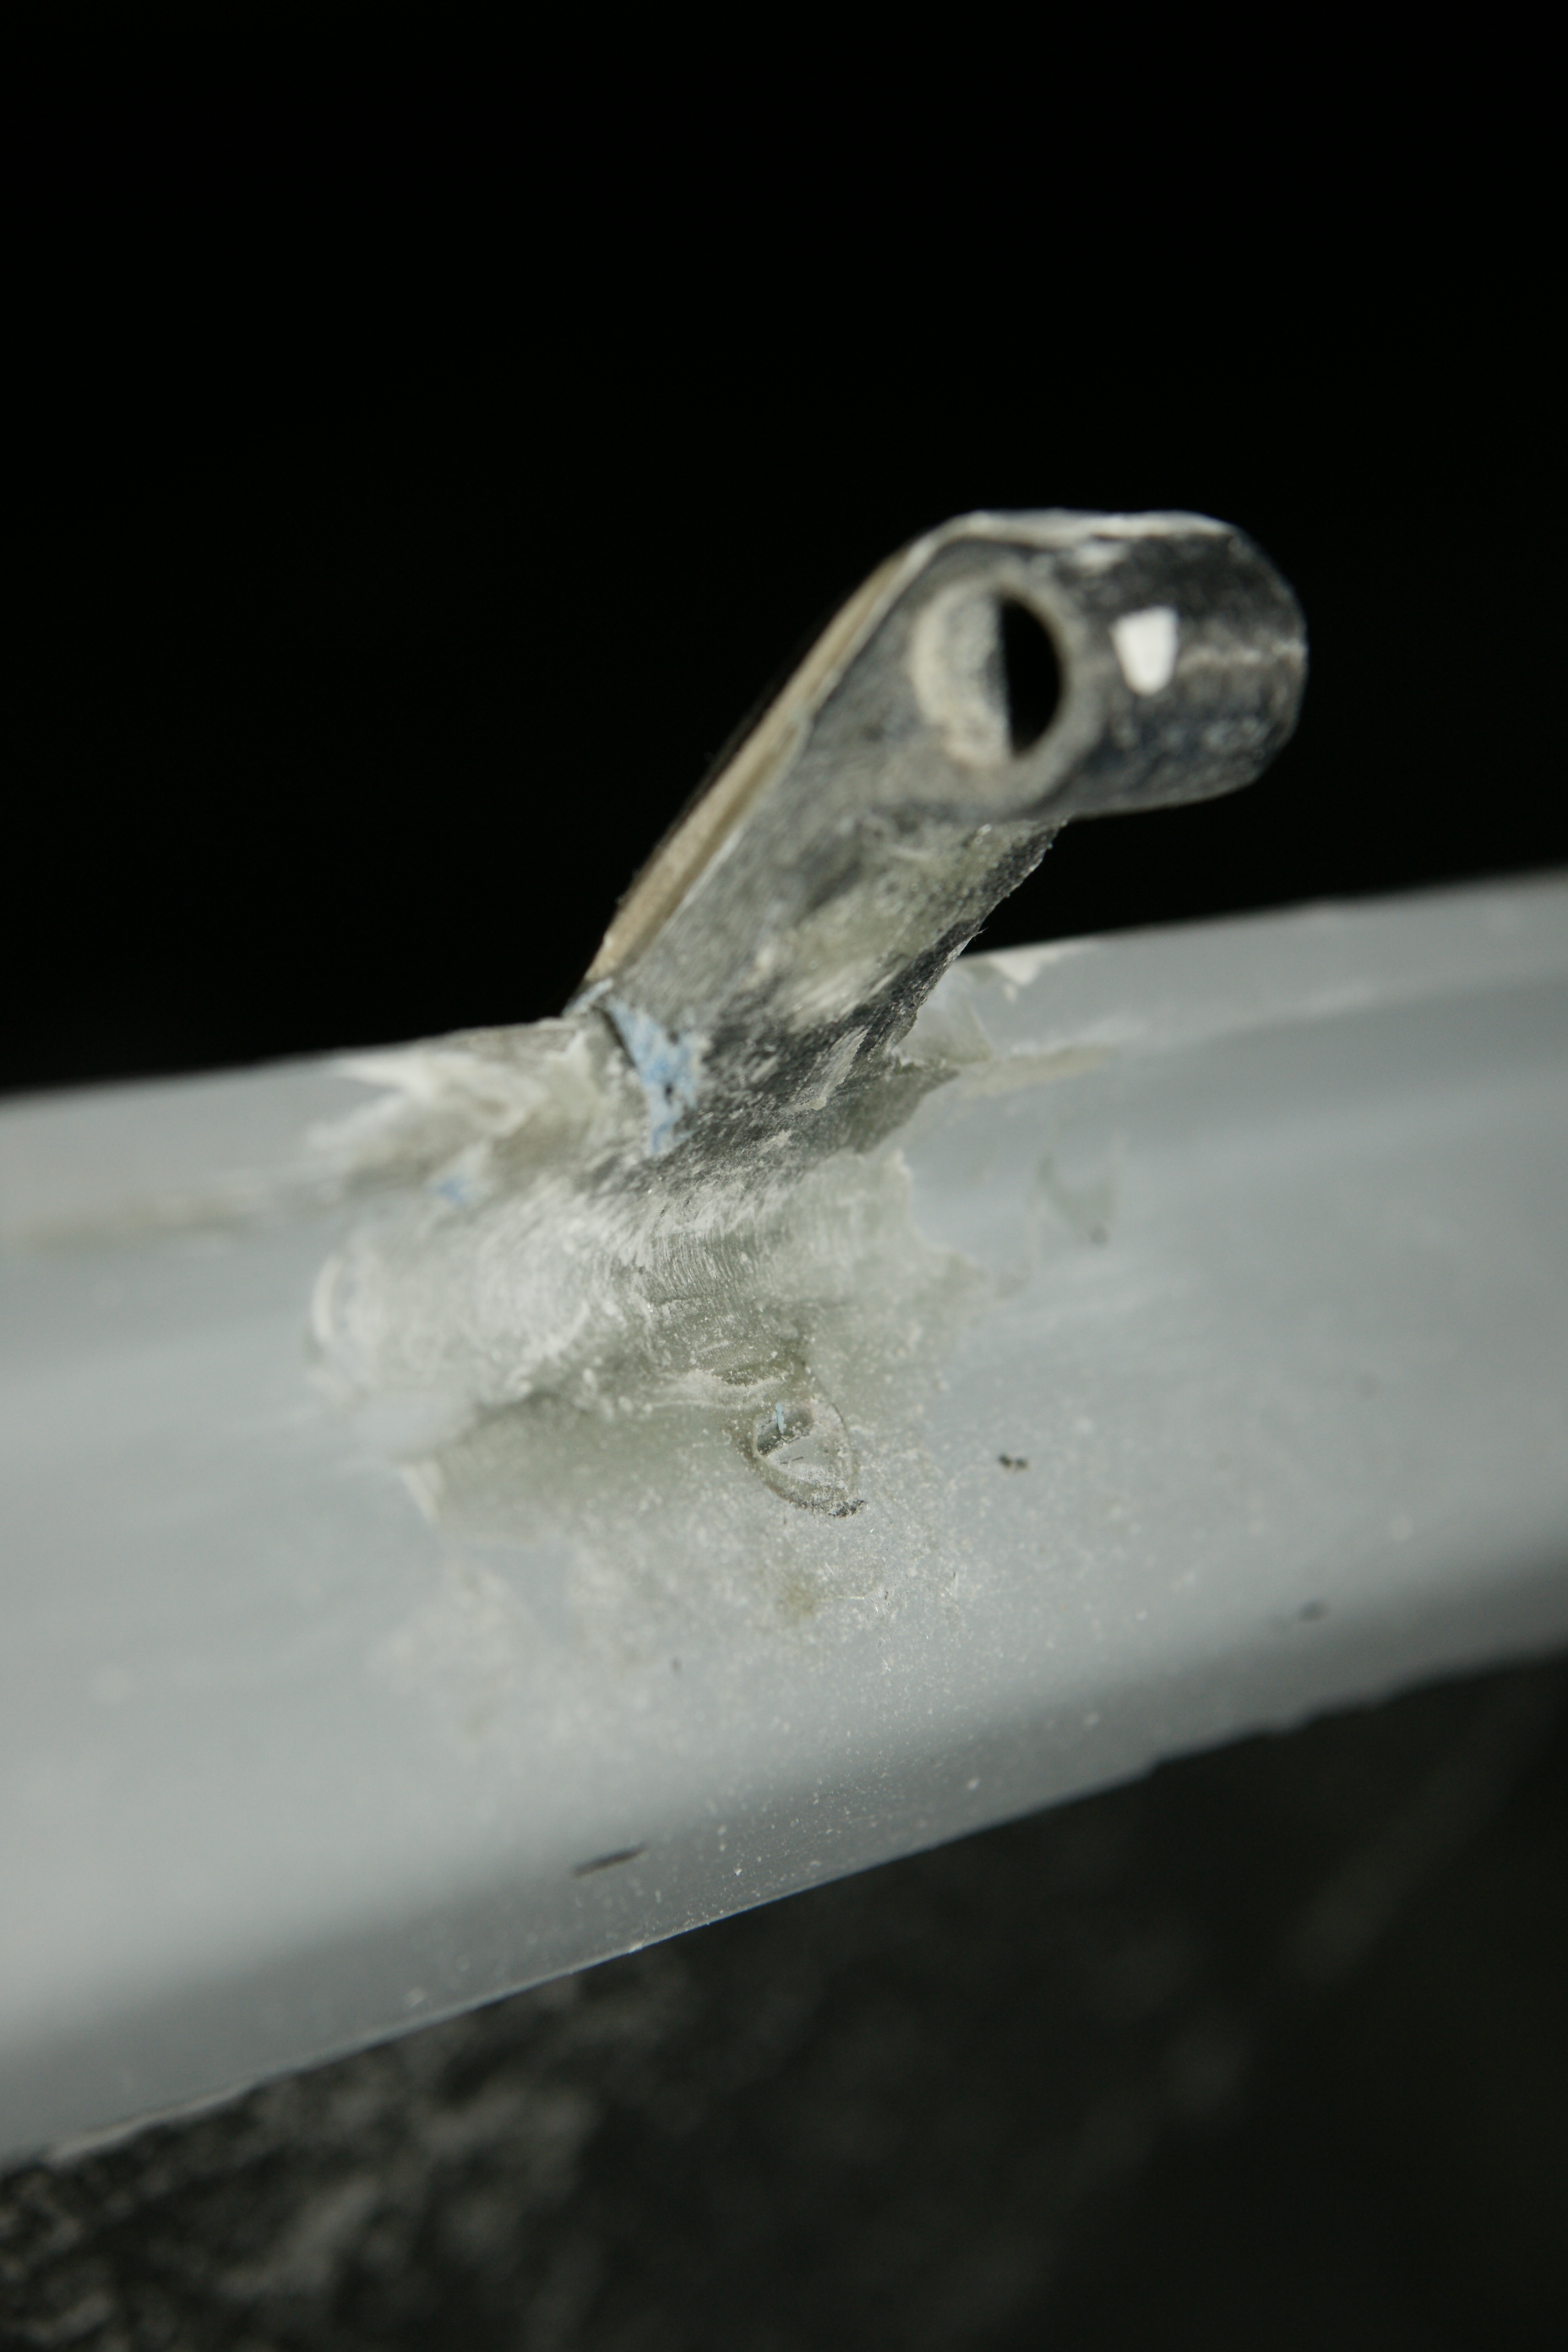
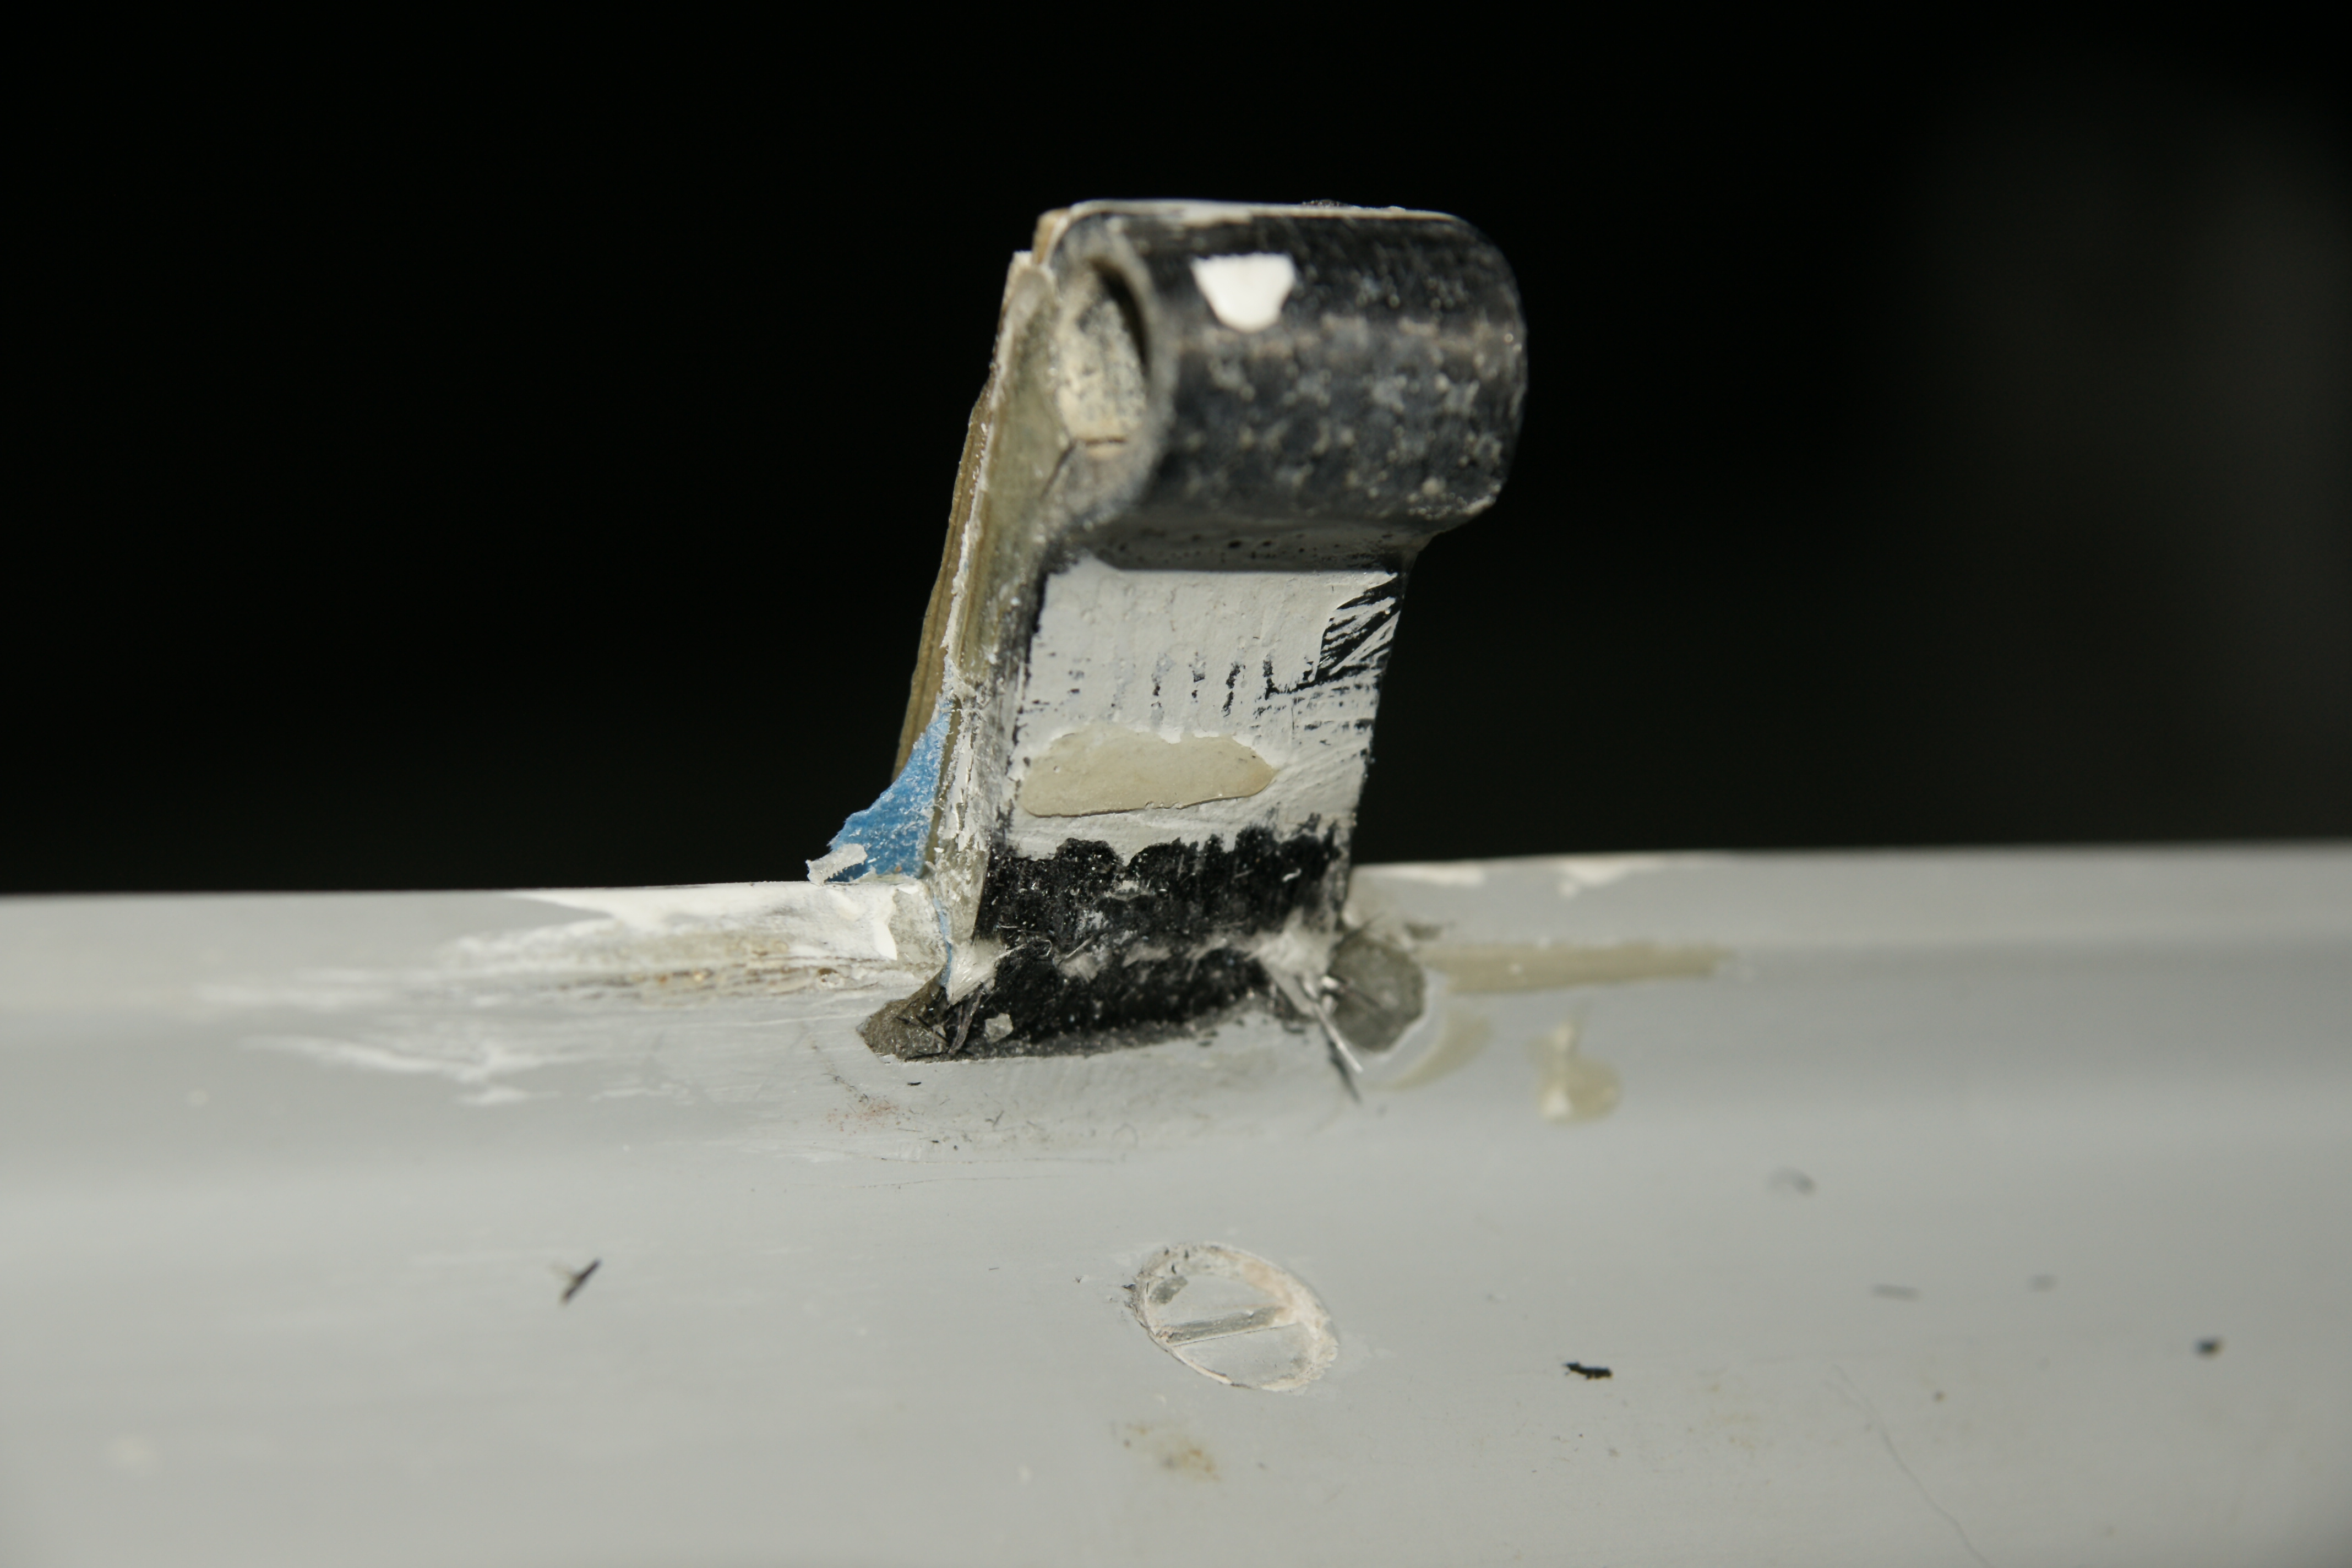 Here's the underside of the tang, and a problem is obvious. The splint is on the outside of the tang, so when the canopy is opened, a bending force occurs, tending to pop the splint off the surface of the gelcoat. So it seemed prudent to glass over the break on the inside.
But this presented a second challenge - there's not much clearance between the canopy and the cockpit rail.
These challenges seemed to require that:
 But - to lay a wet layup inside the tang and let it cure with the canopy in place - seems like a good way to glue the hinge in place. So --
 Then I abraded the inside of the tang and the underside of the canopy rail with 100-grit sandpaper to remove the paint and debris. During this, some loose or broken gelcoat or resin dropped away, making a gap that's not well seen here at the break. We hoped that the resin would fill this by itself, without adding pieces of glass in the void. This seems to have worked.
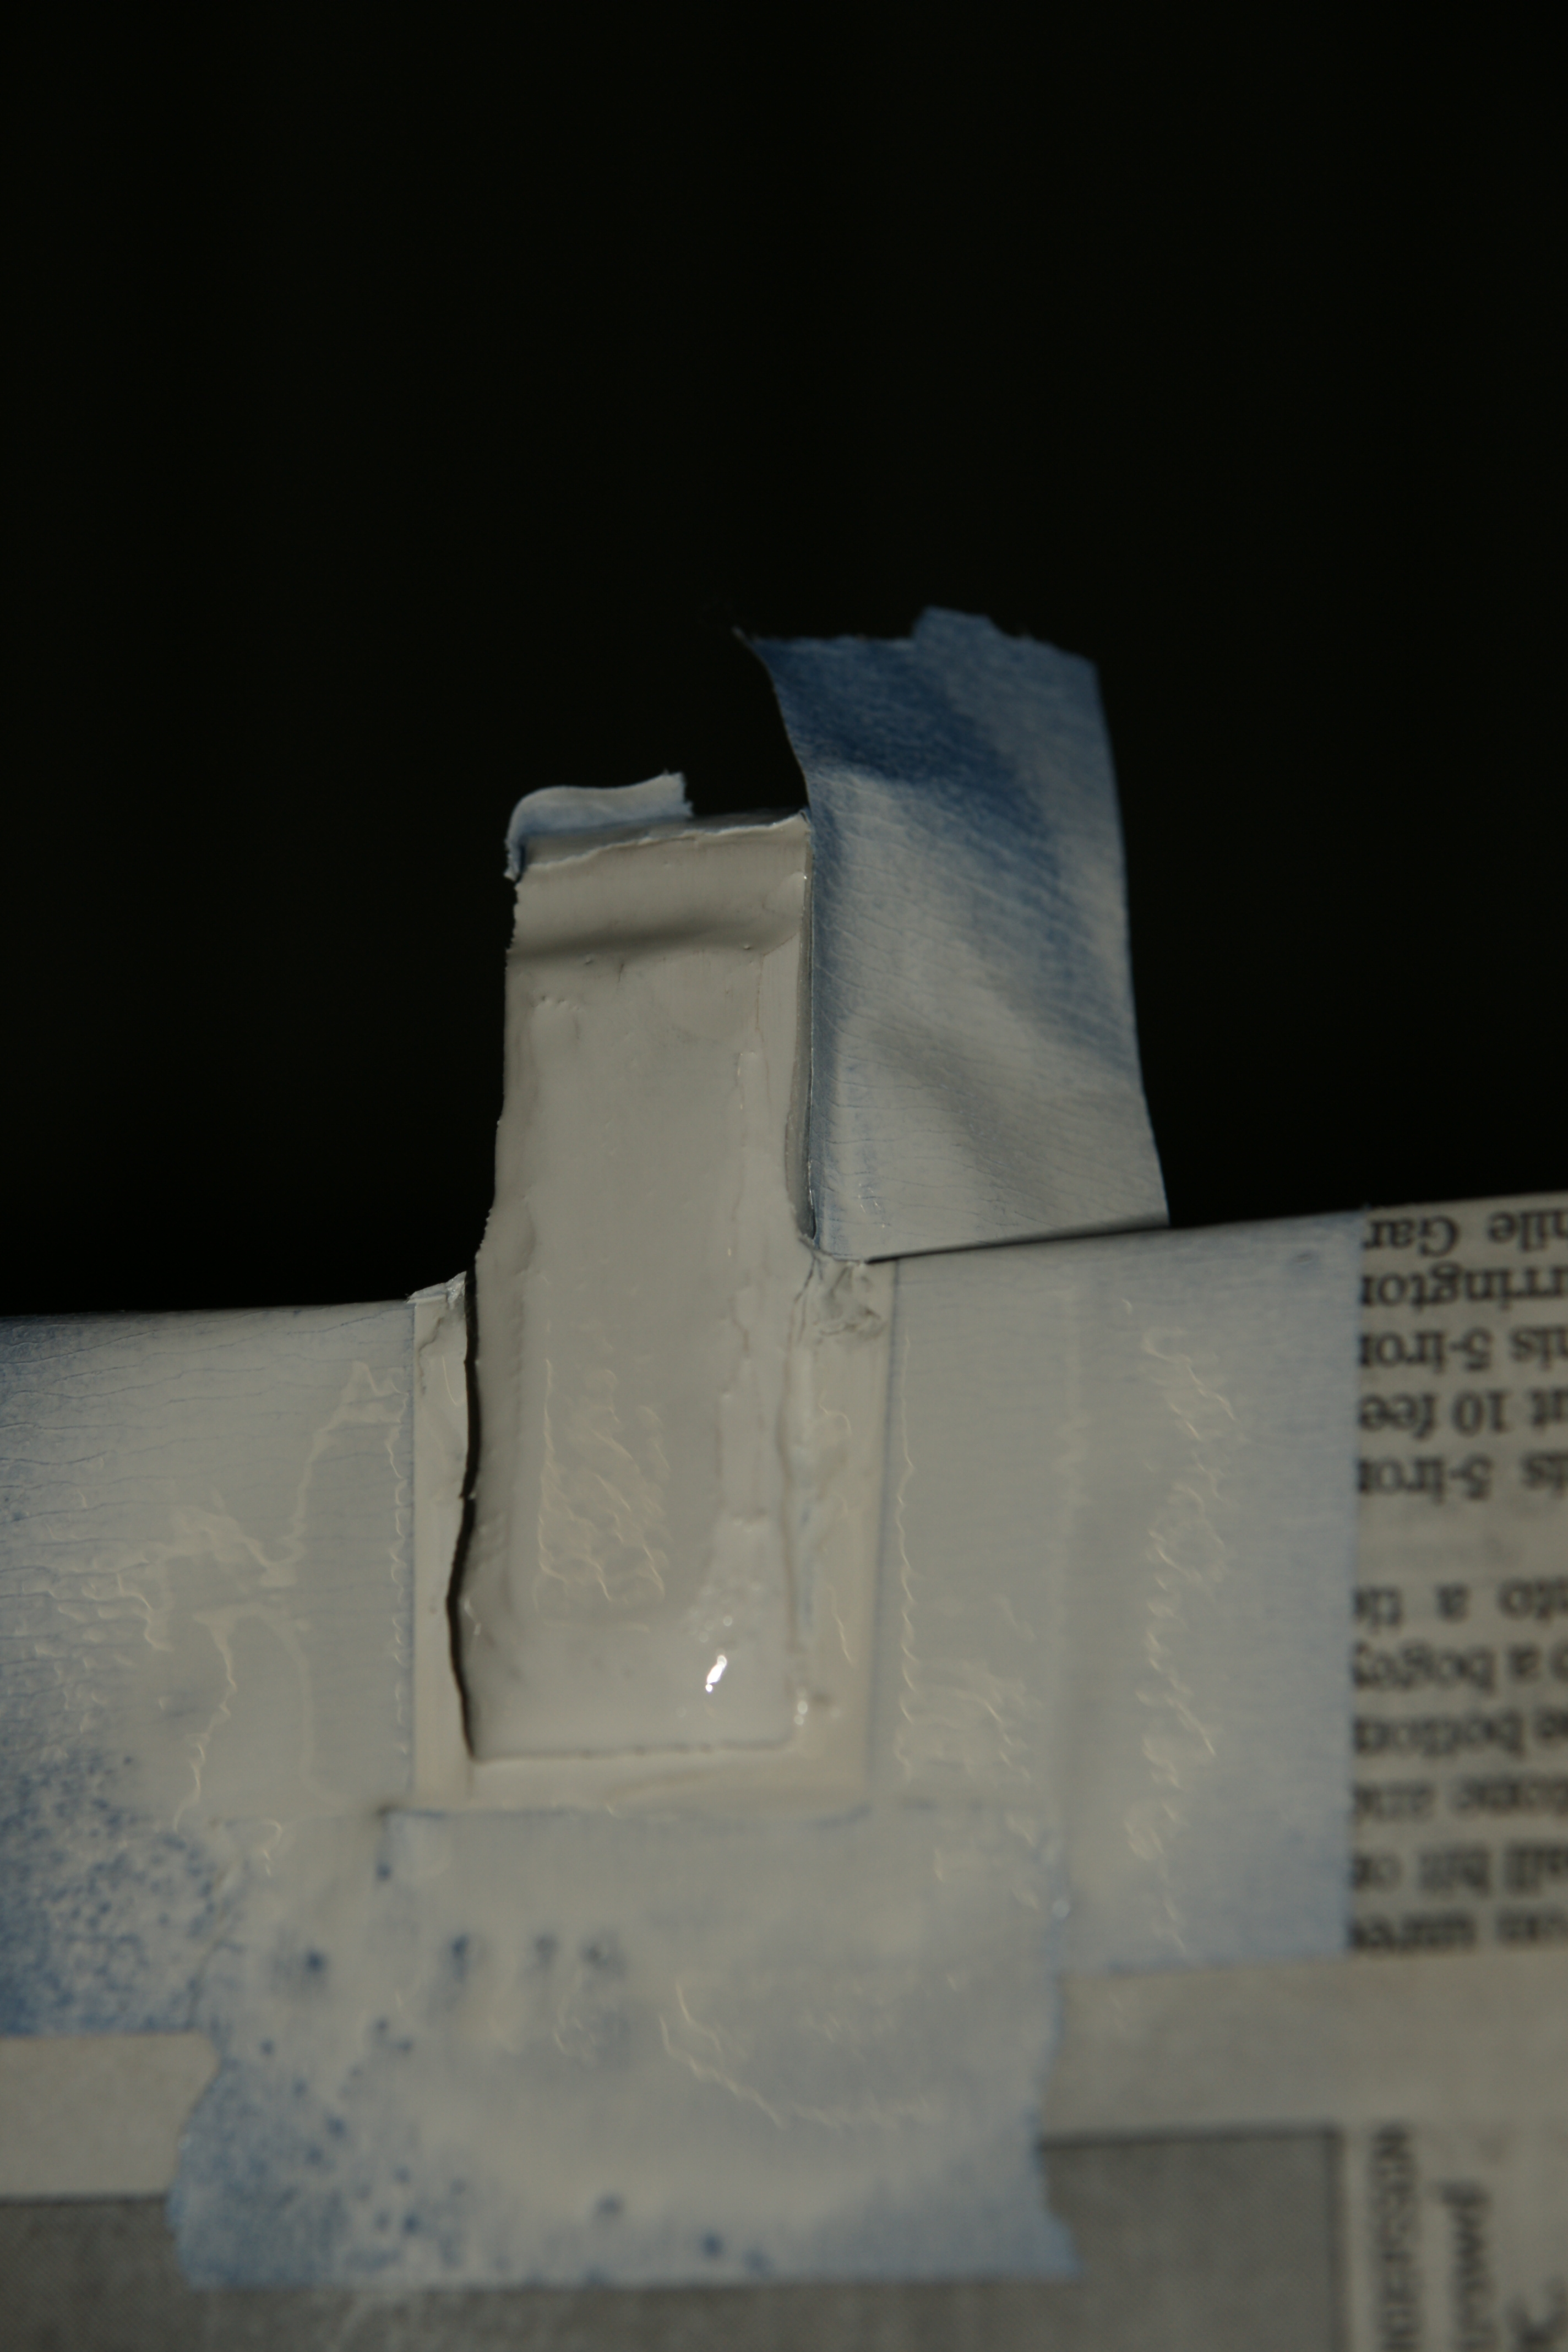
 A spare tongue blade was used as a template to cut 2 small pieces of glass fabric from the 2 ft x 2 ft cloth that came in the kit. Several tries got it right.
 Then the tang and rail were wetted with resin, the glass-cloth pieces were dipped in resin, and were lifted into place with a tweezer, and the air was massaged out gently with a finger in a non-latex glove.
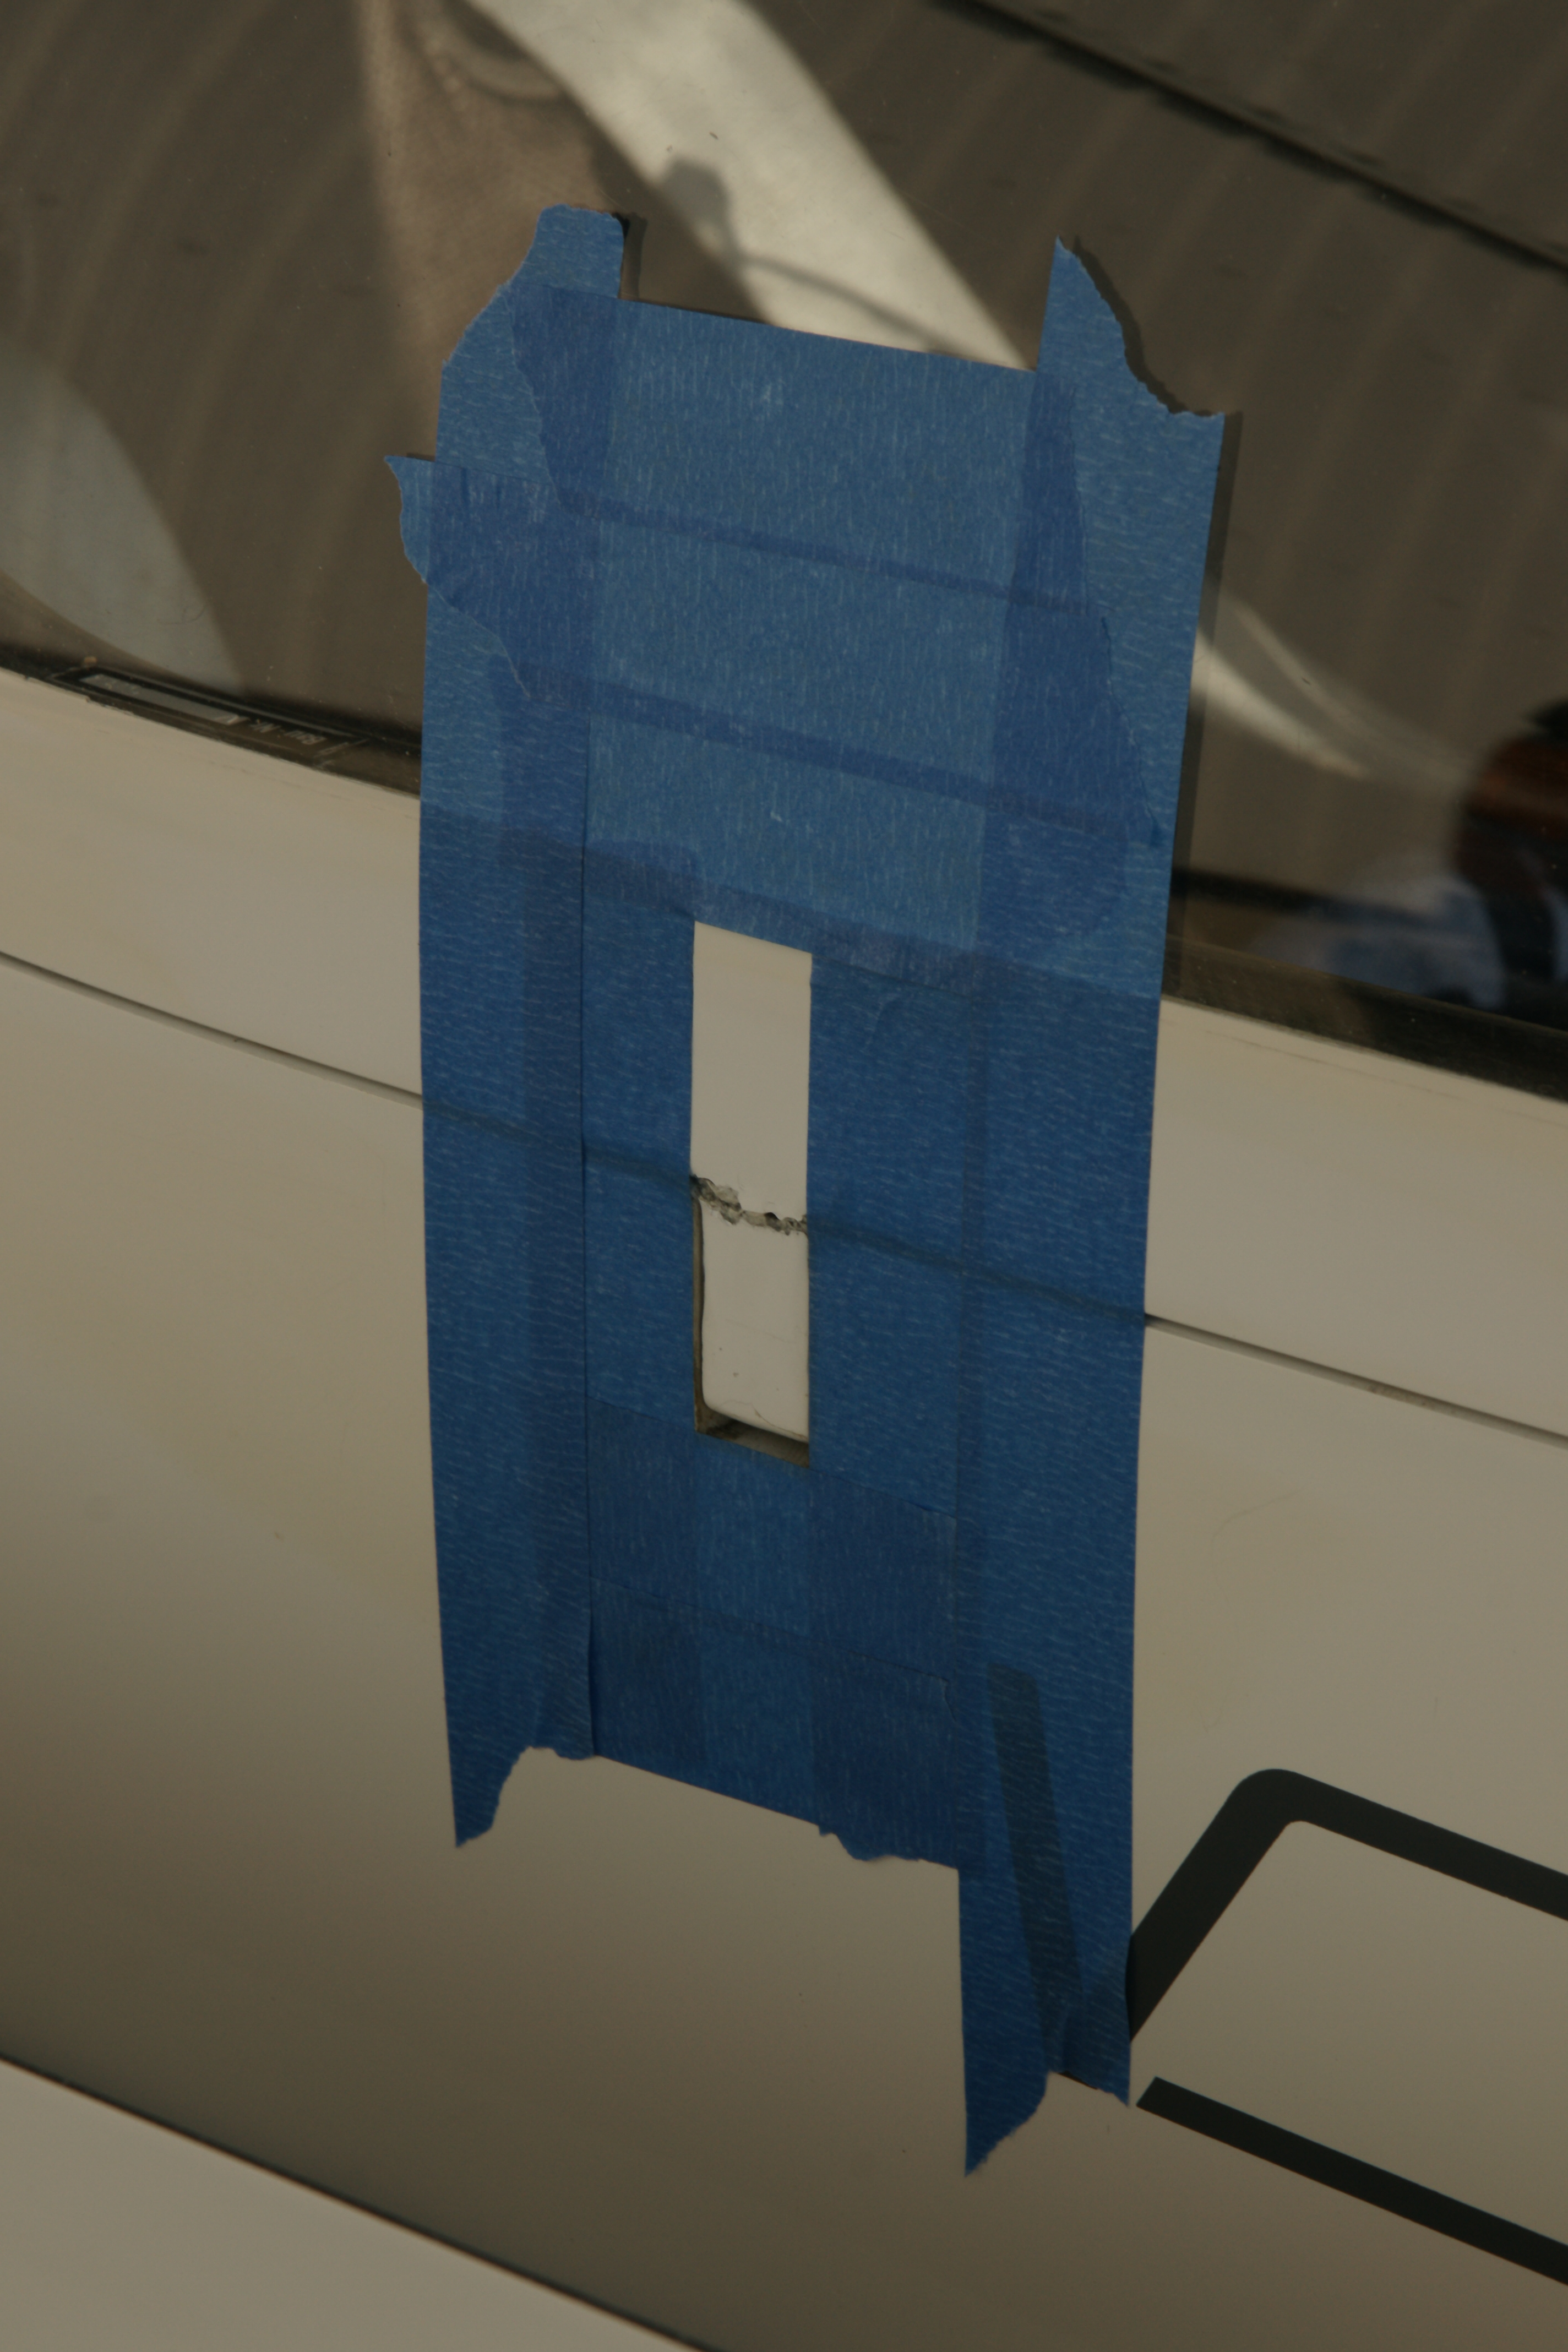
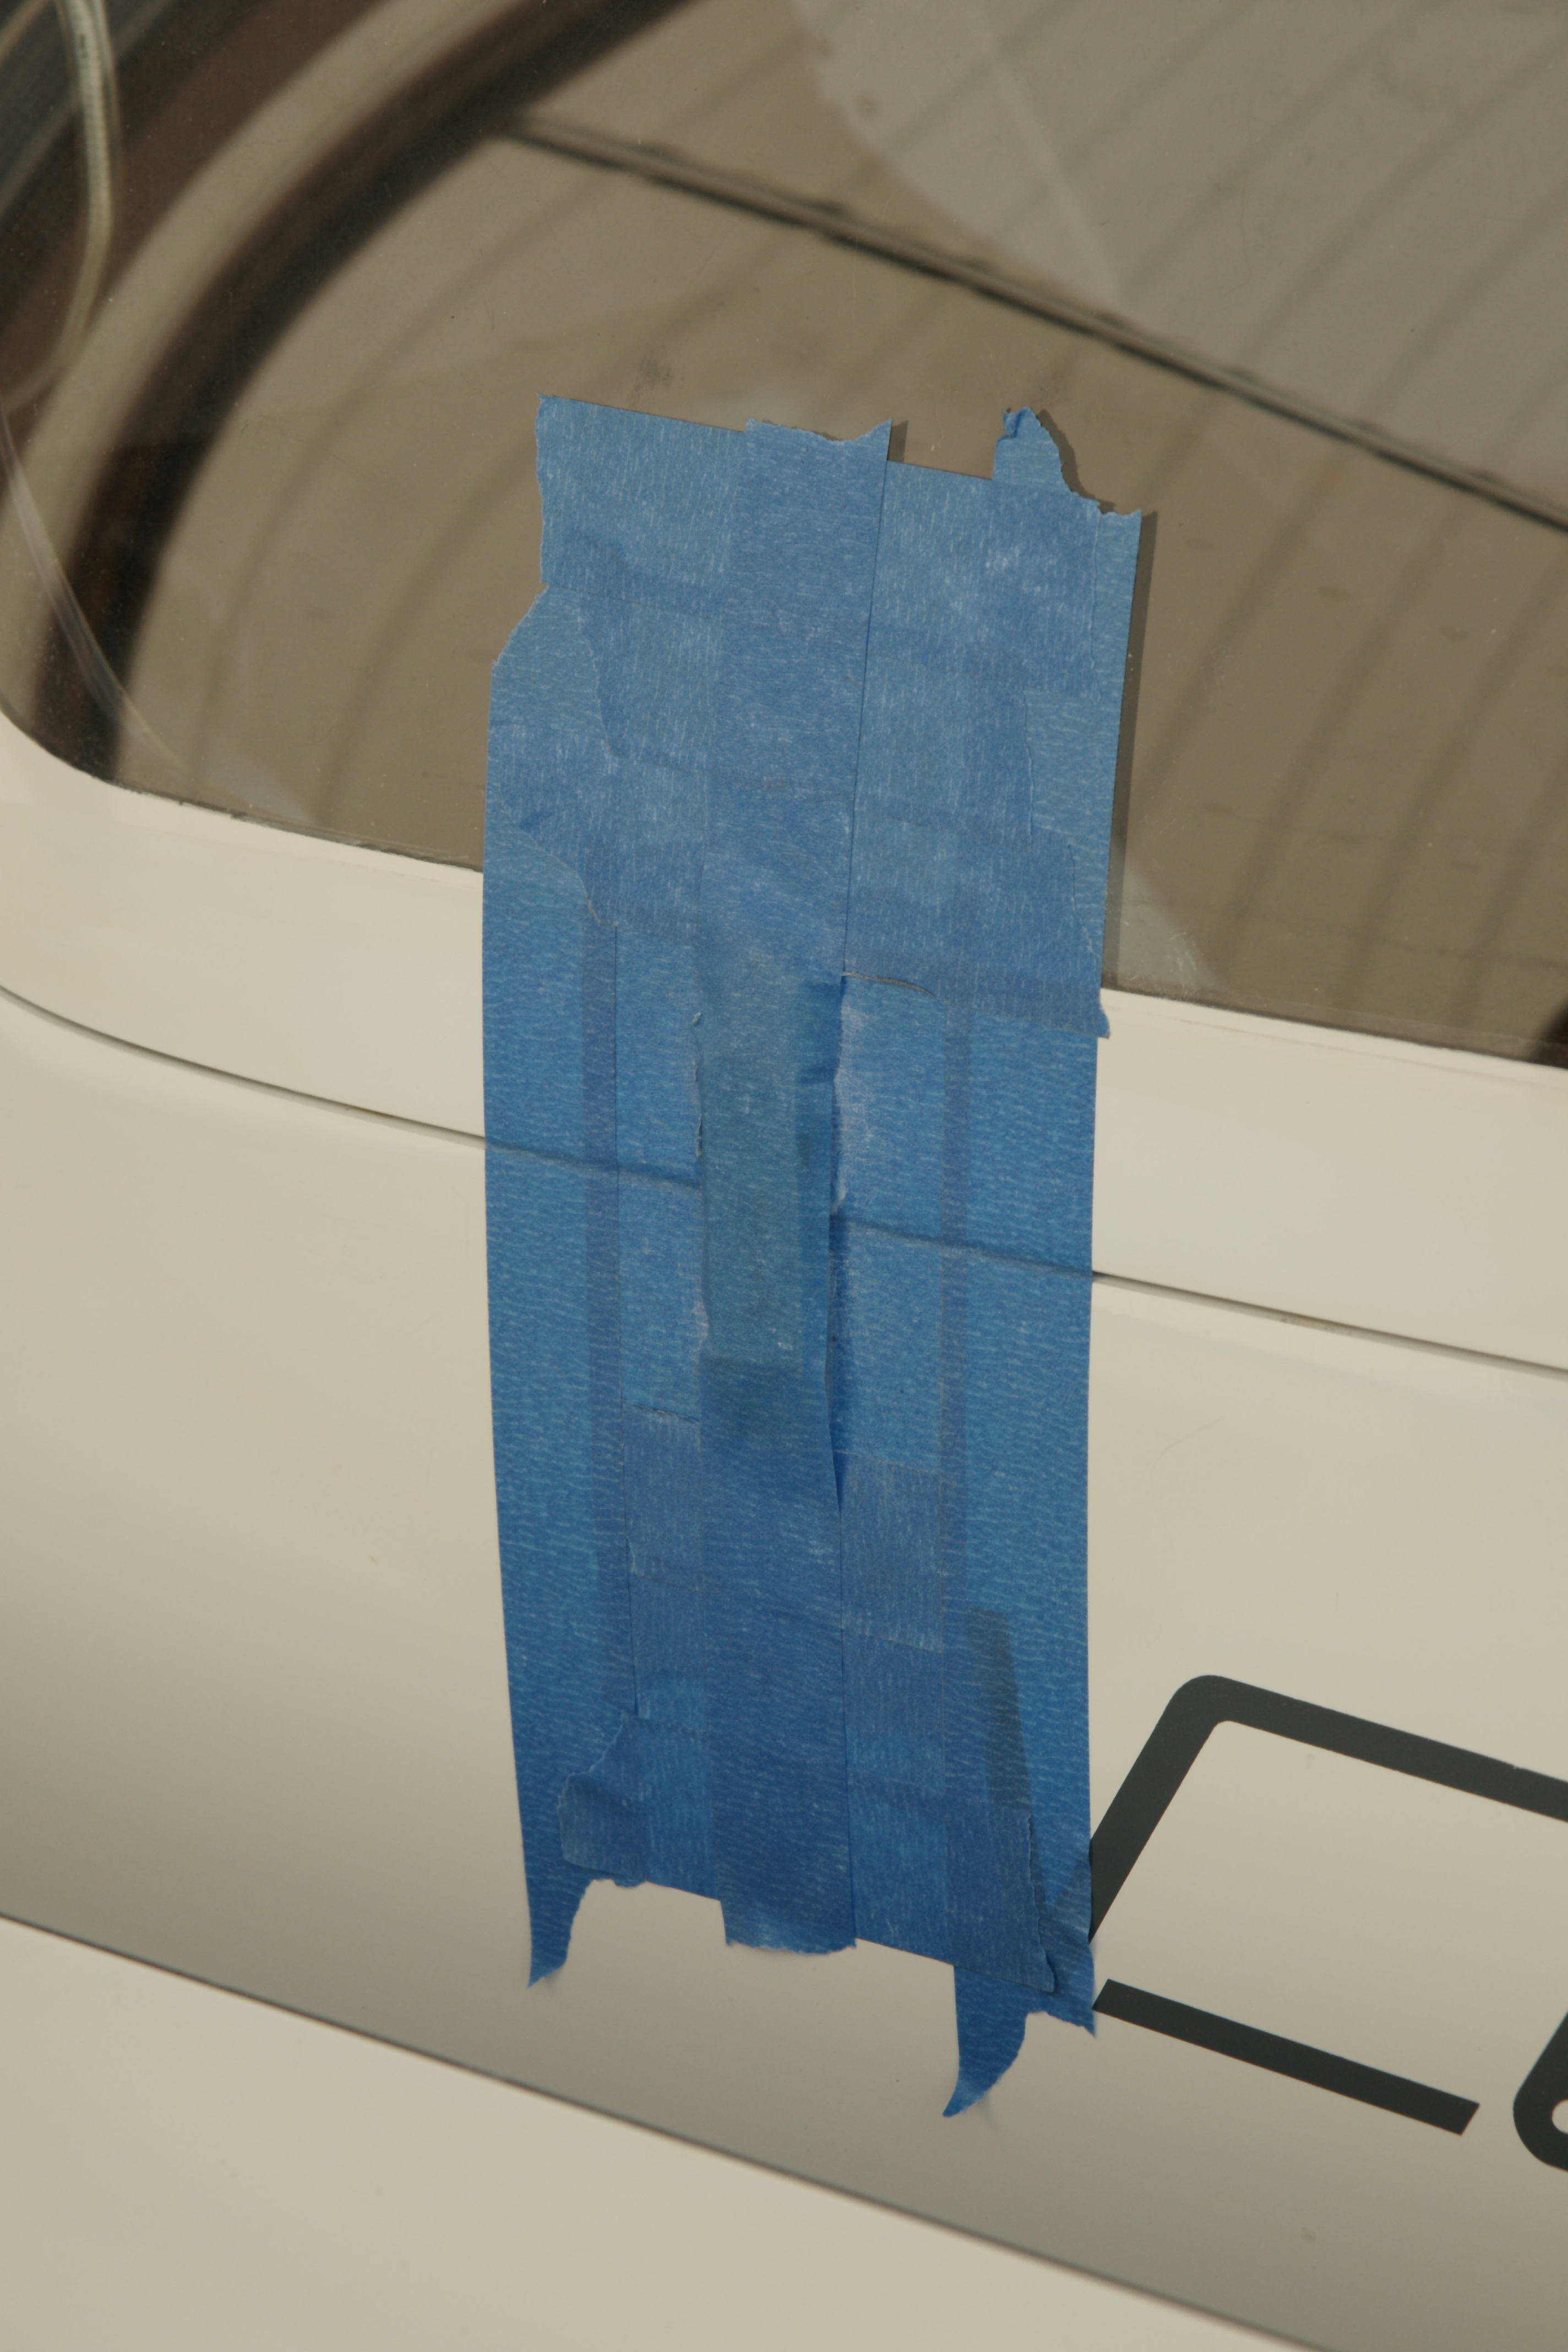
Masking tape was put over this to keep the pieces in place while the canopy was inverted and installed, for the cure.
 And here's the crude splint, canopy in place, while the glass patch was curing.
 The next morning, the canopy was removed without difficulty, and the masking tape removed. (Well, nearly all of it - resin does enhance the adhesion of the tape.) You can see that the cockpit coaming did make an impression on the resin, confirming the wisdom of having cured it in place.
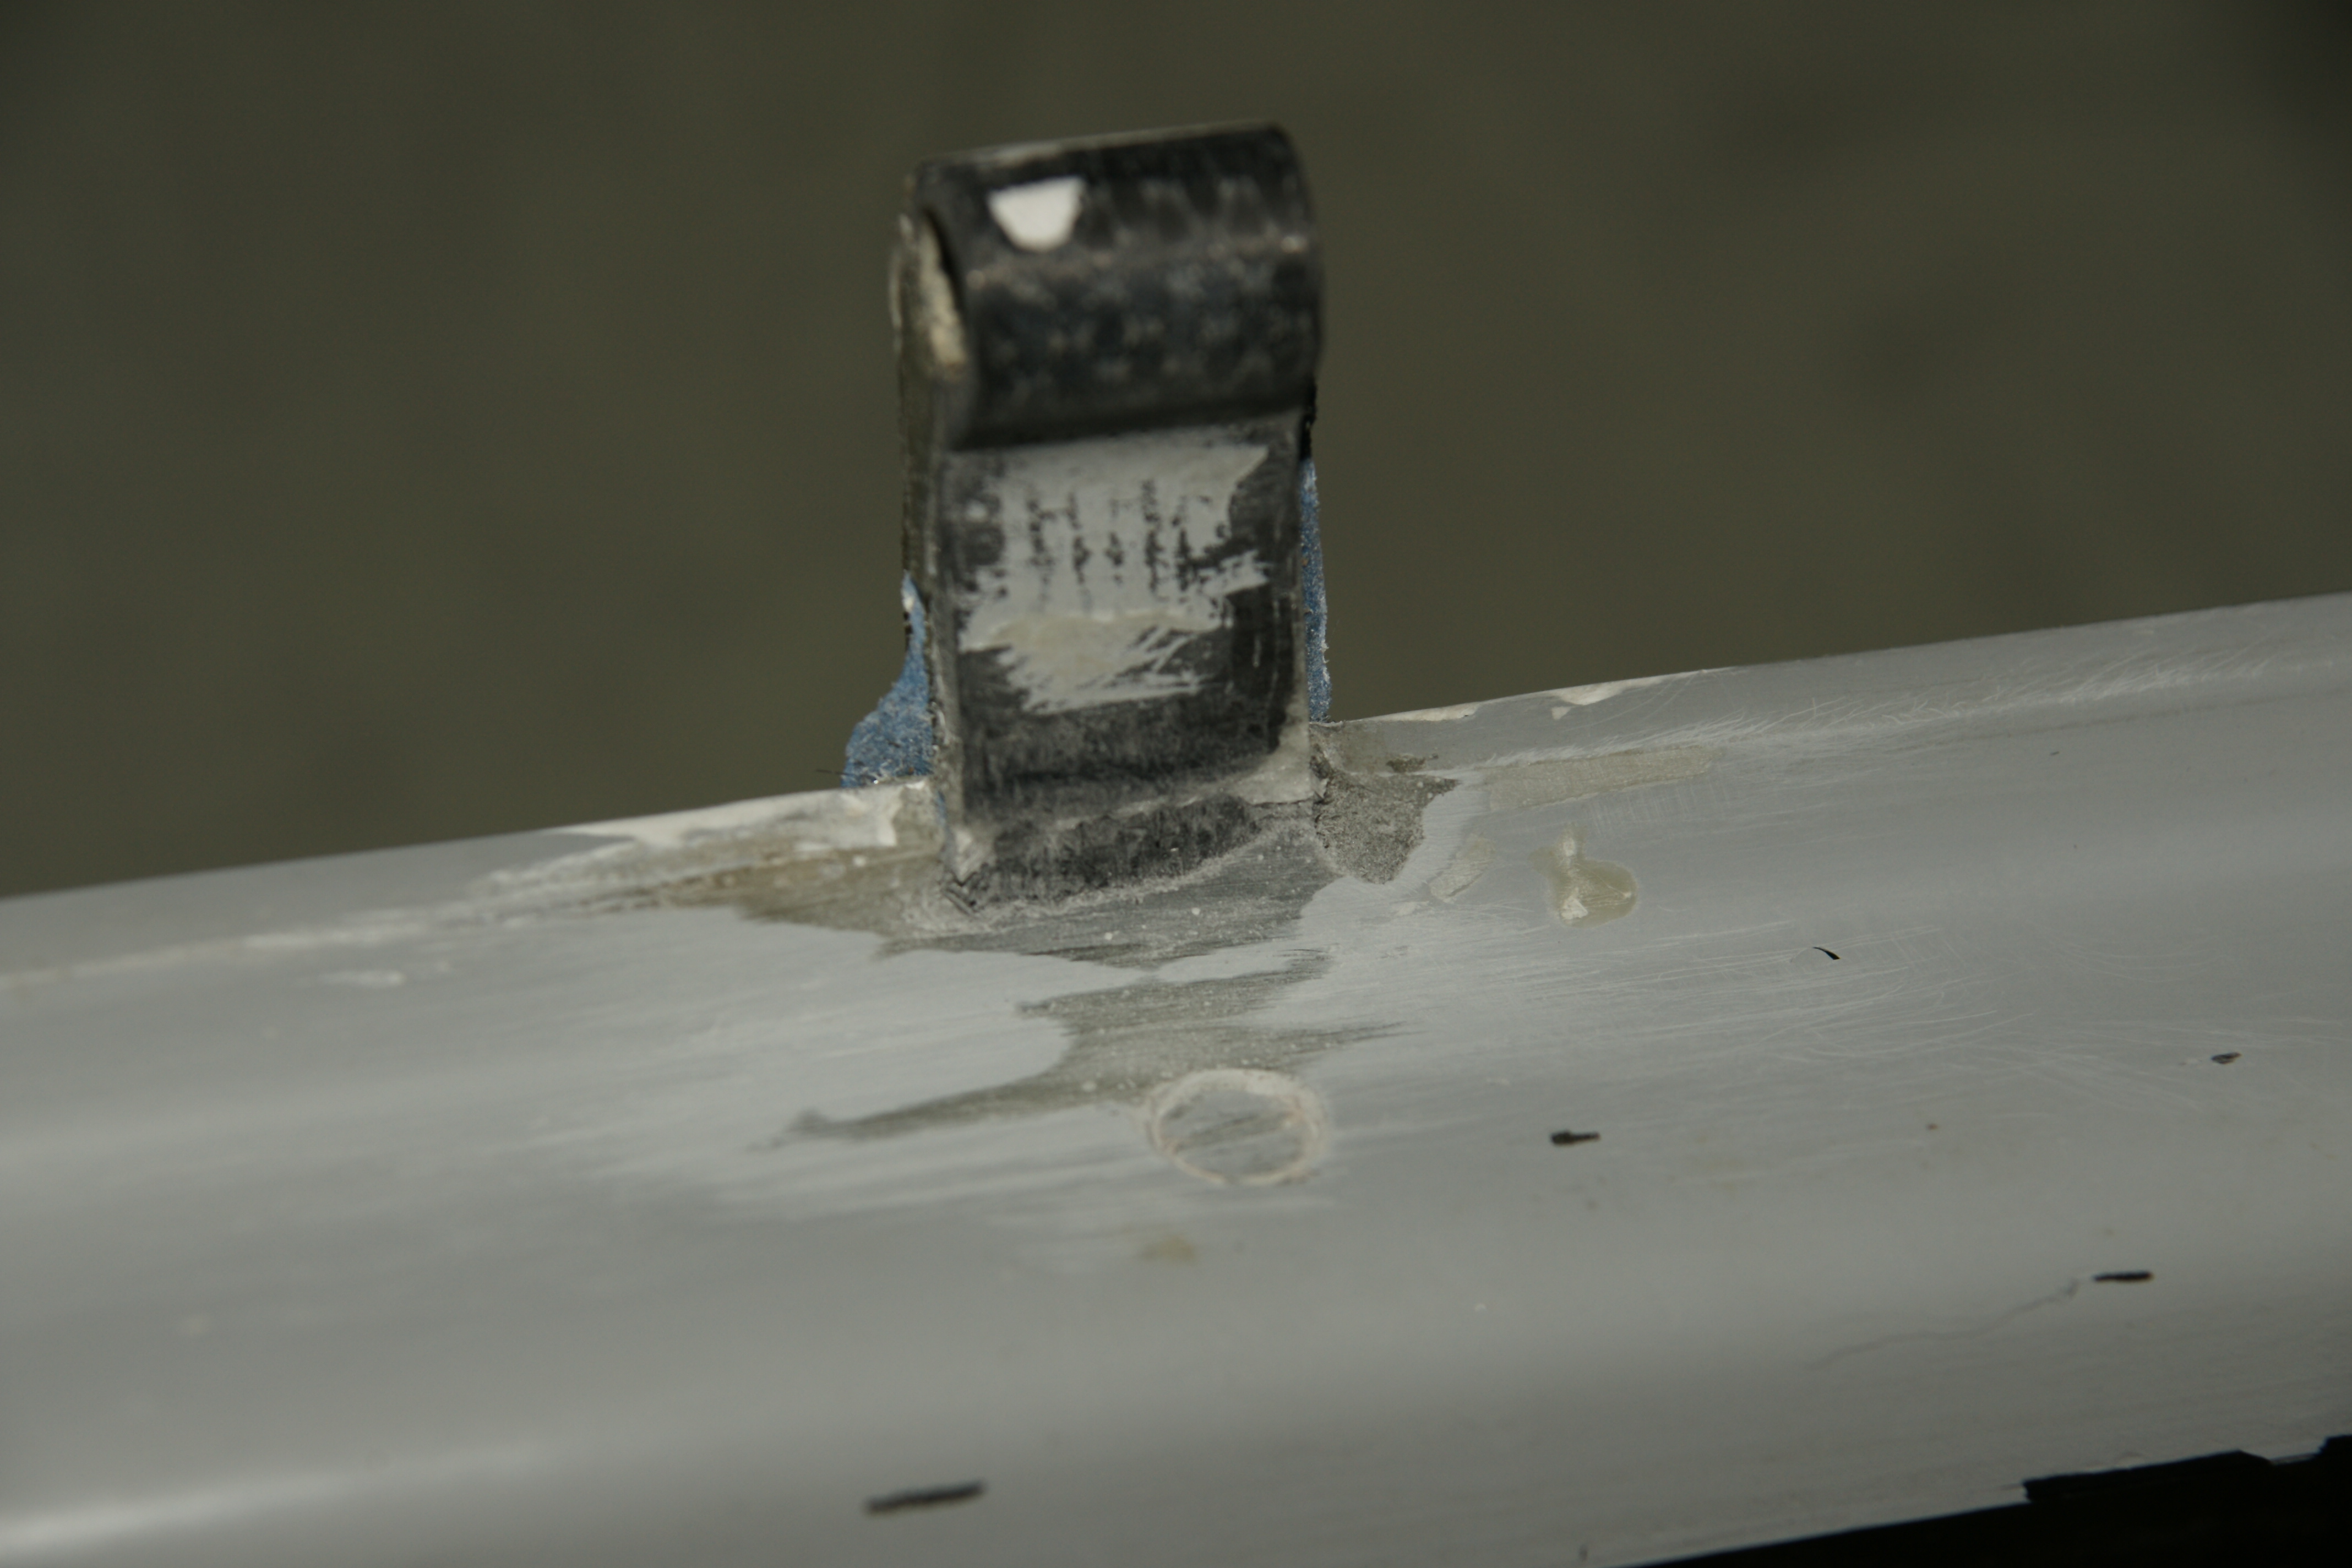
 Next we got out the Dremel tool and a small tapered abrasive bit, and honed down the extra resin.
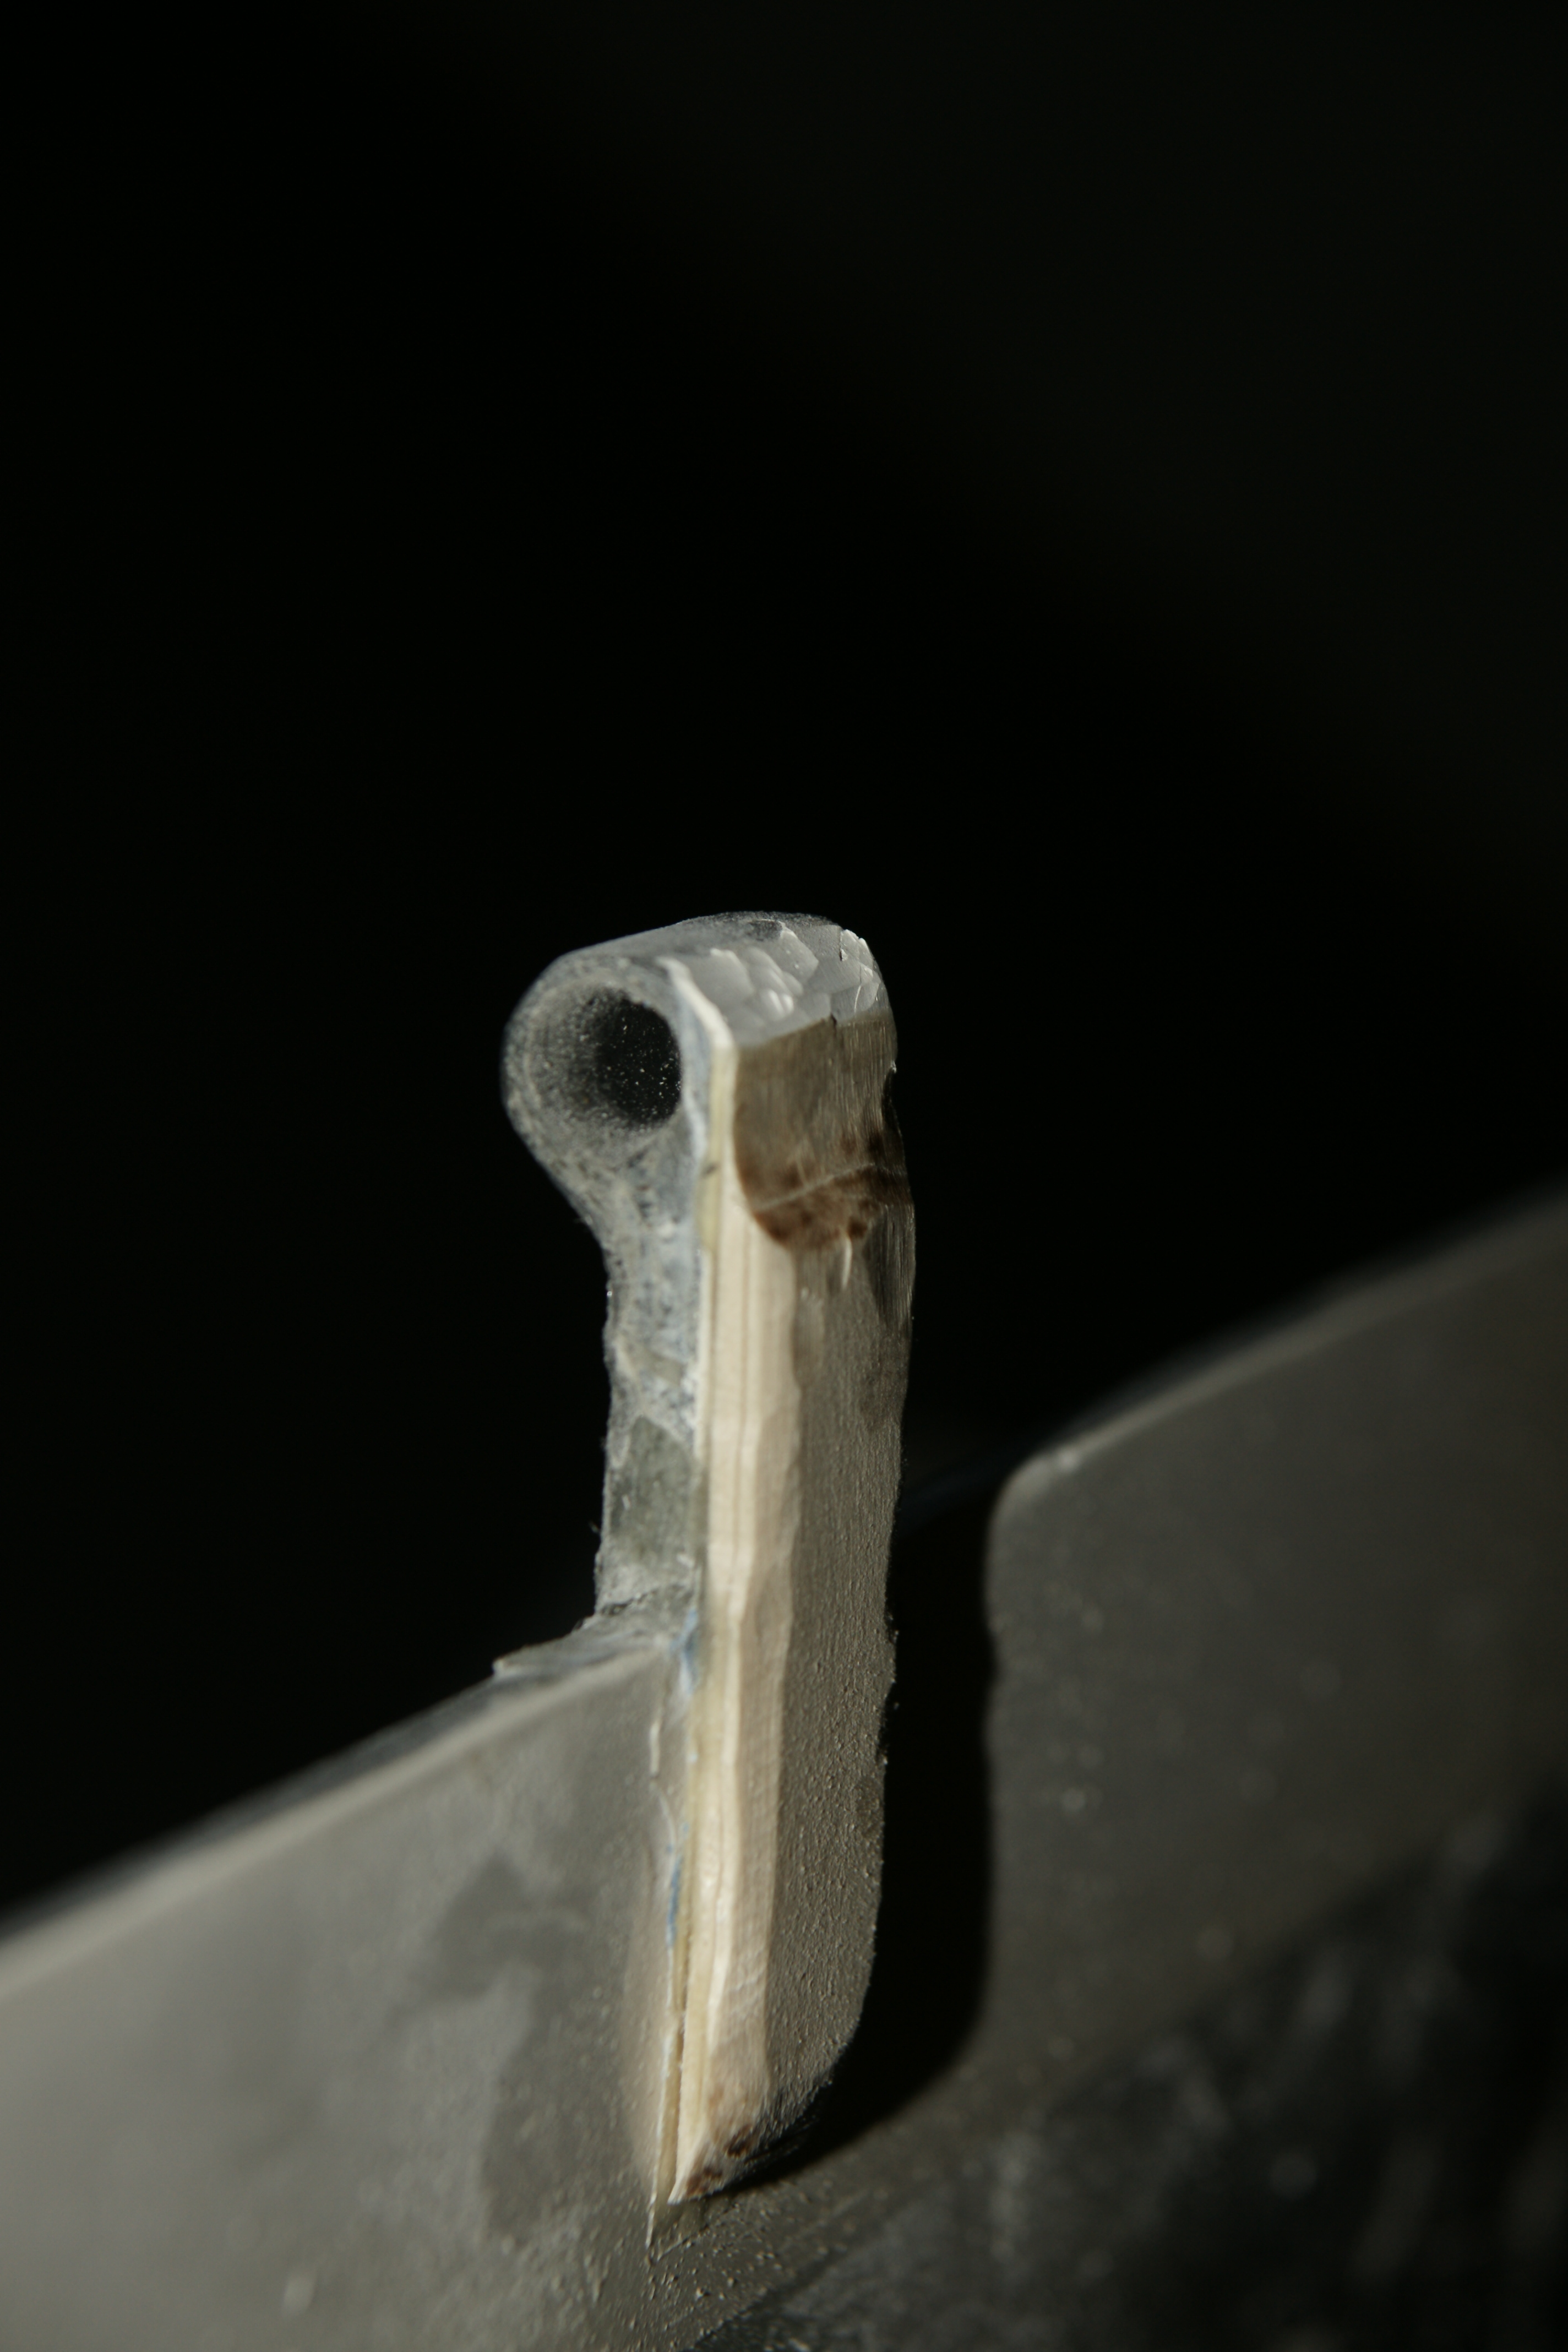
 Then we used the Dremel tool with a small cutting bit, and removed the half-millimeter excess on the sides of the splint, and tapered the ends of the splint, especially over the hinge. (But not quite enough - see below.)
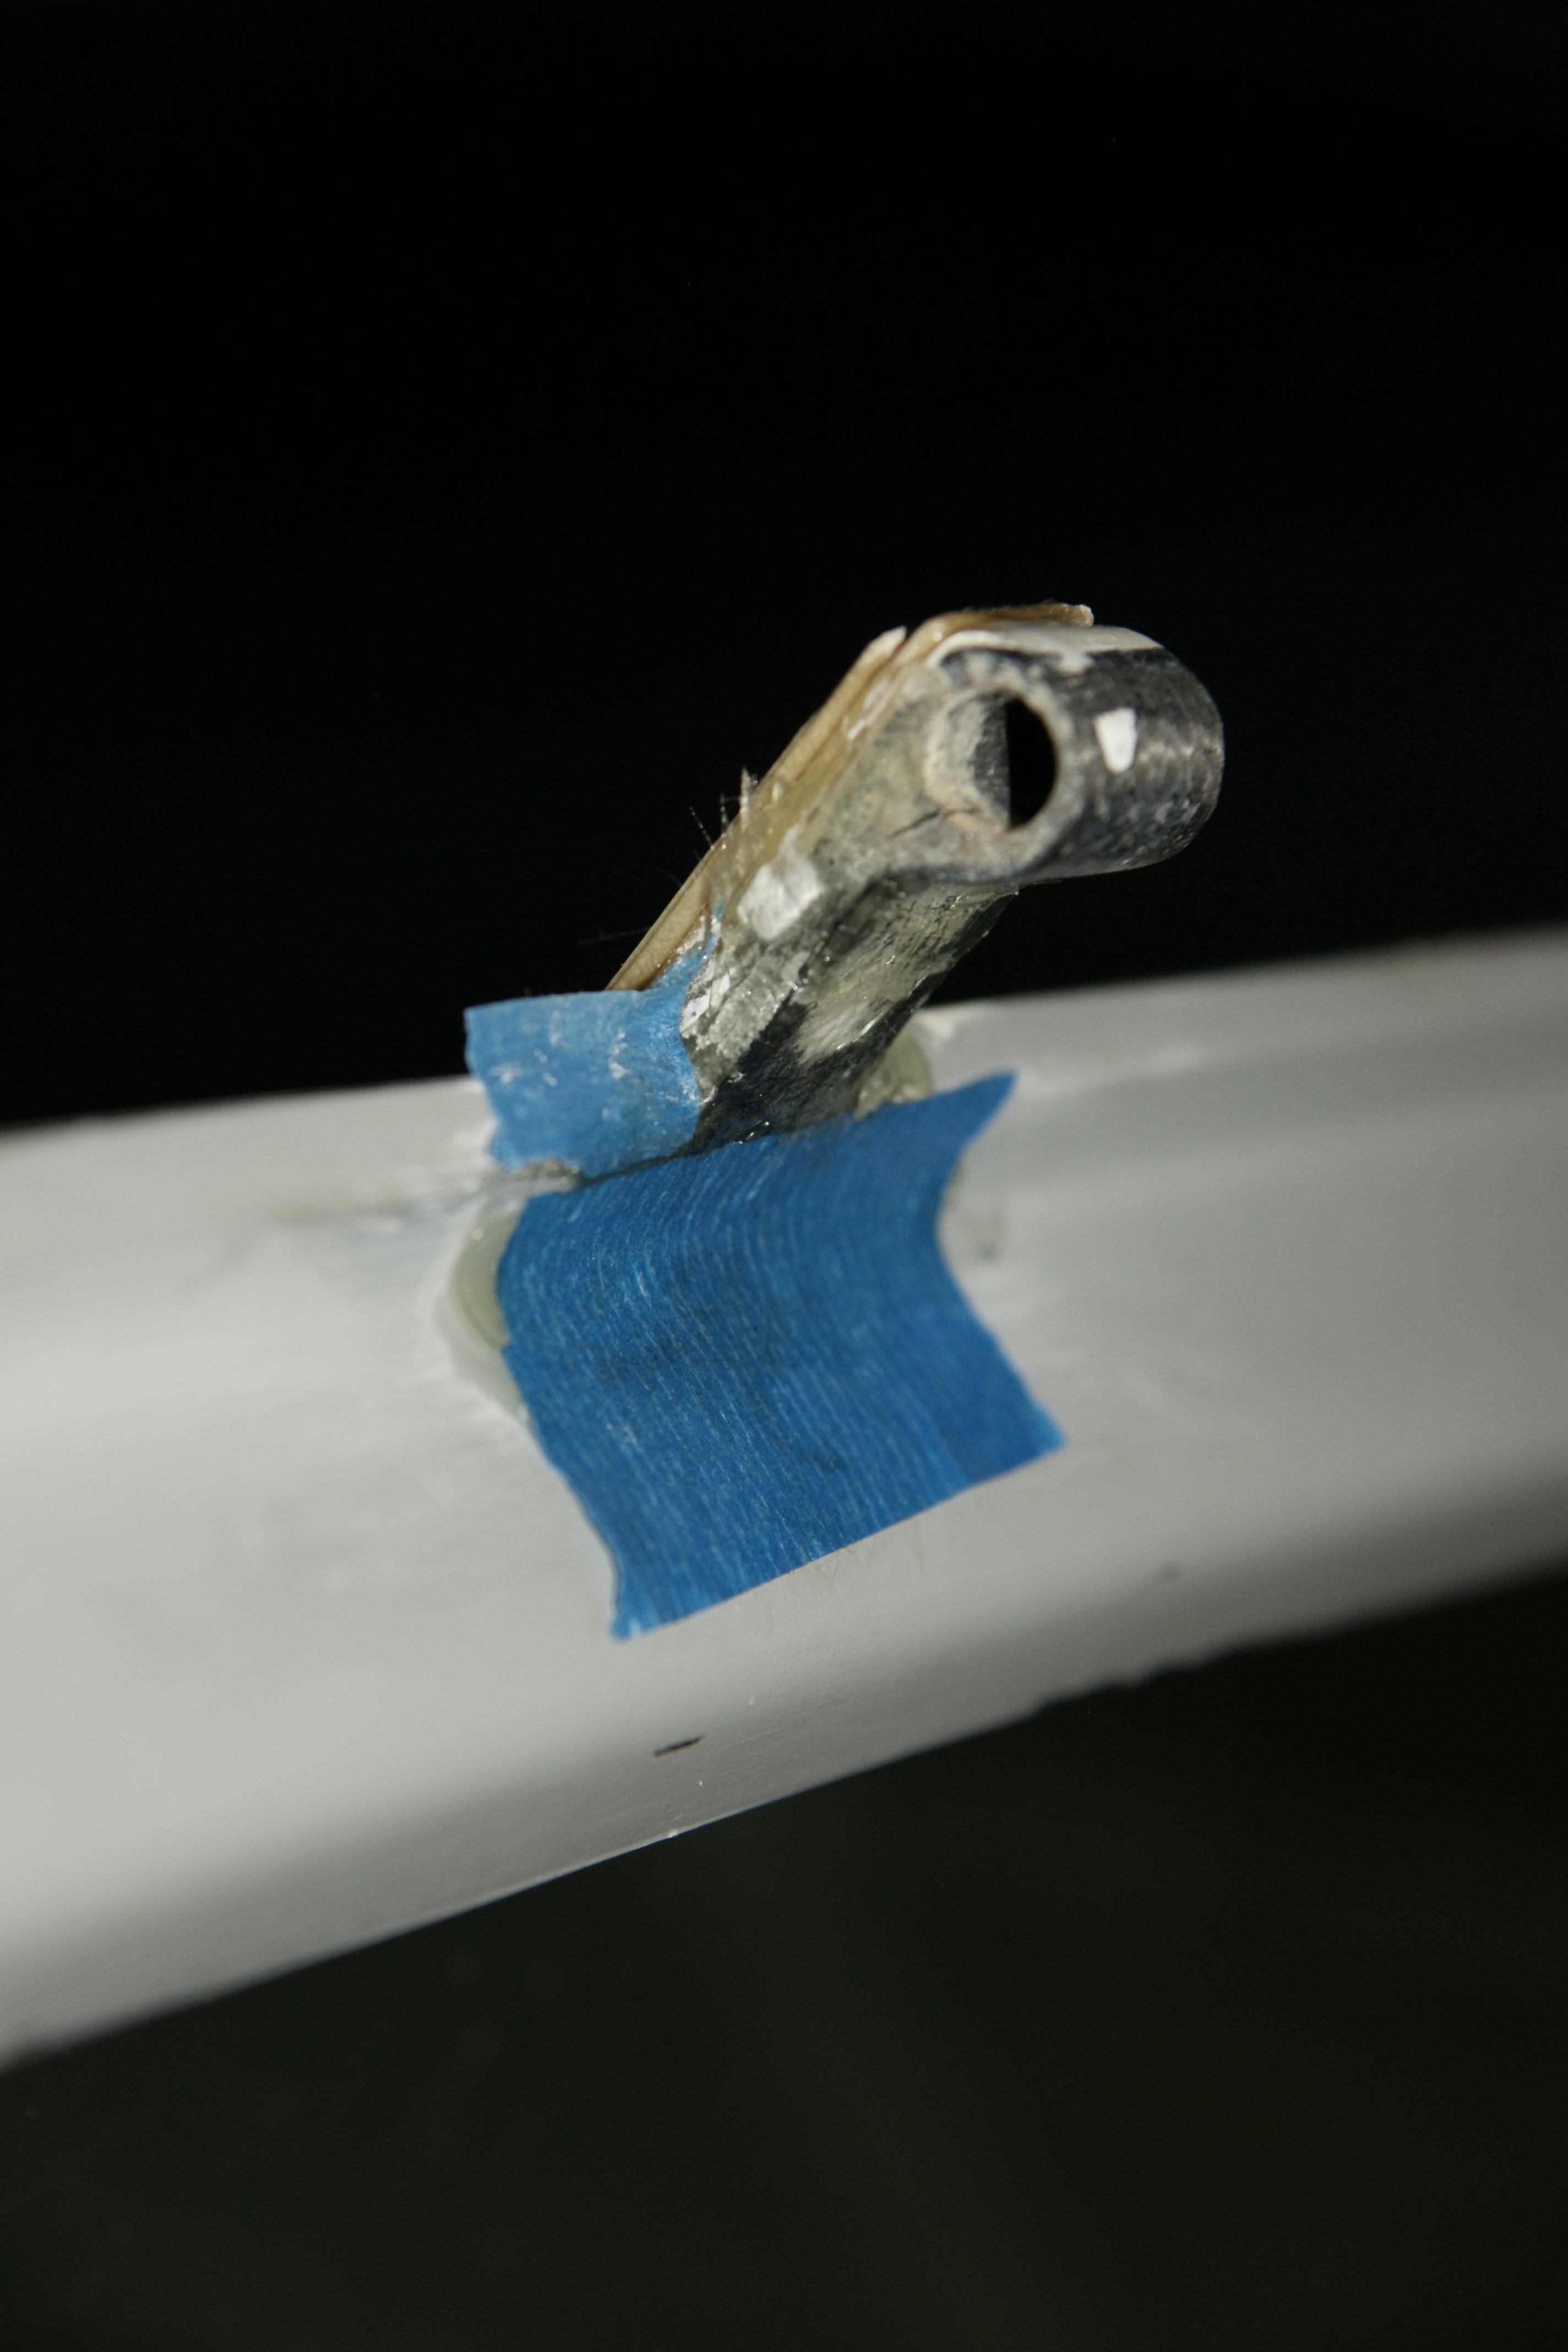
 Next, we put the canopy back on and fastened the safety cable. When we checked the clearance with the canopy full open, we saw the splint needed to be thinned at the hinge.
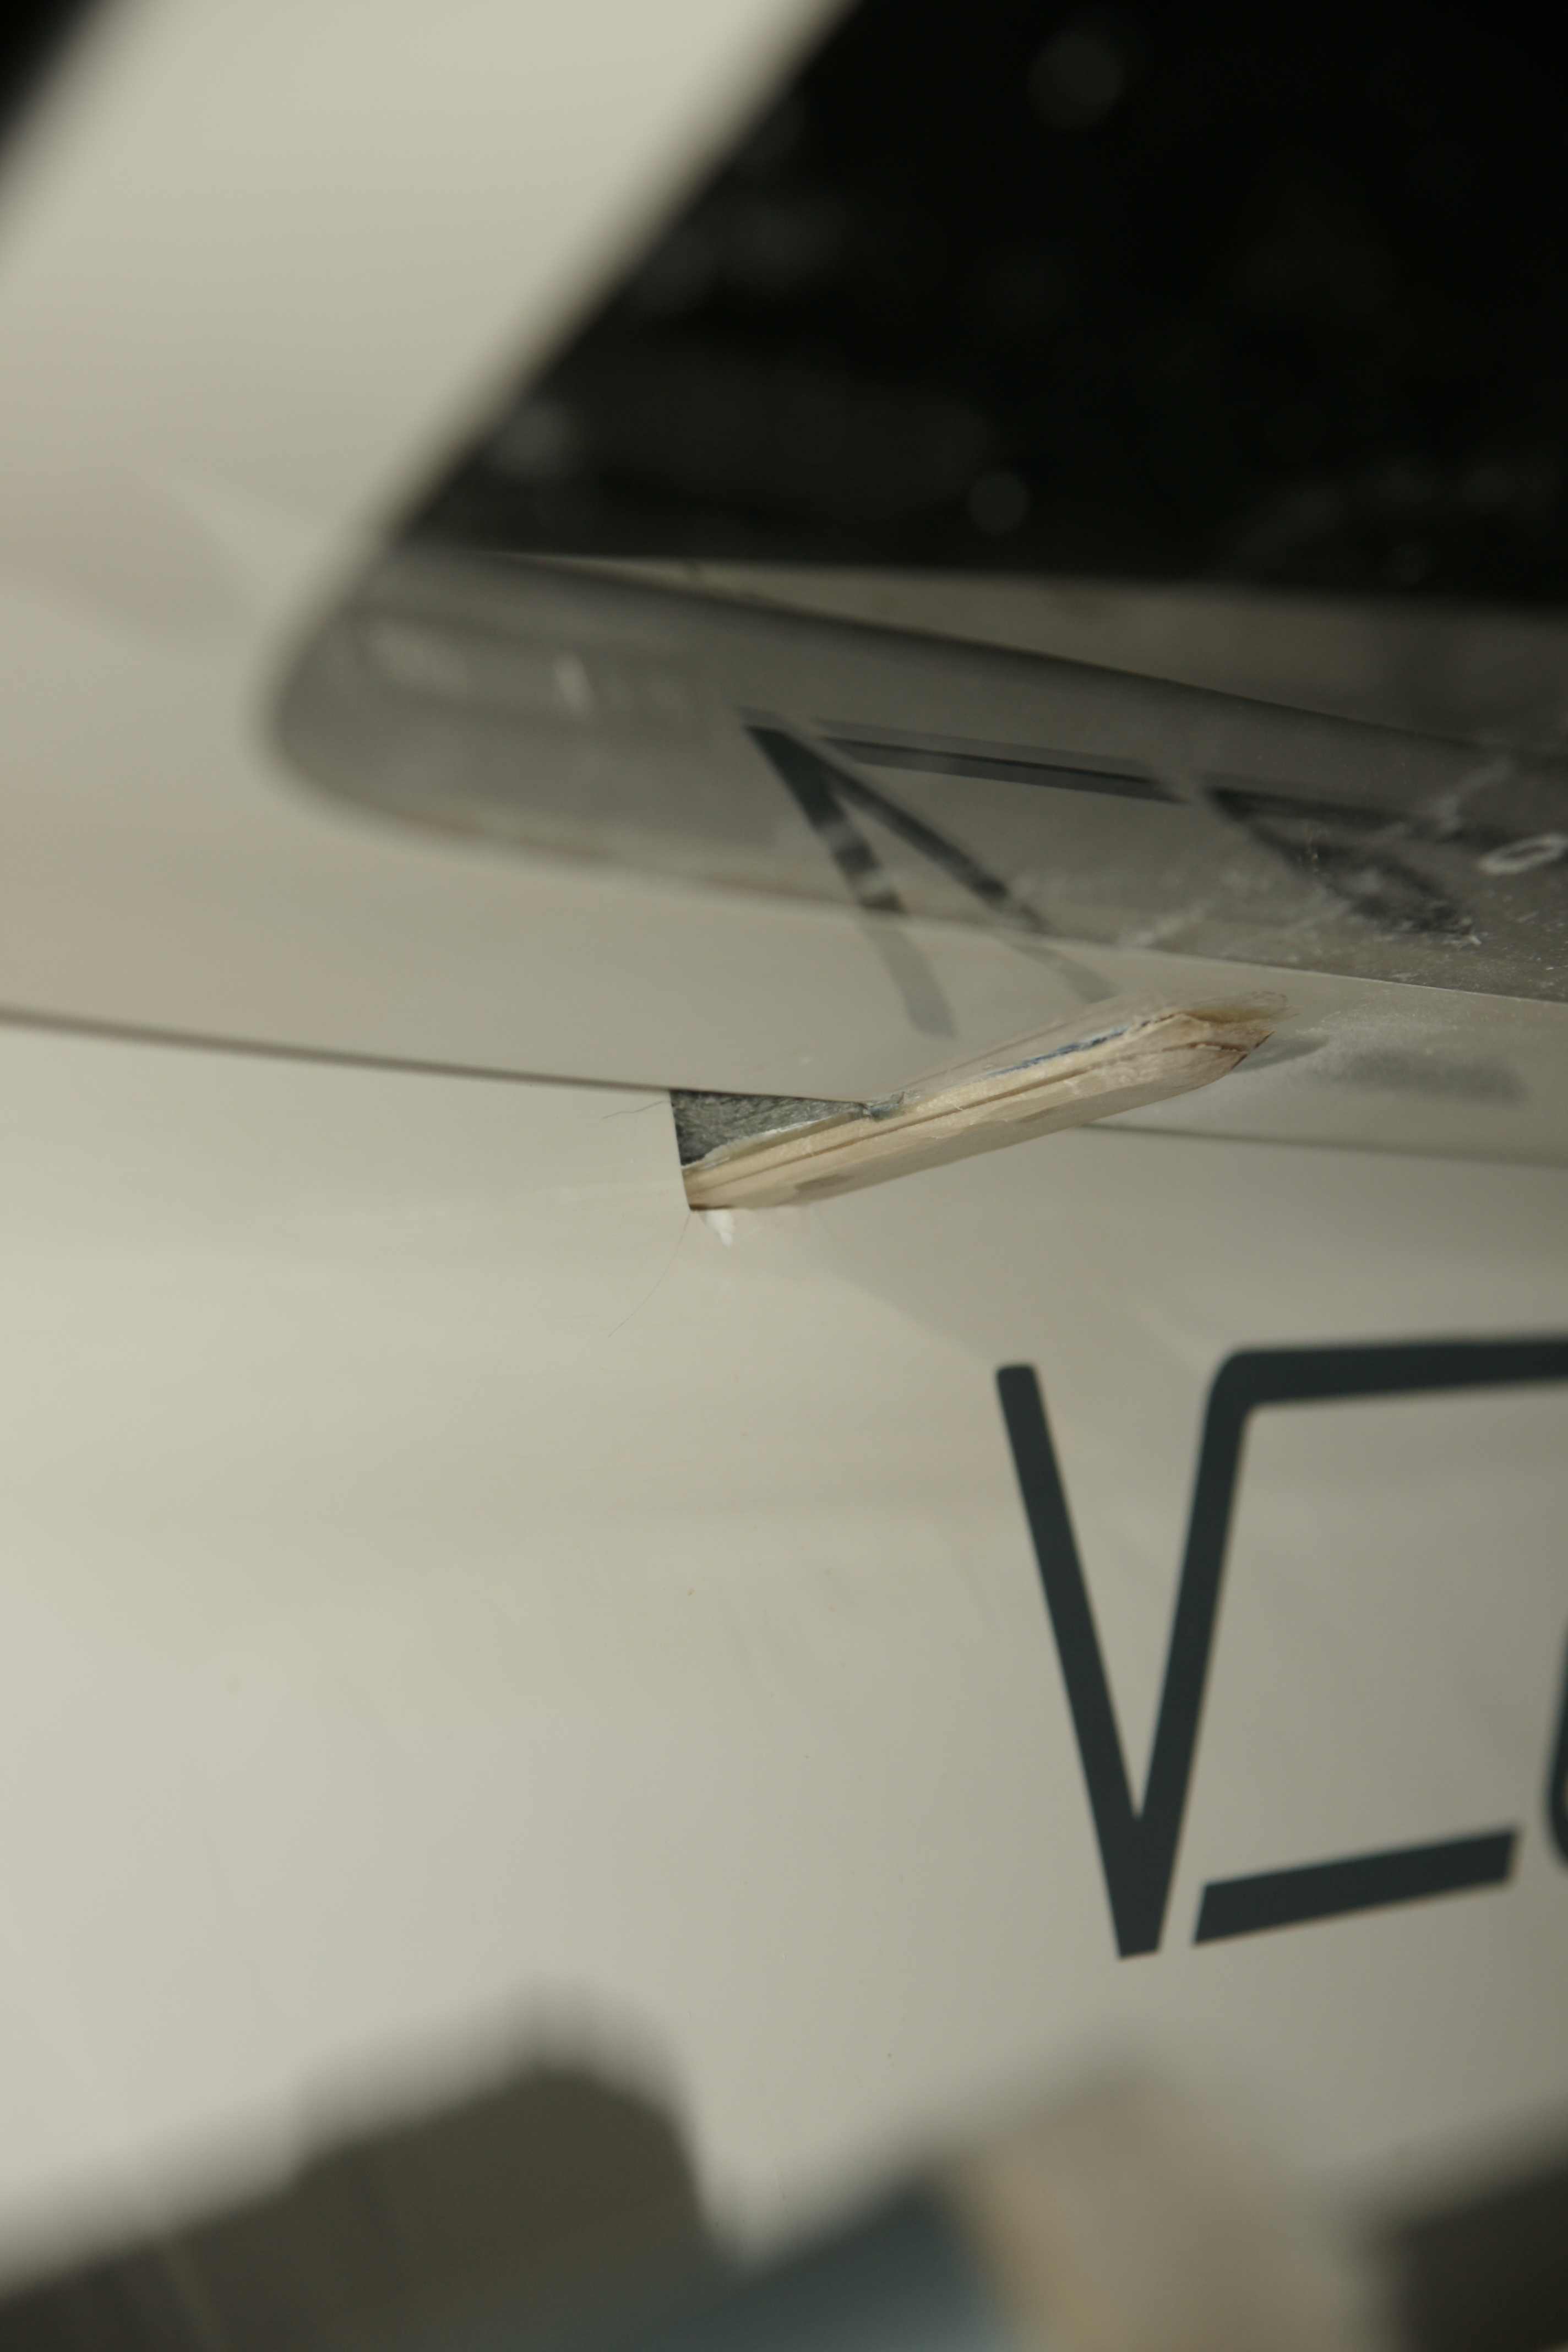
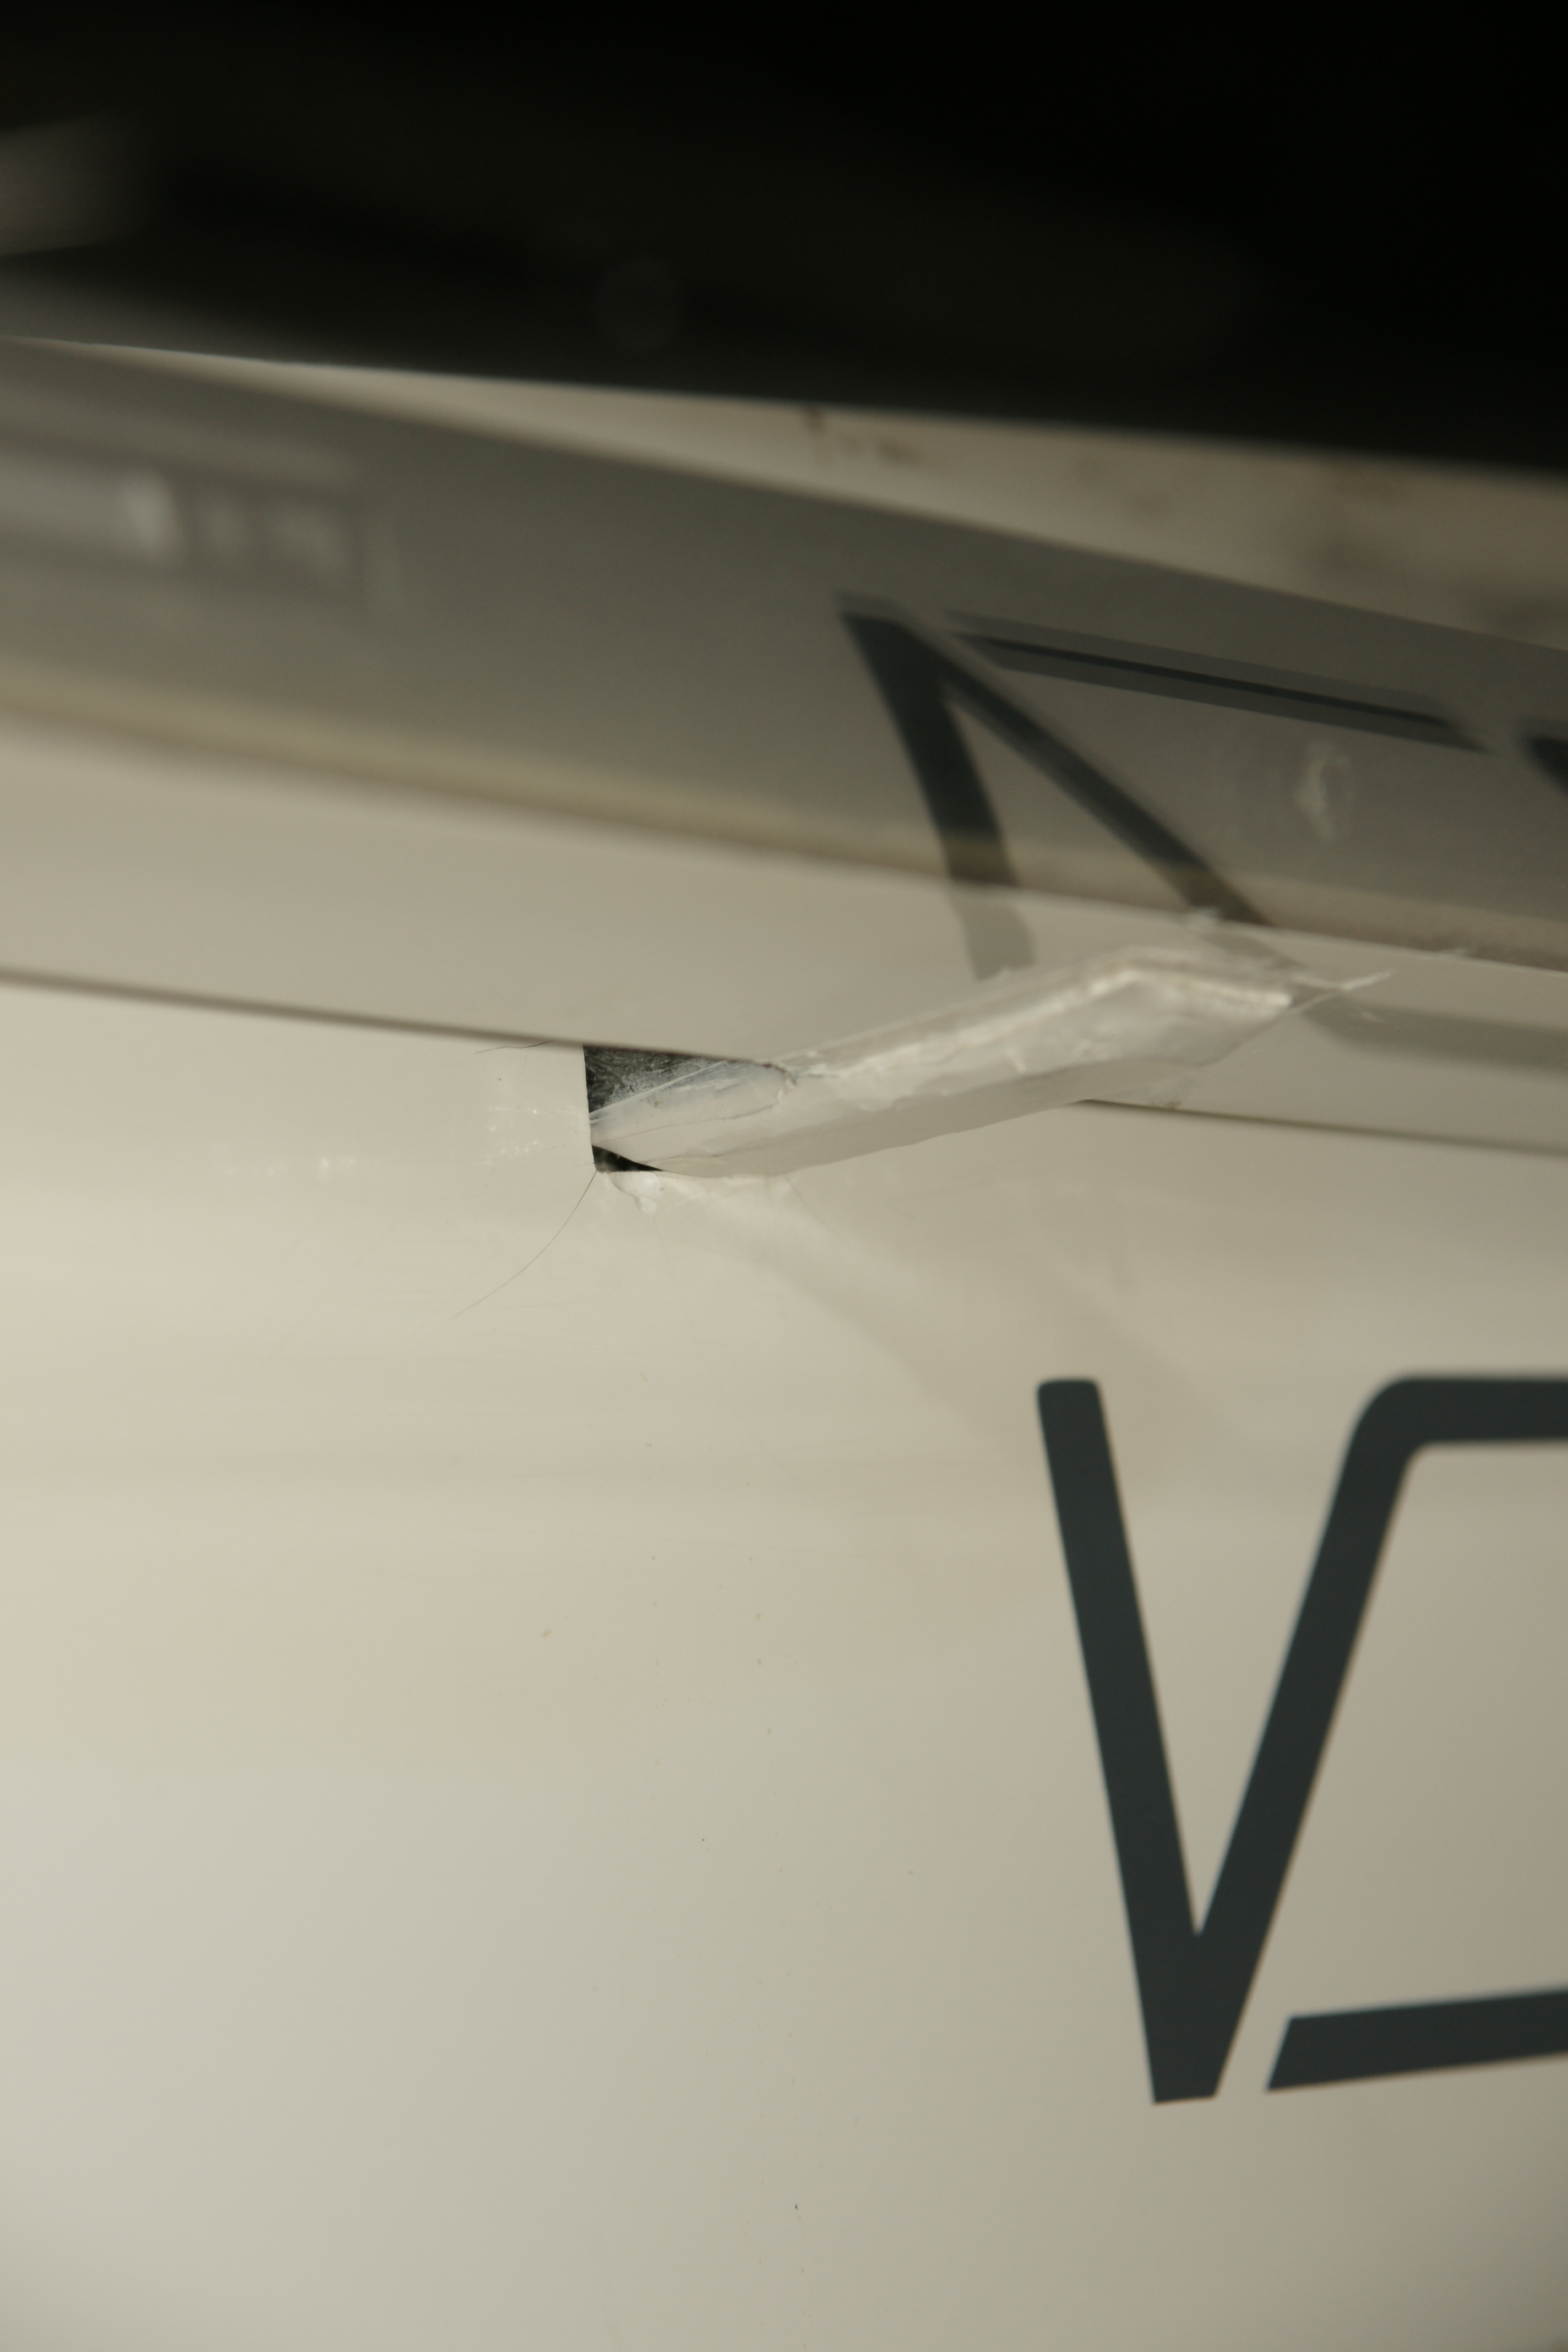
 You see at the front hinge the normal gap between tang and cockpit with the canopy at the limit of the safety cable.
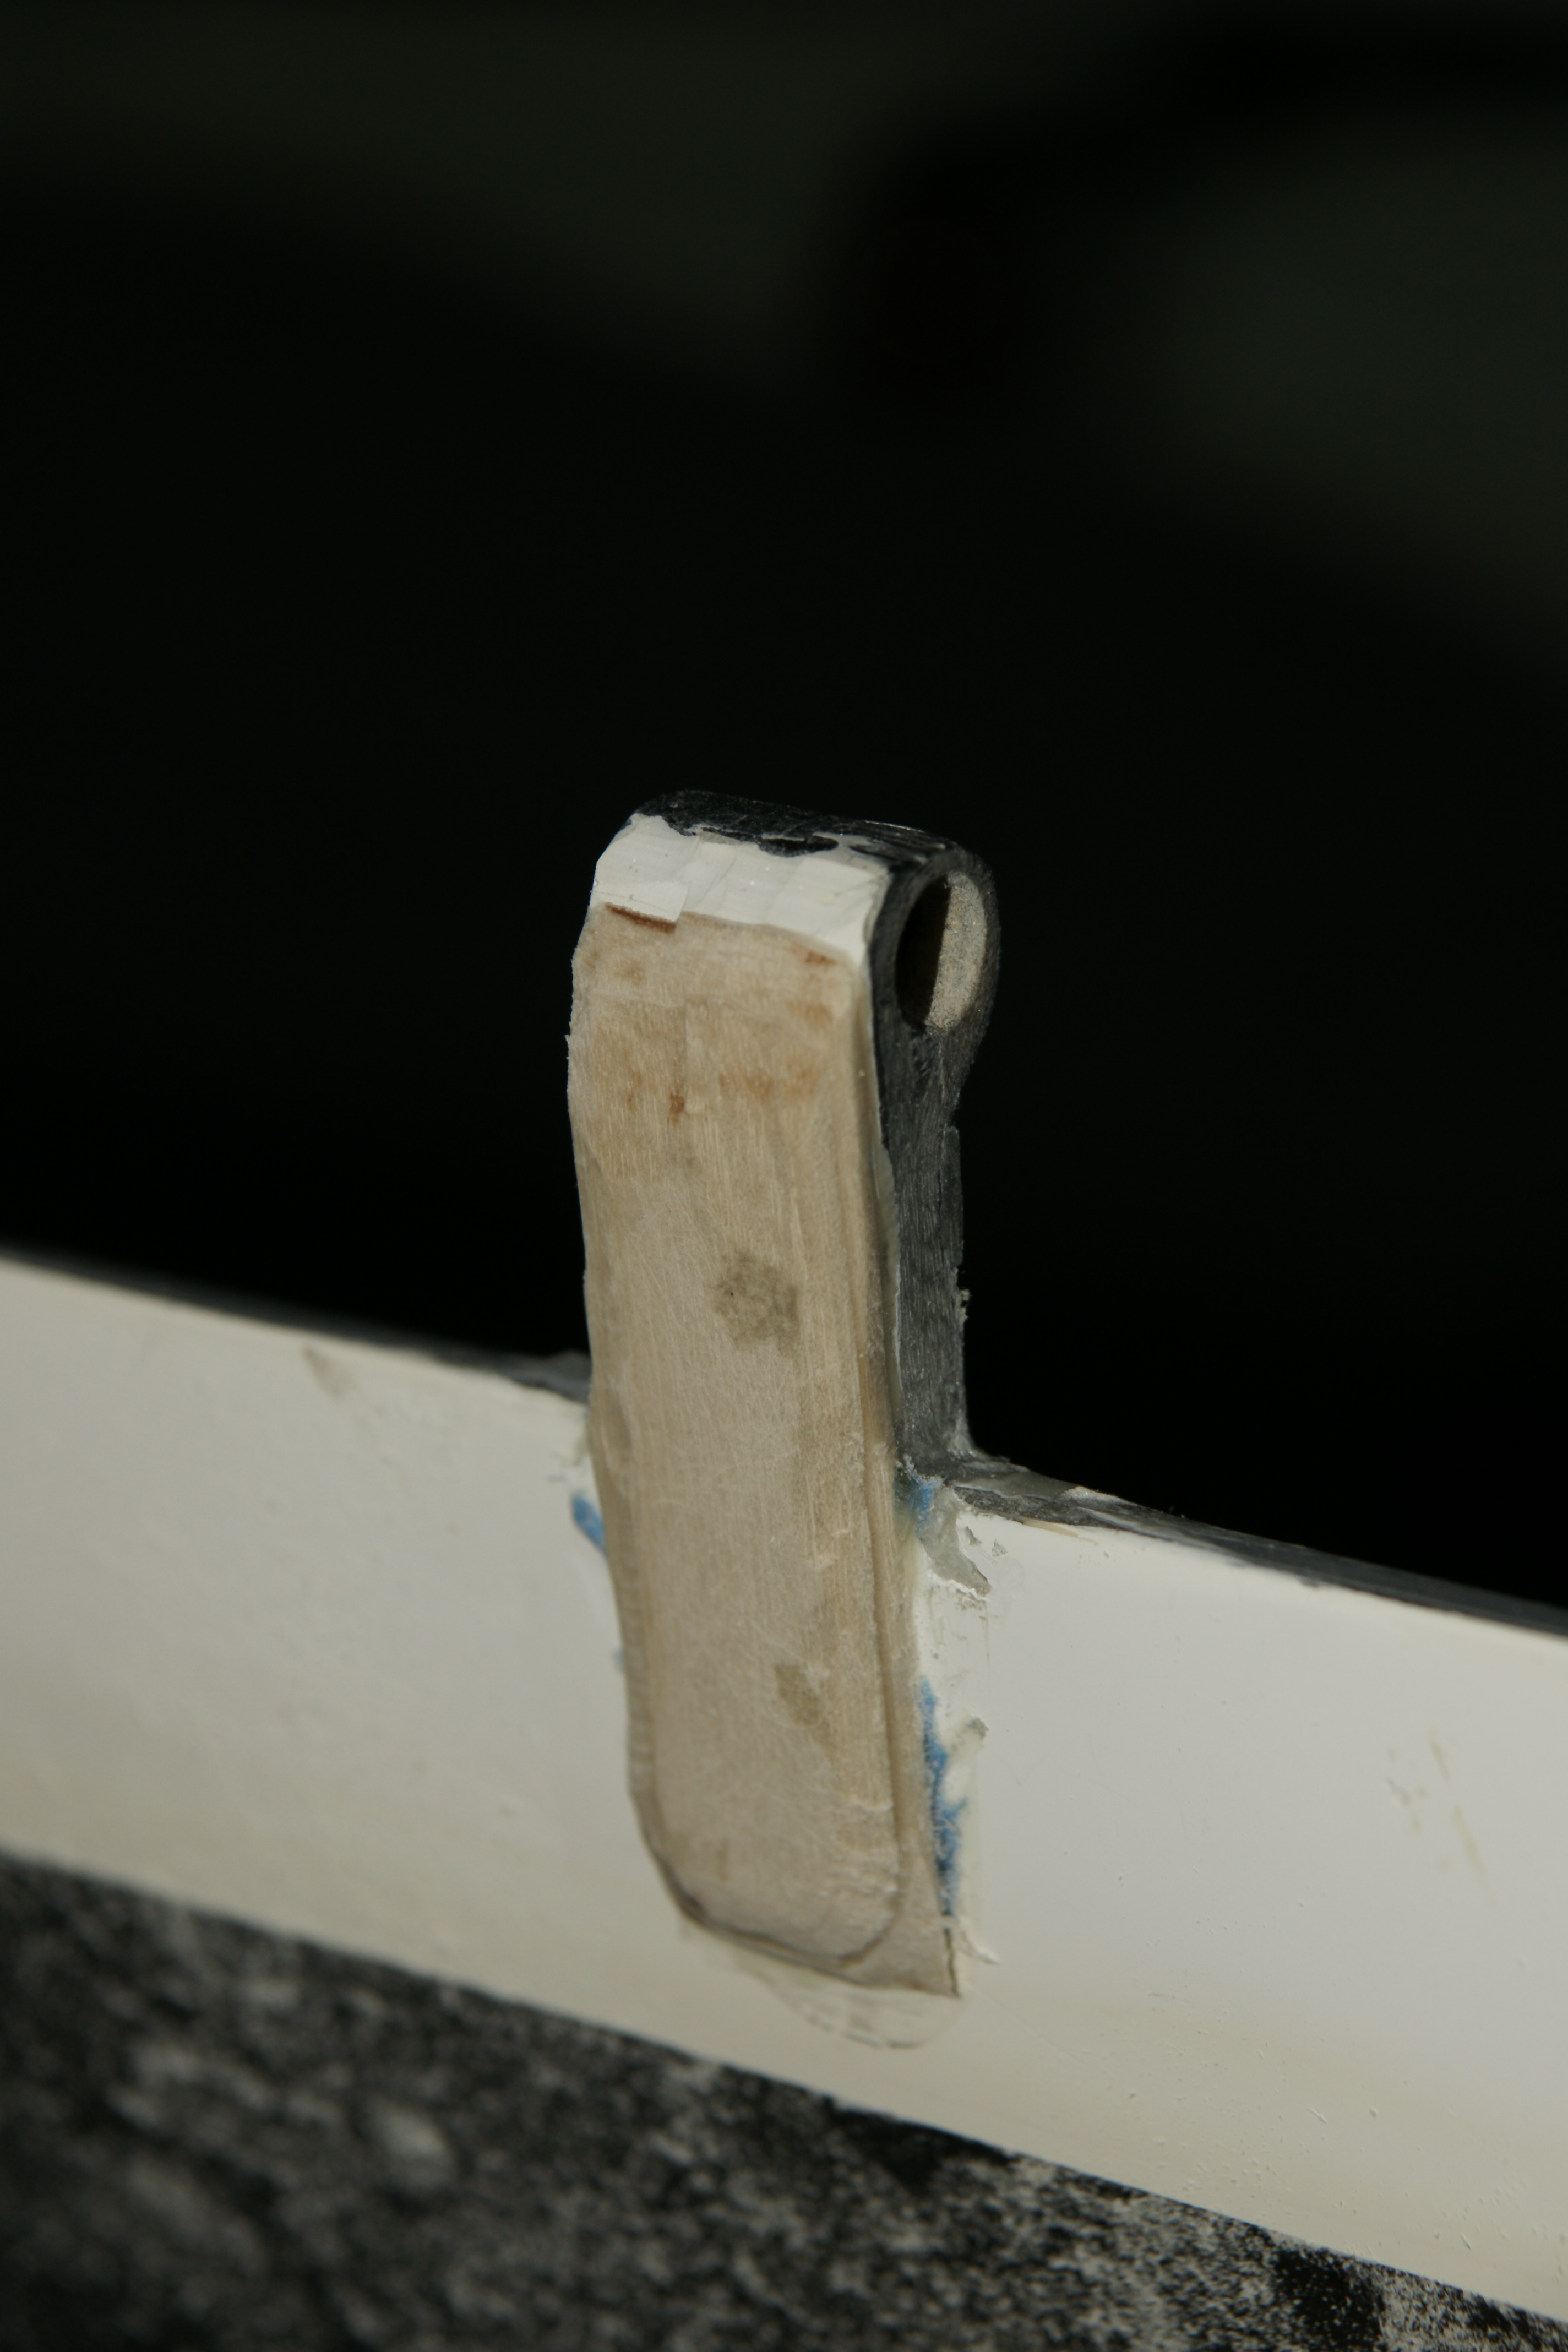
 So we removed the canopy and chamfered the splint over the hinge, thus.
 A pro would have sanded the splint smooth, but my eyes are getting old, so I missed the ridges left by the Dremel tool until I'd painted it once. Two coats of paint are a minimum.
 The chamfered hinge doesn't touch the fuselage when the canopy is fully open.
 The repaired hinge does stand out, but the drag should be trivial.
 From a distance, this seems to look OK.
So now we will go soaring again.
The file names are my file numbers, and are not directly related to image contents. The subject and technical data are contained within each jpeg file itself, as a comment readable by the Gimp or Photoshop, and the comment is provided to the right of each thumbnail image below.